


Looking for a power packed Breakfast Recipe with the goodness of Millets and Methi? Presenting Methi Thalipeeth or Methi Millet Flatbread, a popular breakfast recipe from Maharashtra.
Delicious, wholesome, filling, nutritious, healthy - I might run out of adjectives to describe our favourite breakfast. Thalipeeth though delicious, takes a while to prep and cook so it makes your ultimate weekend breakfast treat when the family sits together and shares a meal. I make this often during winters as you tend to feel hungry pretty soon and breakfast recipe like Thalipeeth surely keeps you full.
About Thalipeeth
Thalipeeth is a popular Maharashtrian Breakfast Pancakes or thick flatbreads that resembles a thick paratha but made with a variety of flours that are gluten free and millet based.


Traditionally, thalipeeth is made with whole wheat flour, some millets, gram flour and rice flour. The Multigrain mixture is a great way to incorporate healthy flours in our diet. However, I have excluded the usage of whole wheat flour in this recipe, making it completely gluten free (skip the asafoetida from the recipe).The recipe is vegan and diabetic friendly too.
Other Thalipeeth Varieties
- Thalipeeth is also made using gluten free flours like Rajgira or Amaranth especially during fasting. Do check out the Rajgira Thalipeeth Recipe.
- It can also be made with Sabudana or soaked Tapioca Pearls for fasting.
- In case of both the above fasting recipes, potato is added and table salt is skipped. No other flour is added.

Few Maharashtrian Breakfast recipes on the blog that you could try over on a weekend are Ghavan which are rice flour crepes or instant dosas and Sabudana Khichdi which is made from tapioca pearls and is a fasting special from the Maharashtrian cuisine.
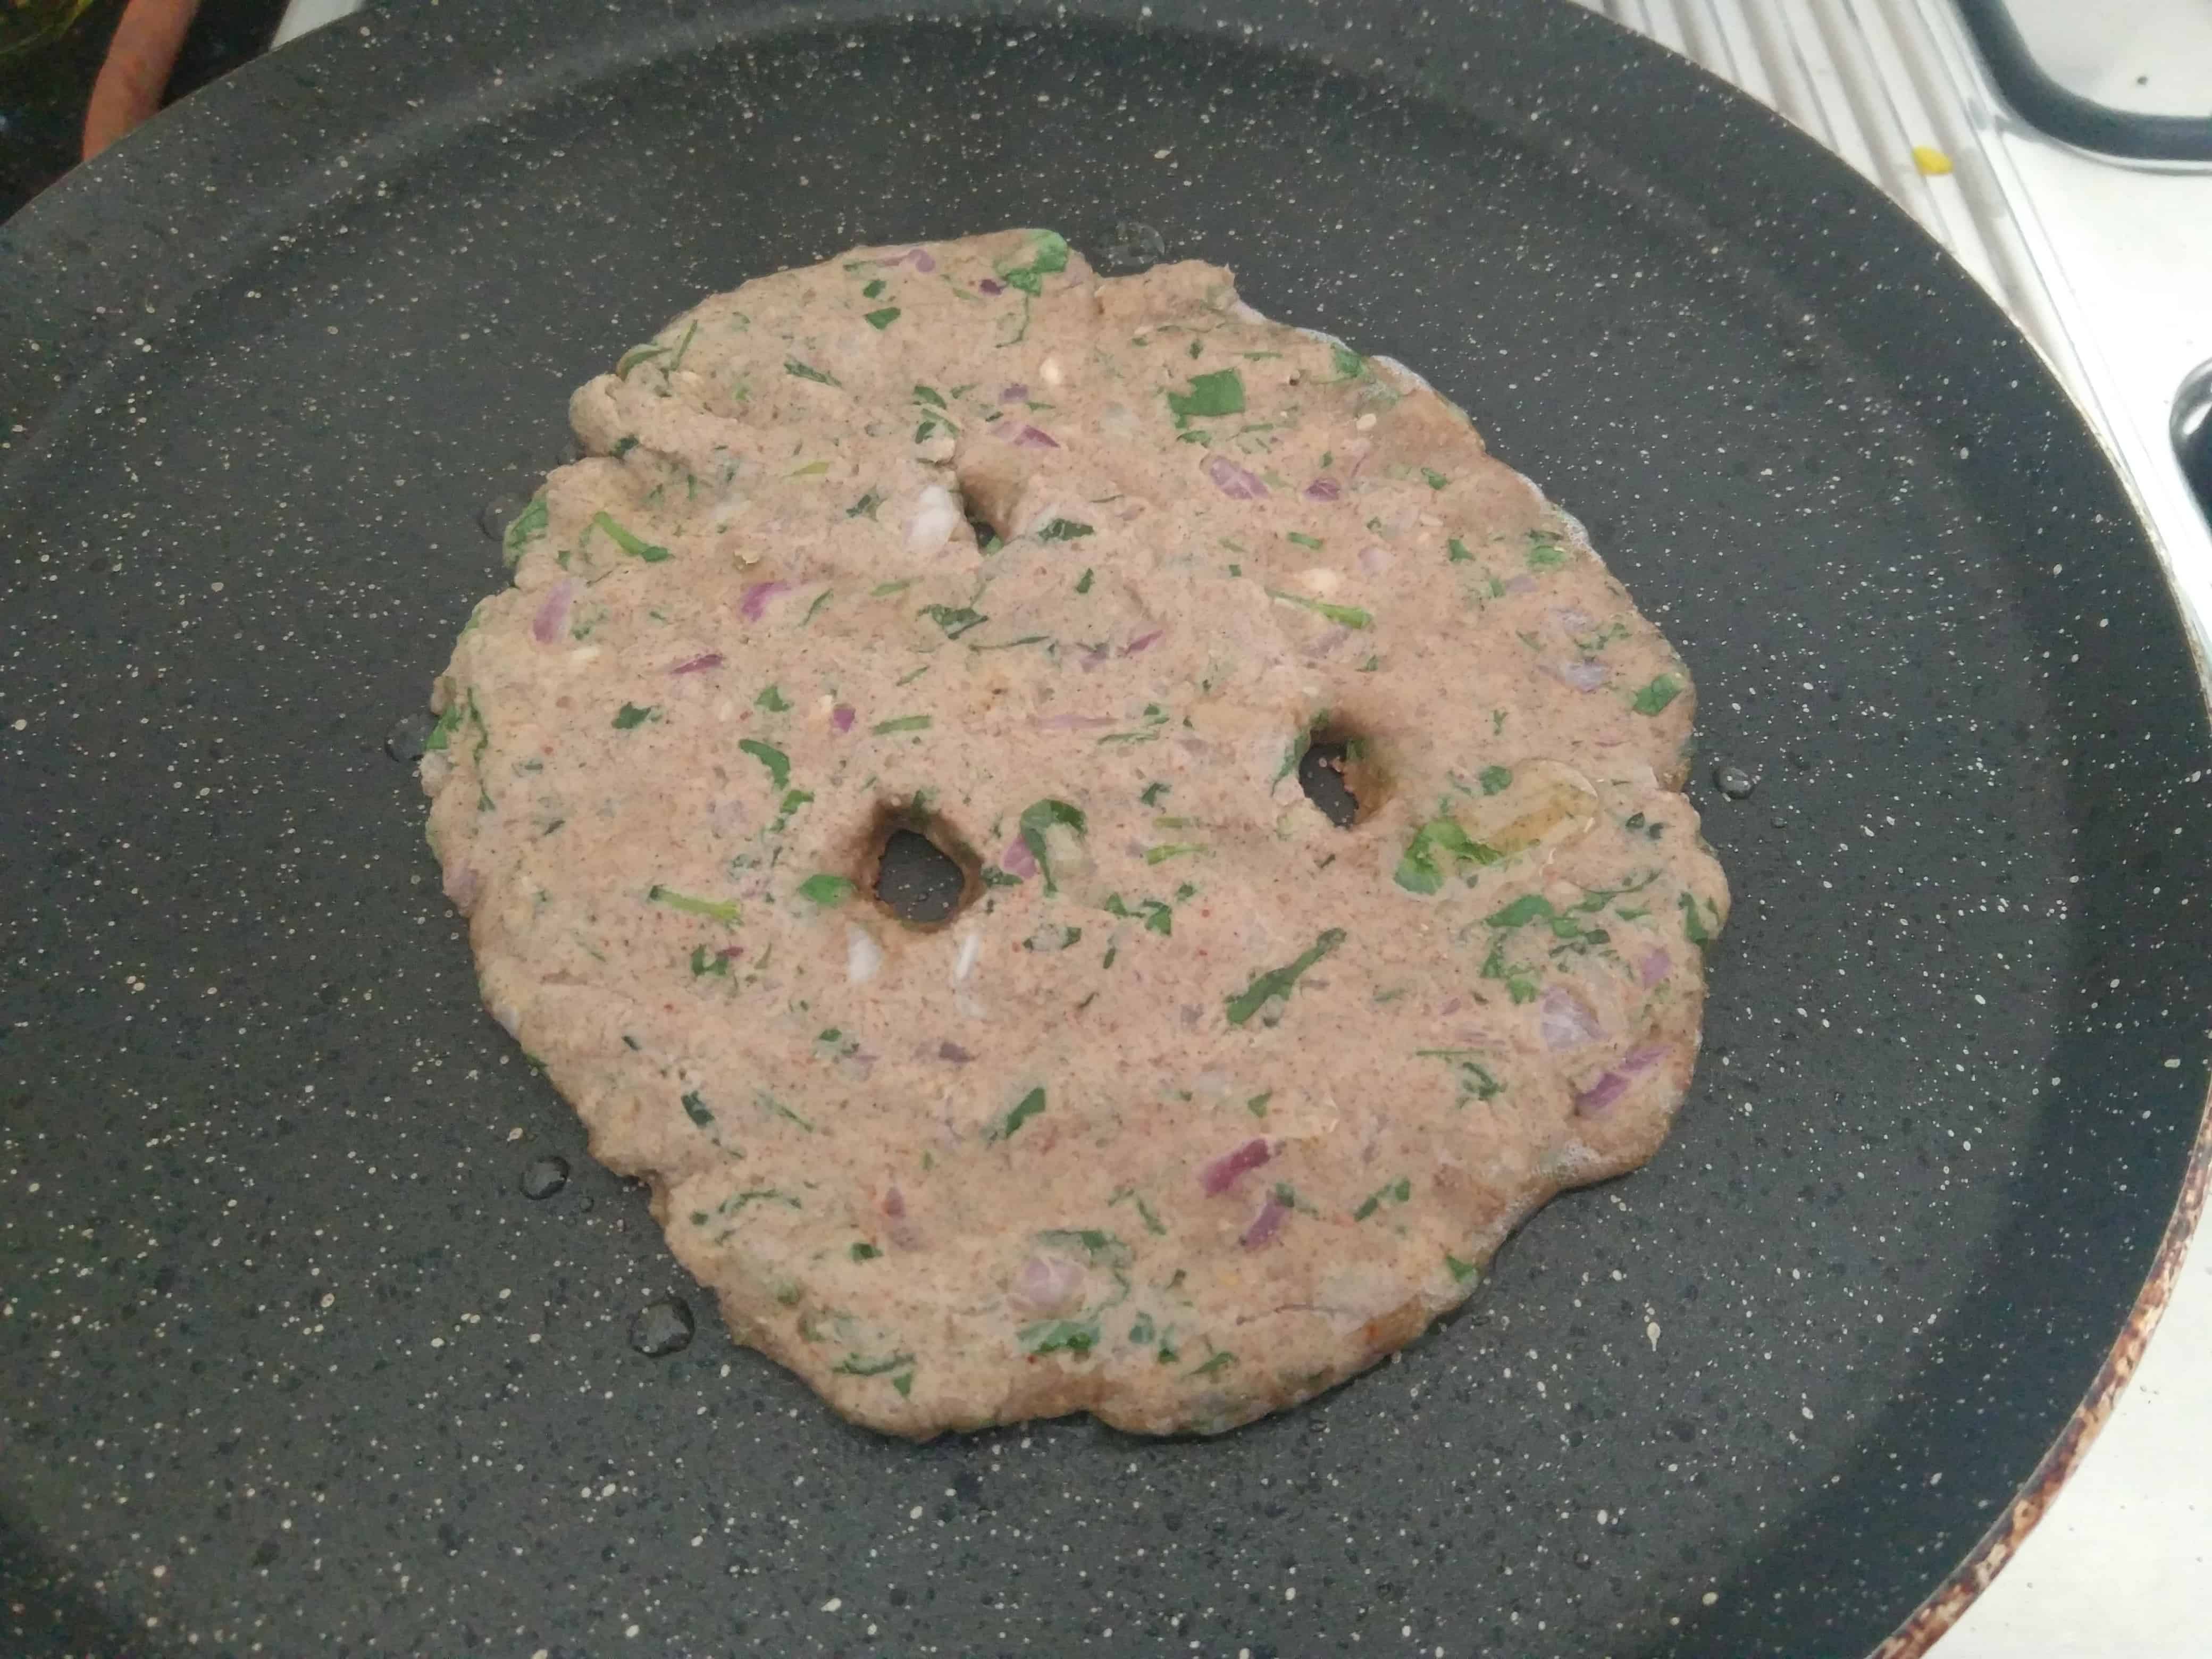
Unlike most flatbreads, Thalipeeth doesn't require a rolling pin or dusting of flour. It is patted by hand in a circular motion and slowly given a shape of the flatbread. Small holes are made with an index finger so that oil can be poured easily while cooking on hot griddle or pan. It enables faster cooking especially in the centre portion too.
Serving Suggestions for Thalipeeth
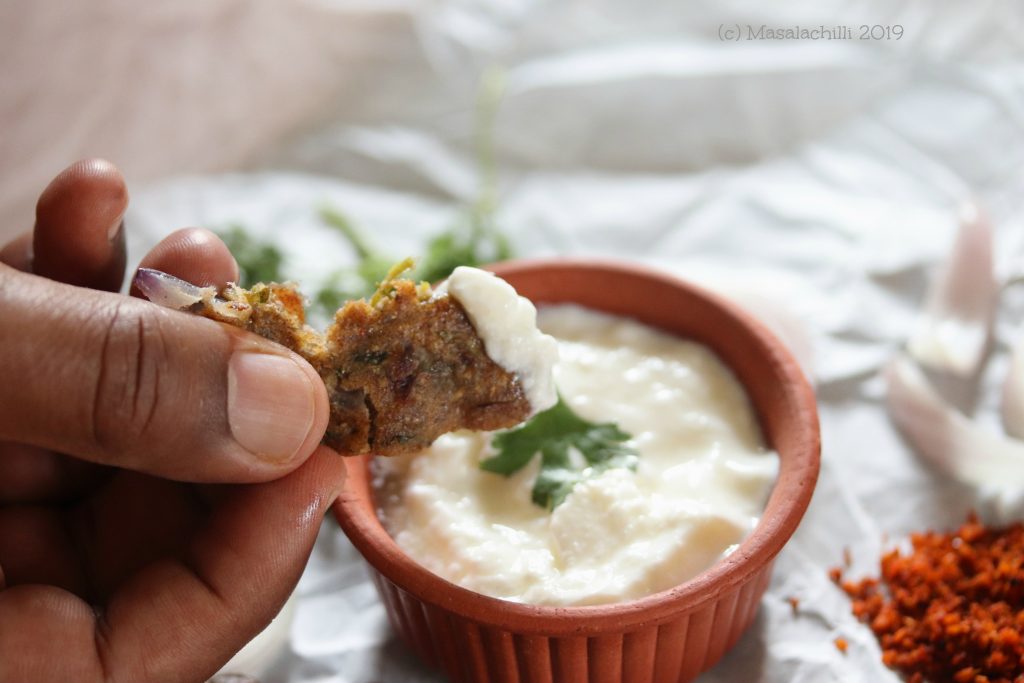
It is traditionally served with a coconut peanut chutney, Garlic Peanut chutney, some pickles, a cup of curd, onion slices and fresh butter. My husband's favourite pick is the curd as you can see below.
Flour Options to Make Thalipeeth
- During Summers, Jowar Flour or Sorghum Flour is good for health.
- Winters you can opt for Bajra or Pearl Millet.
- If you are not gluten sensitive, add whole wheat aata too (say 1/4 cup) to the recipe below.
- You can skip rice flour but I would not advise, It gives a slight crispiness and helps hold the flours together.
- Nachni or Ragi or Finger Millet is a millet we consume all season.
- Besan or Gram Flour adds the protein element.
- You can make Thalipeeth by skipping few flours too. It is entirely up to what is available in your pantry.
Thalipeeth requires time and patience to cook. Most restaurants that serve Maharashtrian food tend to cook the thalipeeth in a lot of oil which I do not prefer. One cannot experience the taste of any flours or spices used if it is shallow fried. Well, this is my personal experience and hence I opt for home made thalipeeth that is healthy and can be made using a variety of flours too.
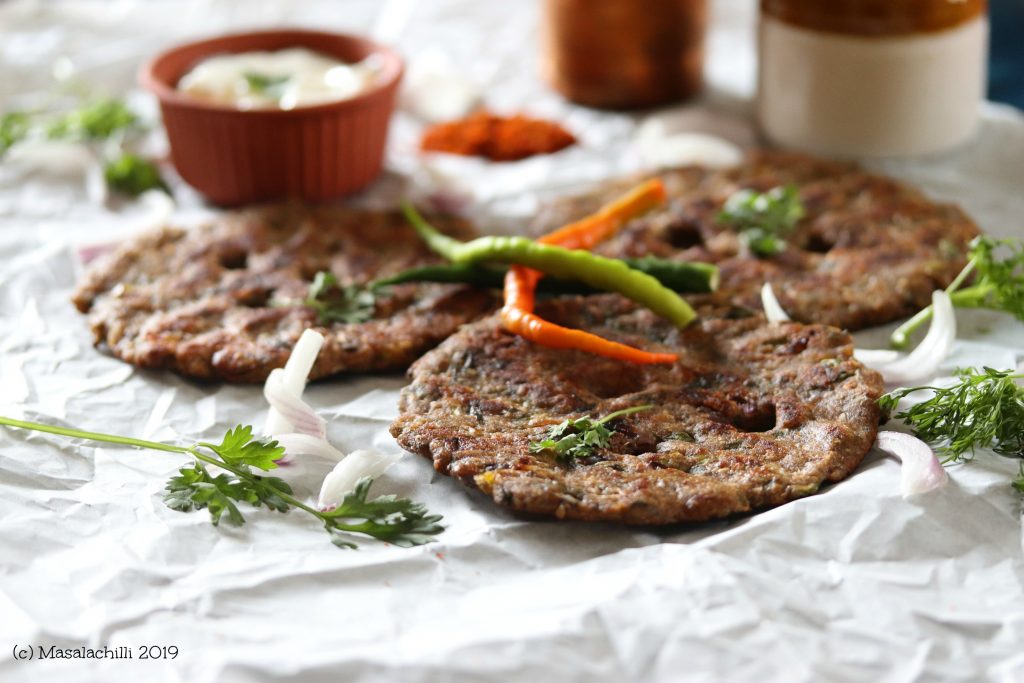
Taking this recipe of "Methi Thalipeeth" to #177FoodieMondayBlogHop where the theme this week is #Magic of Fresh Methi Leaves, suggested by Sasmita.


Step by Step Photos to Make Methi Thalipeeth at home
Serves 5 for breakfast, Makes around 10 Thalipeeth of medium thickness as shown in the pic
- In a bowl, combine all the flours and add salt to taste.
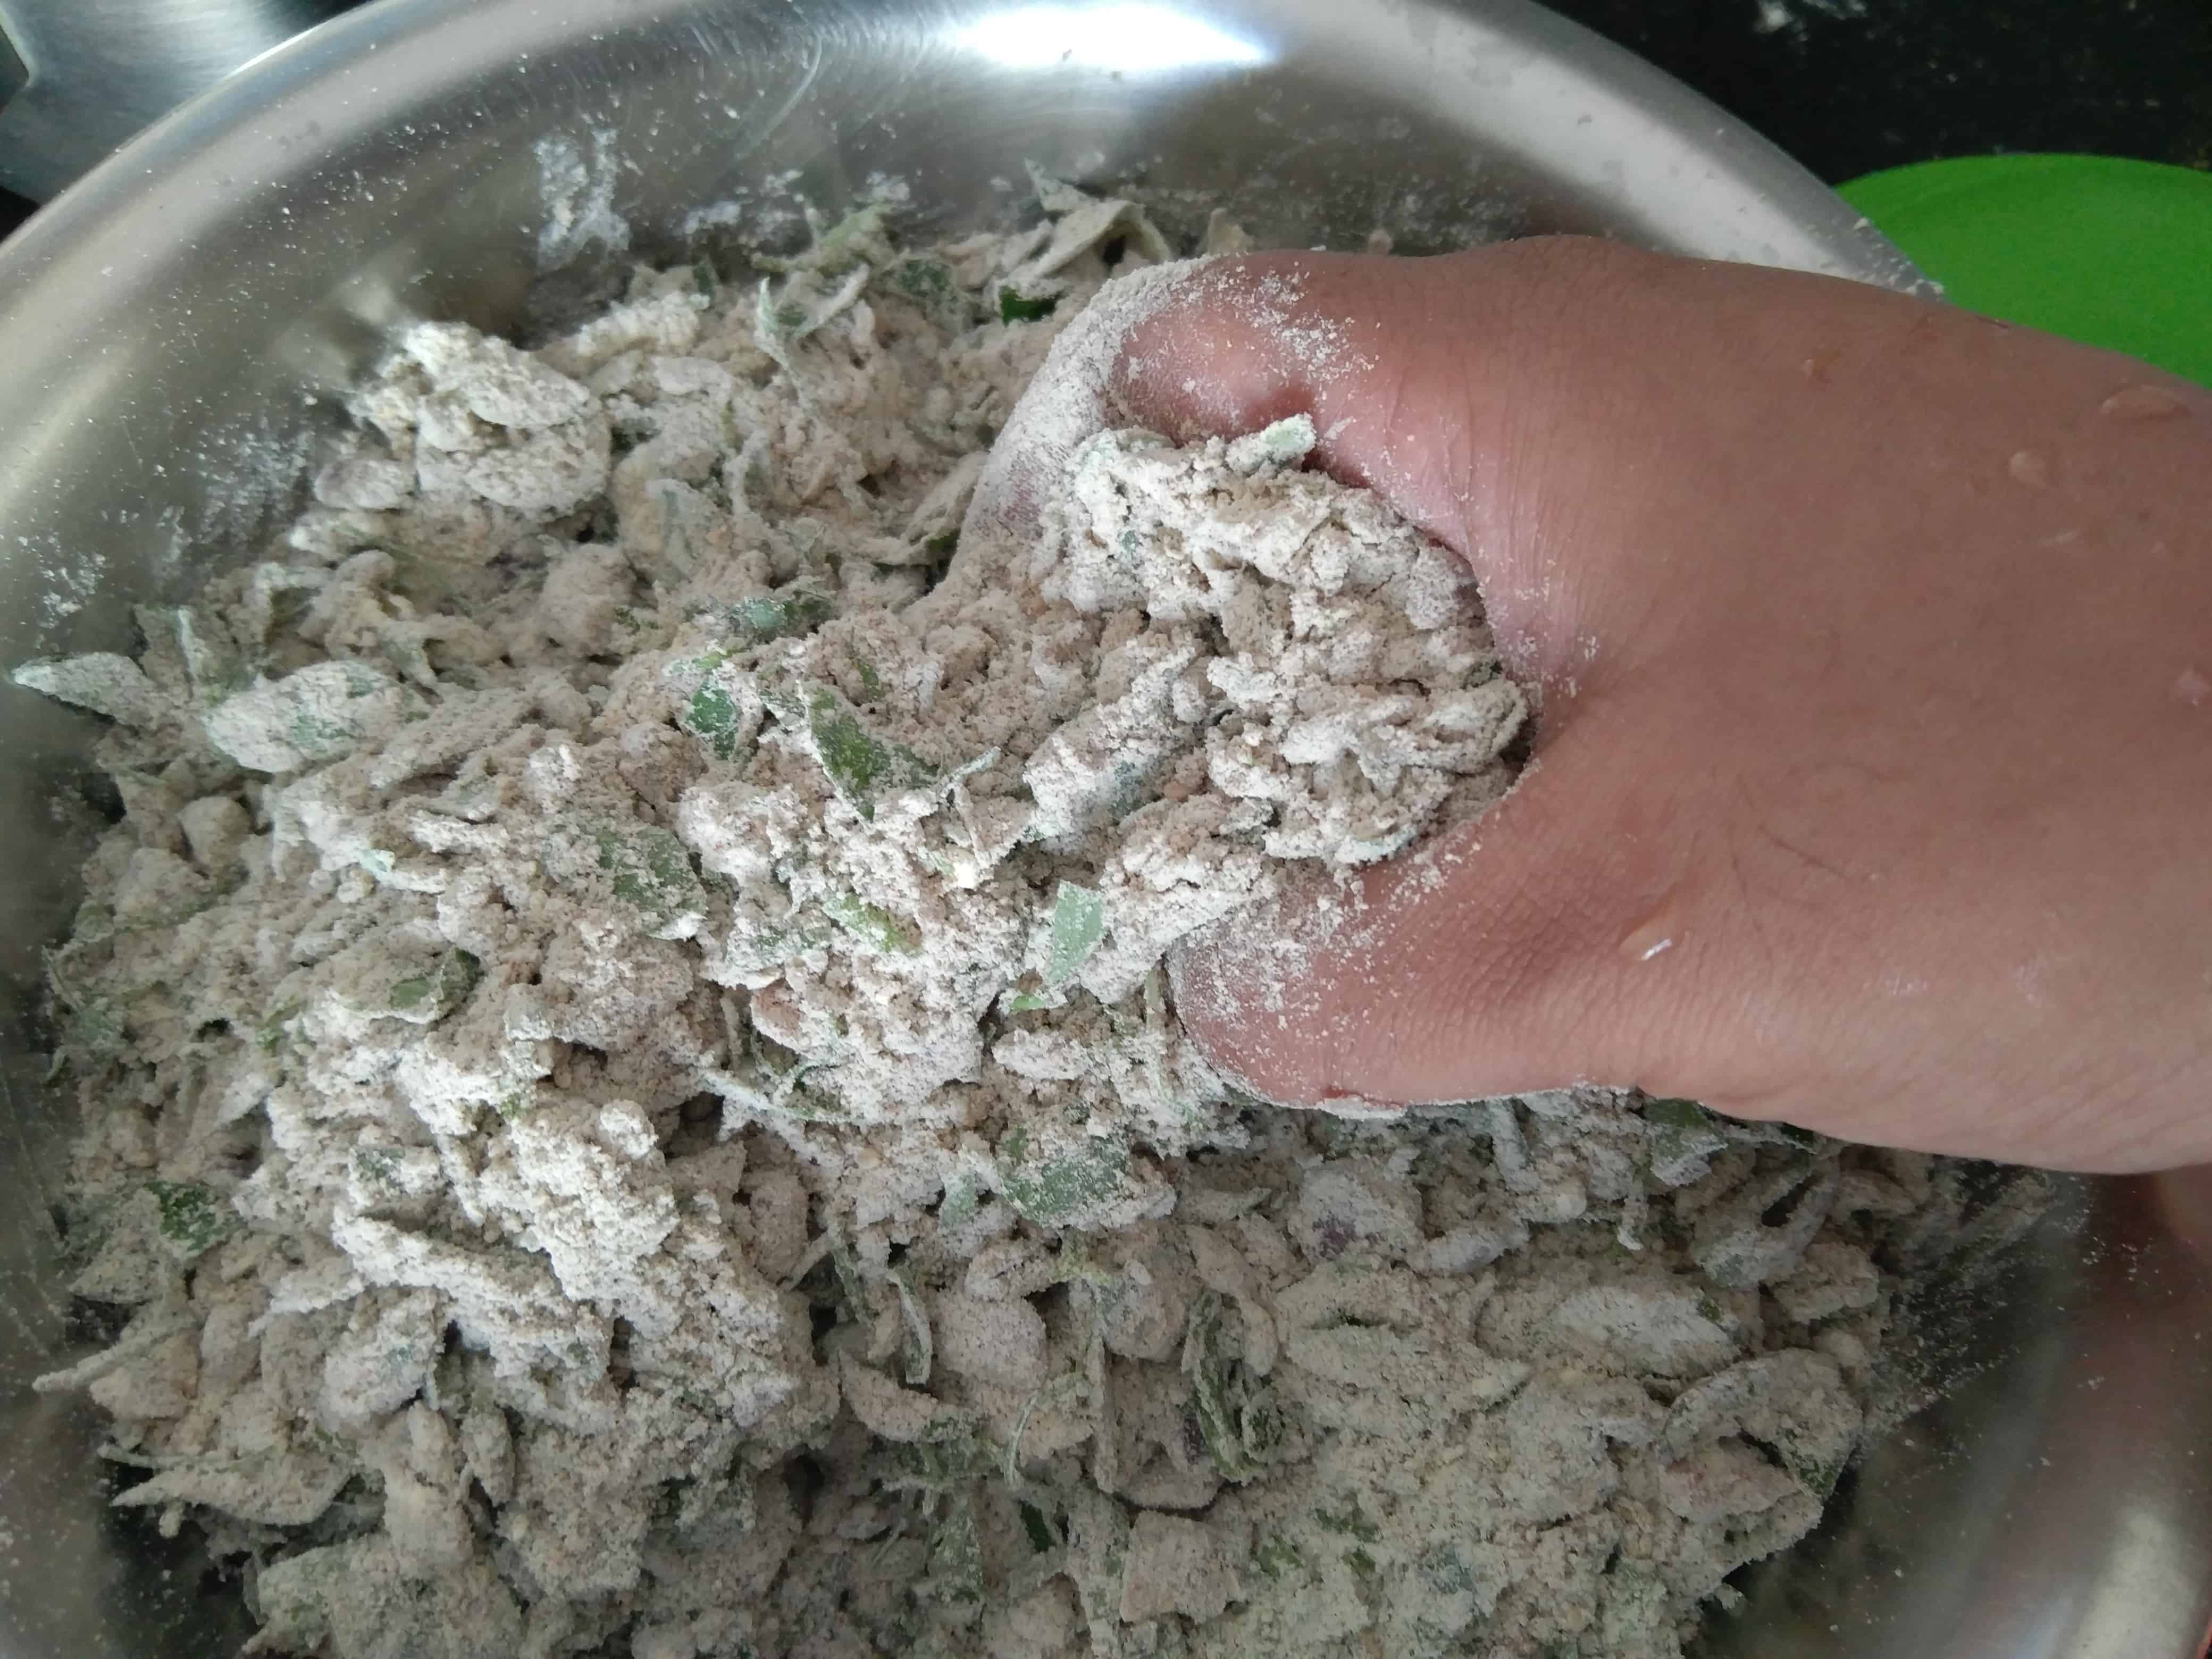
- Now add the sesame seeds, methi leaves, turmeric, red chilli, hing, coriander leaves, coriander powder, onions and green chillies.
- Mix all the ingredients above and slowly add water to form a dough.
- Check for salt when it is partially forming a dough and add extra, if required, at that stage. Note -- Do not add too much water as it gets very soggy making it difficult to shape after the dough rests for 20 minutes.
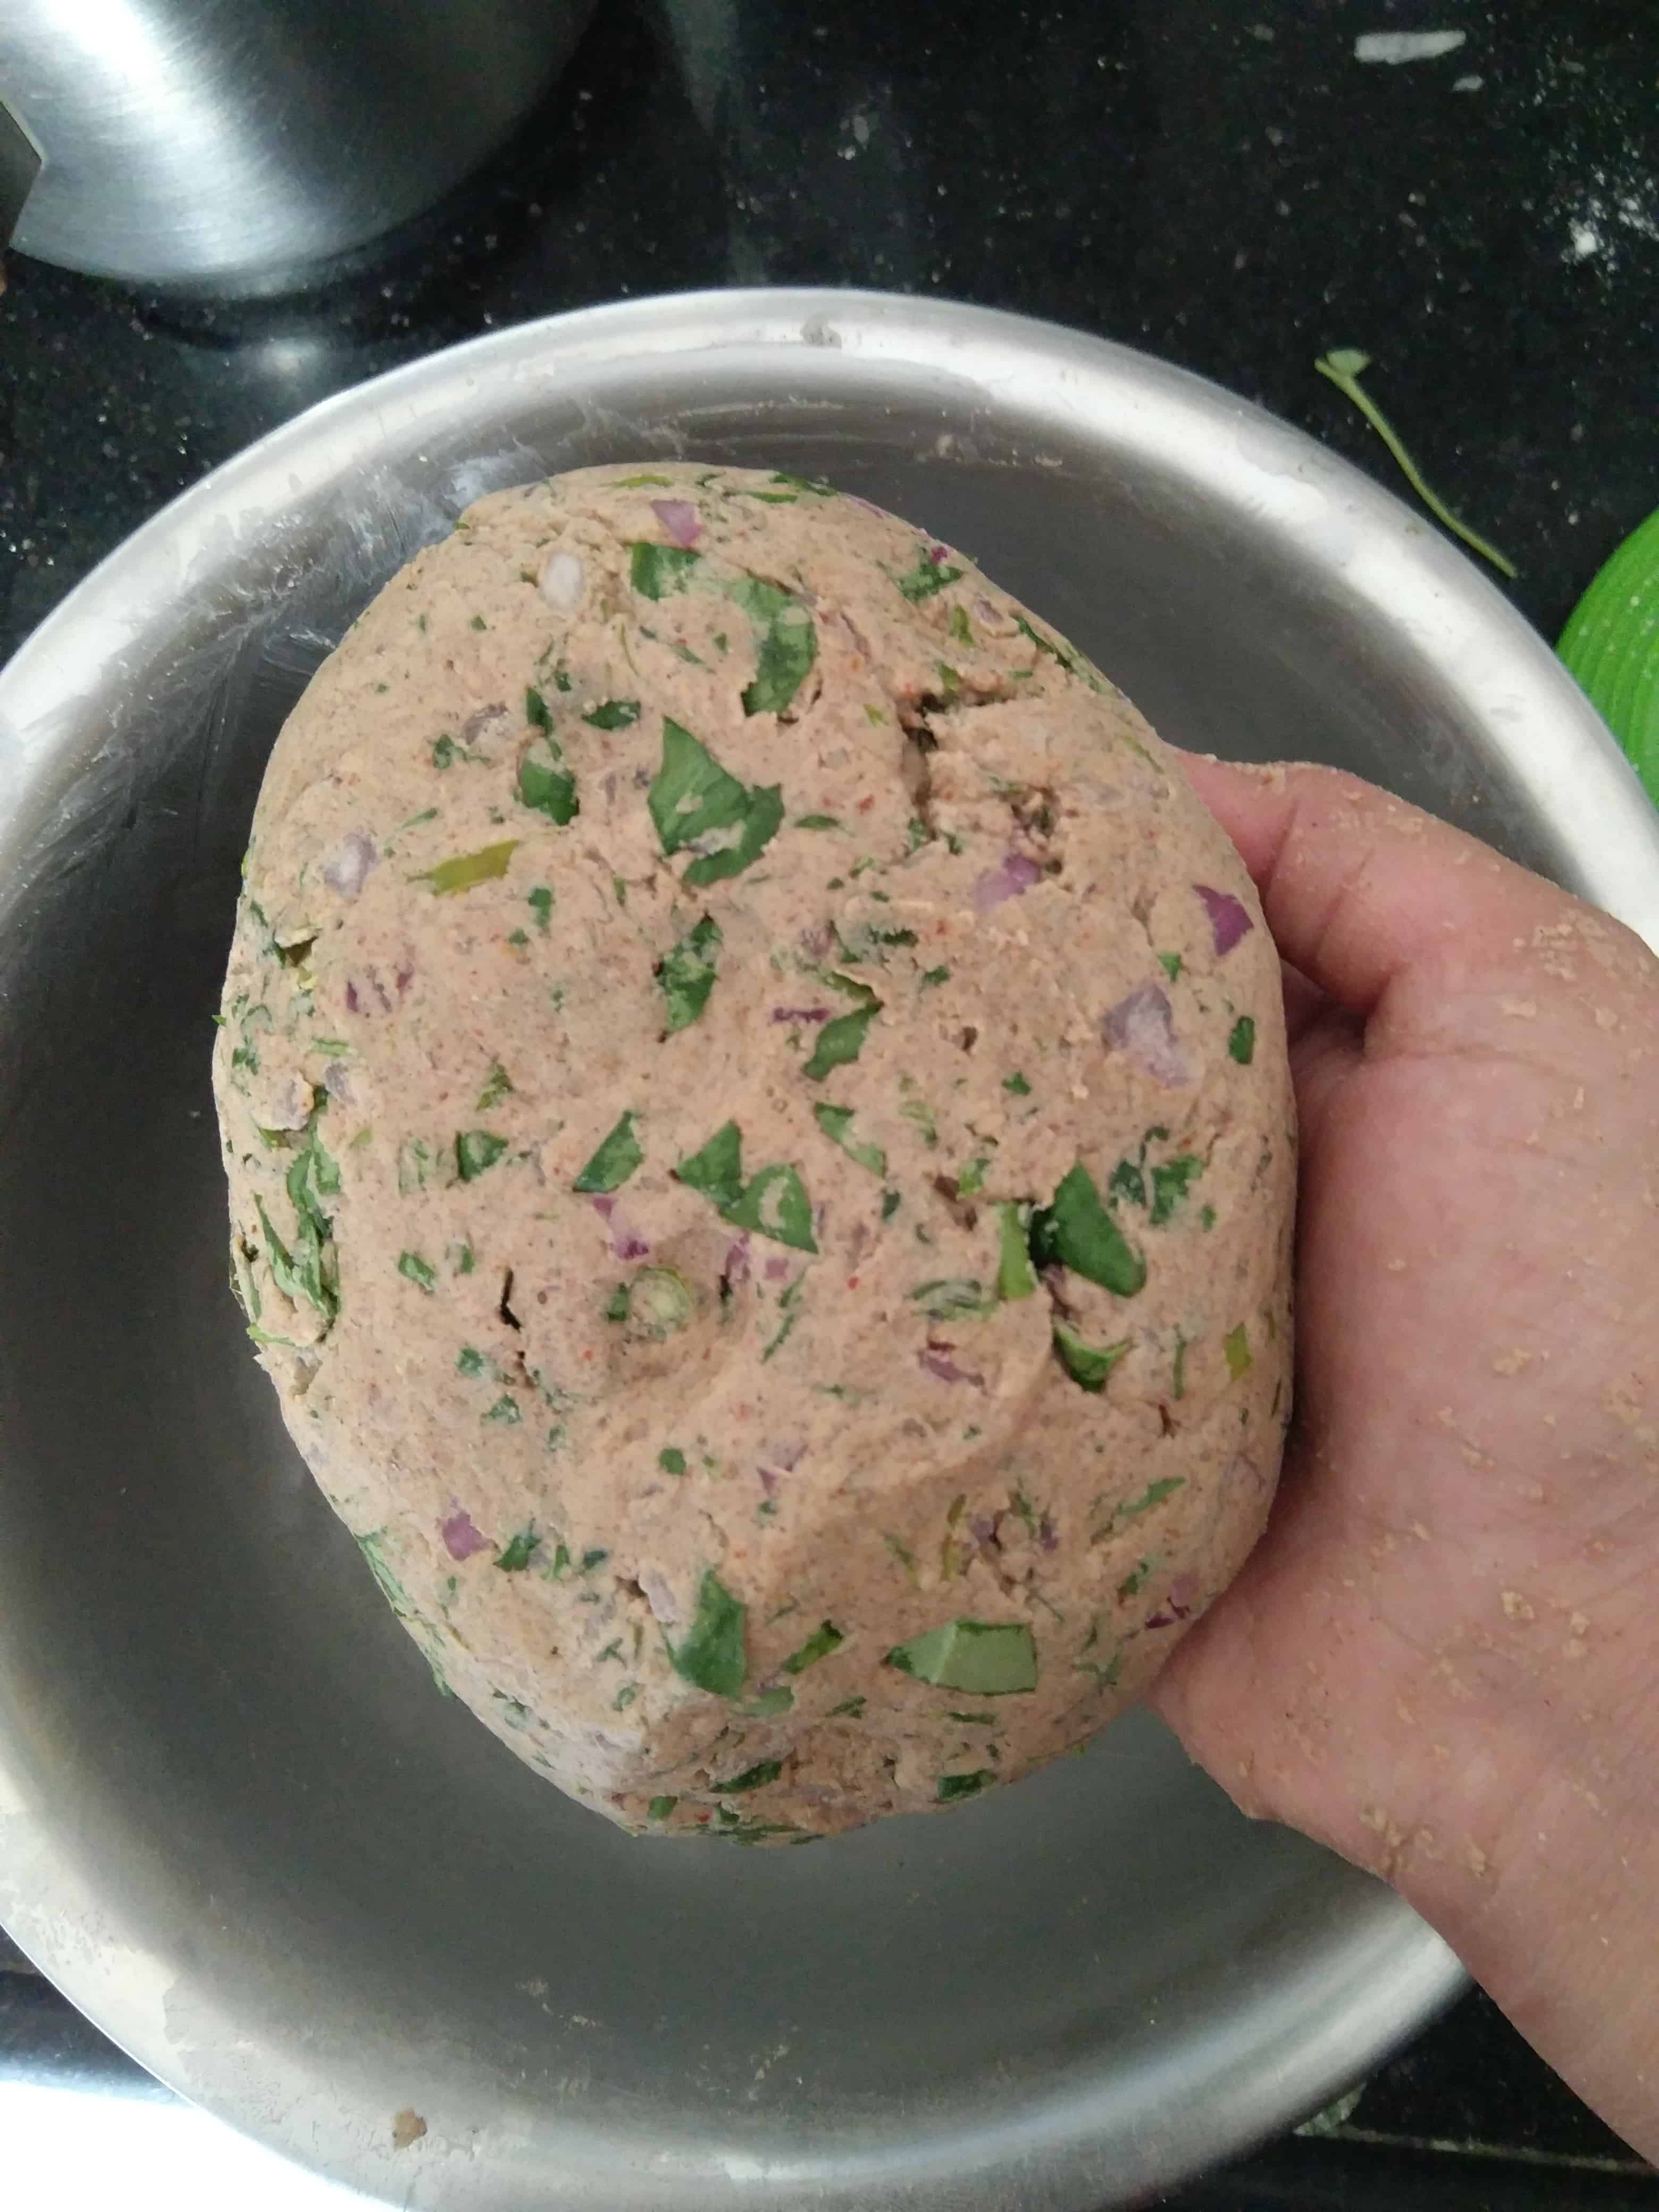
- Once the dough has formed, add a tsp of oil and knead lightly. Allow it to rest for 20 minutes
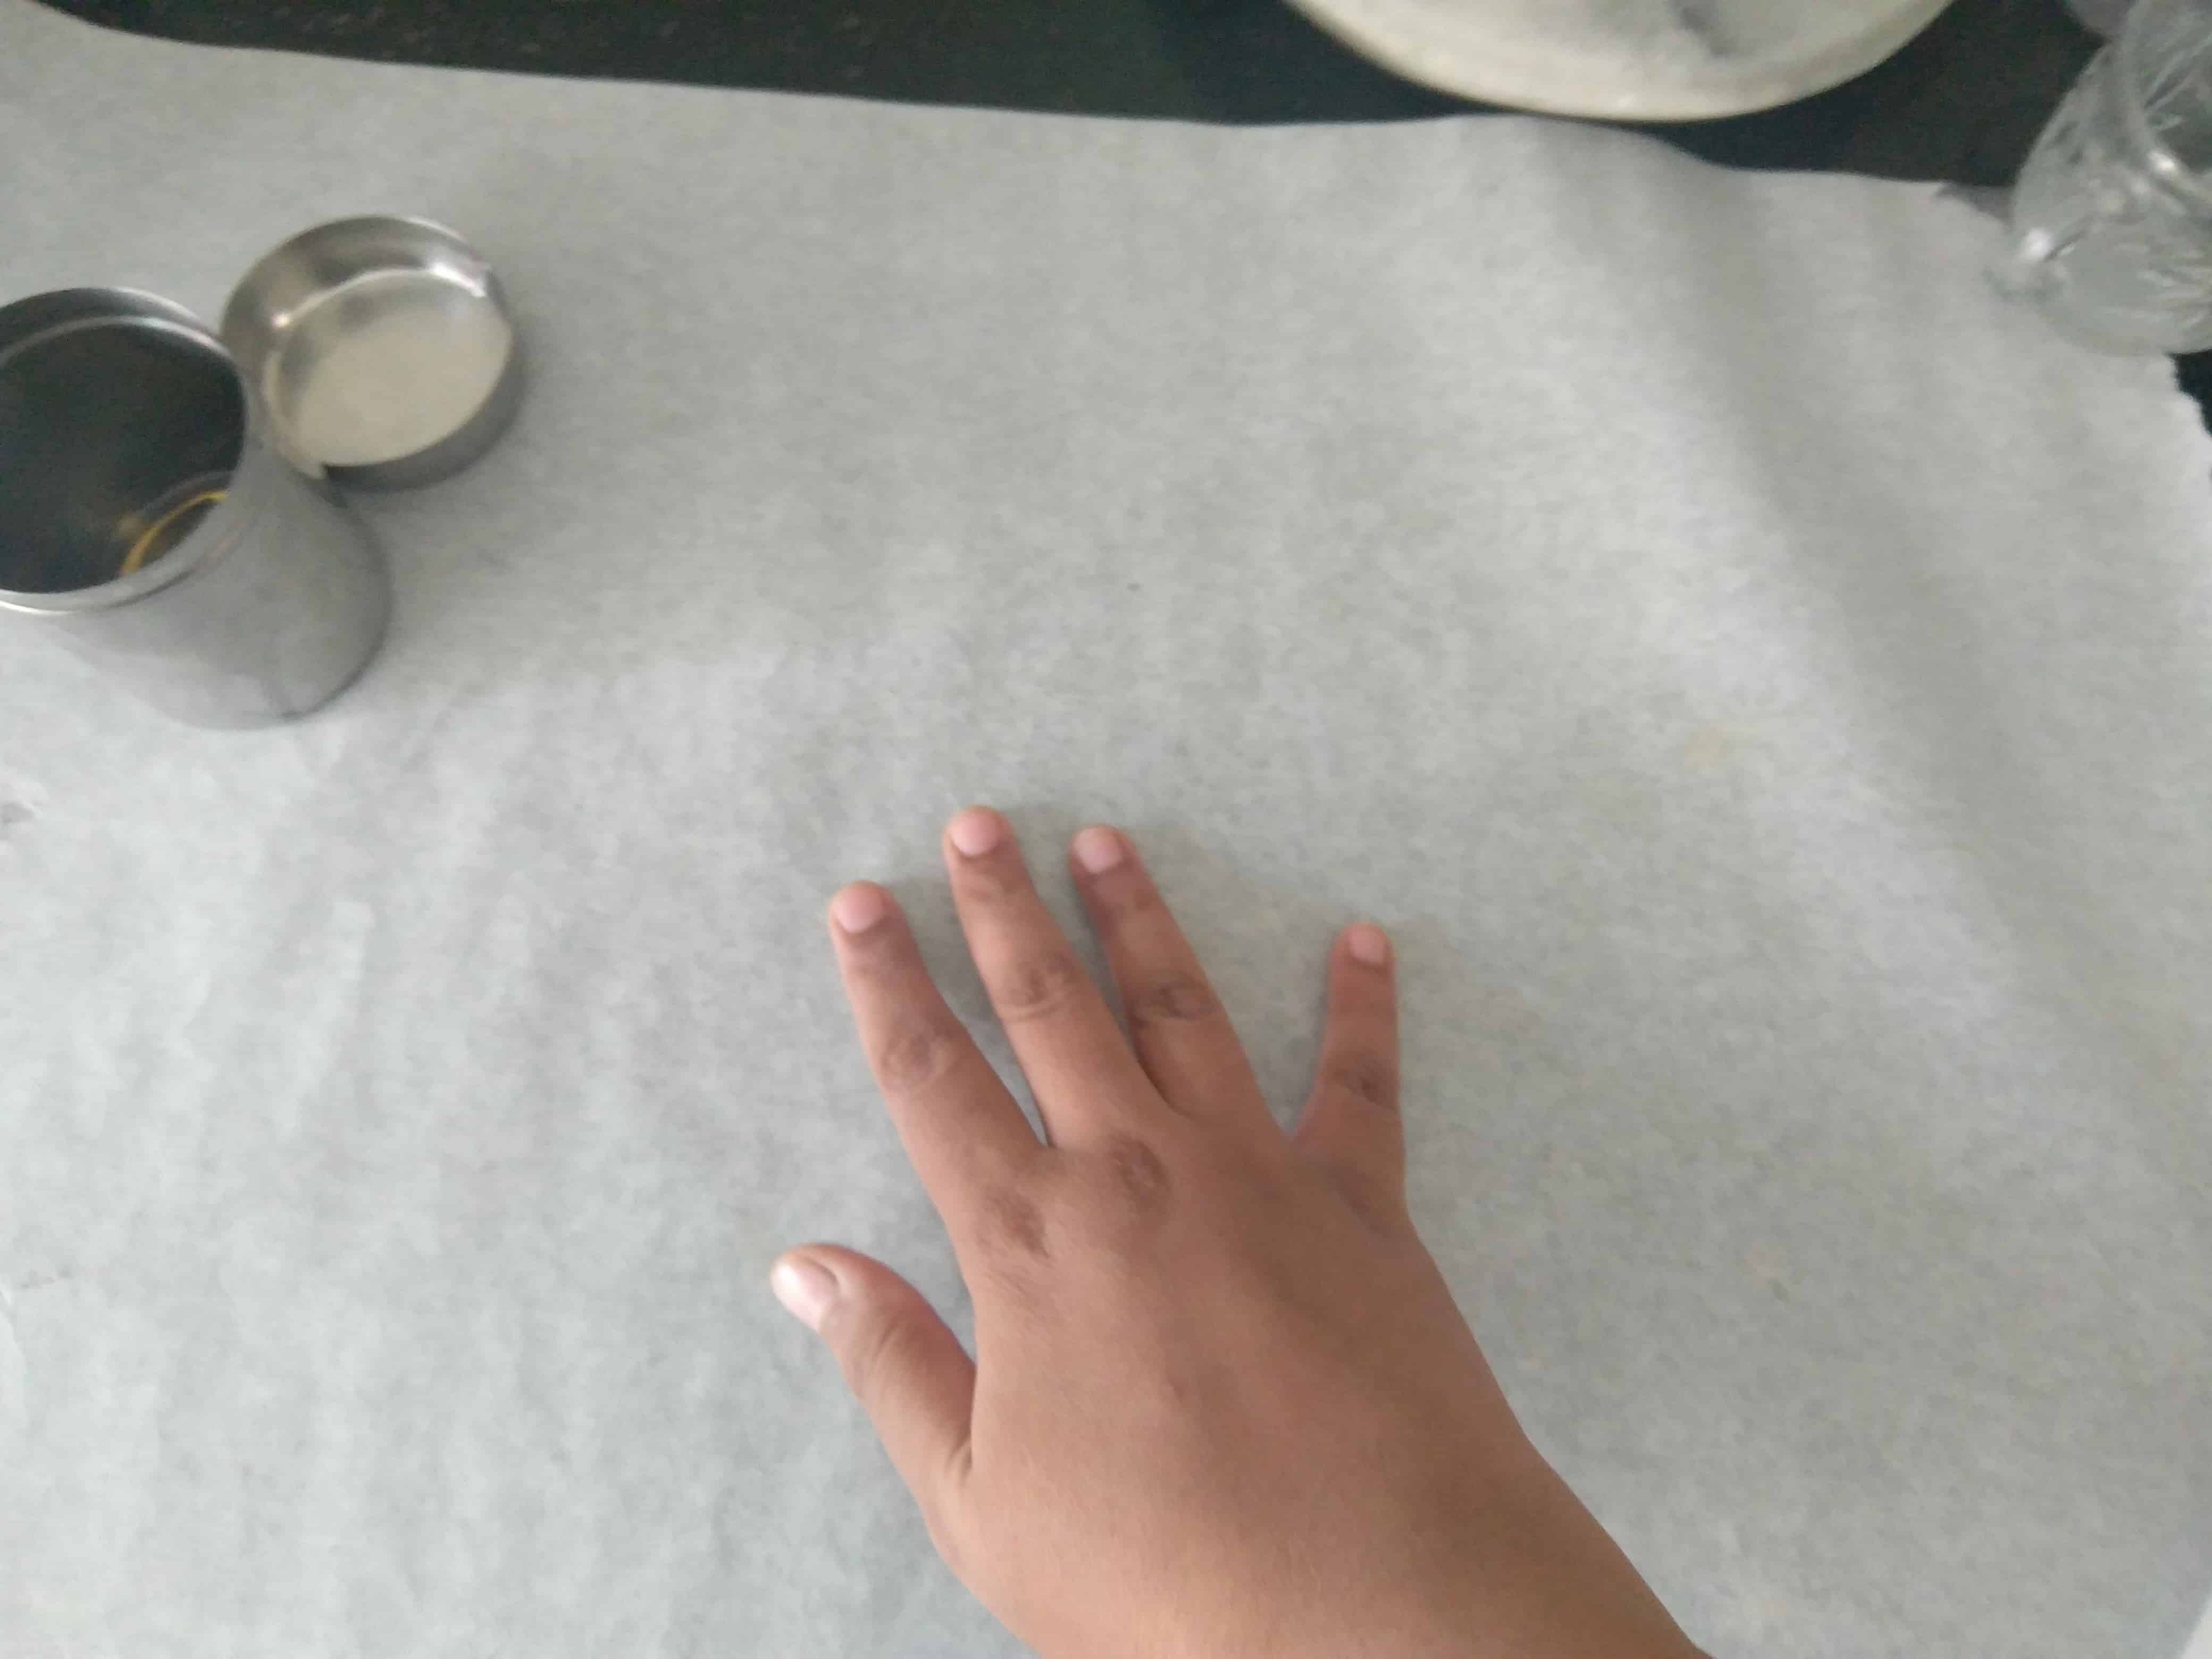
- After the dough has rested, make equal balls and pat them on a greased butter paper.
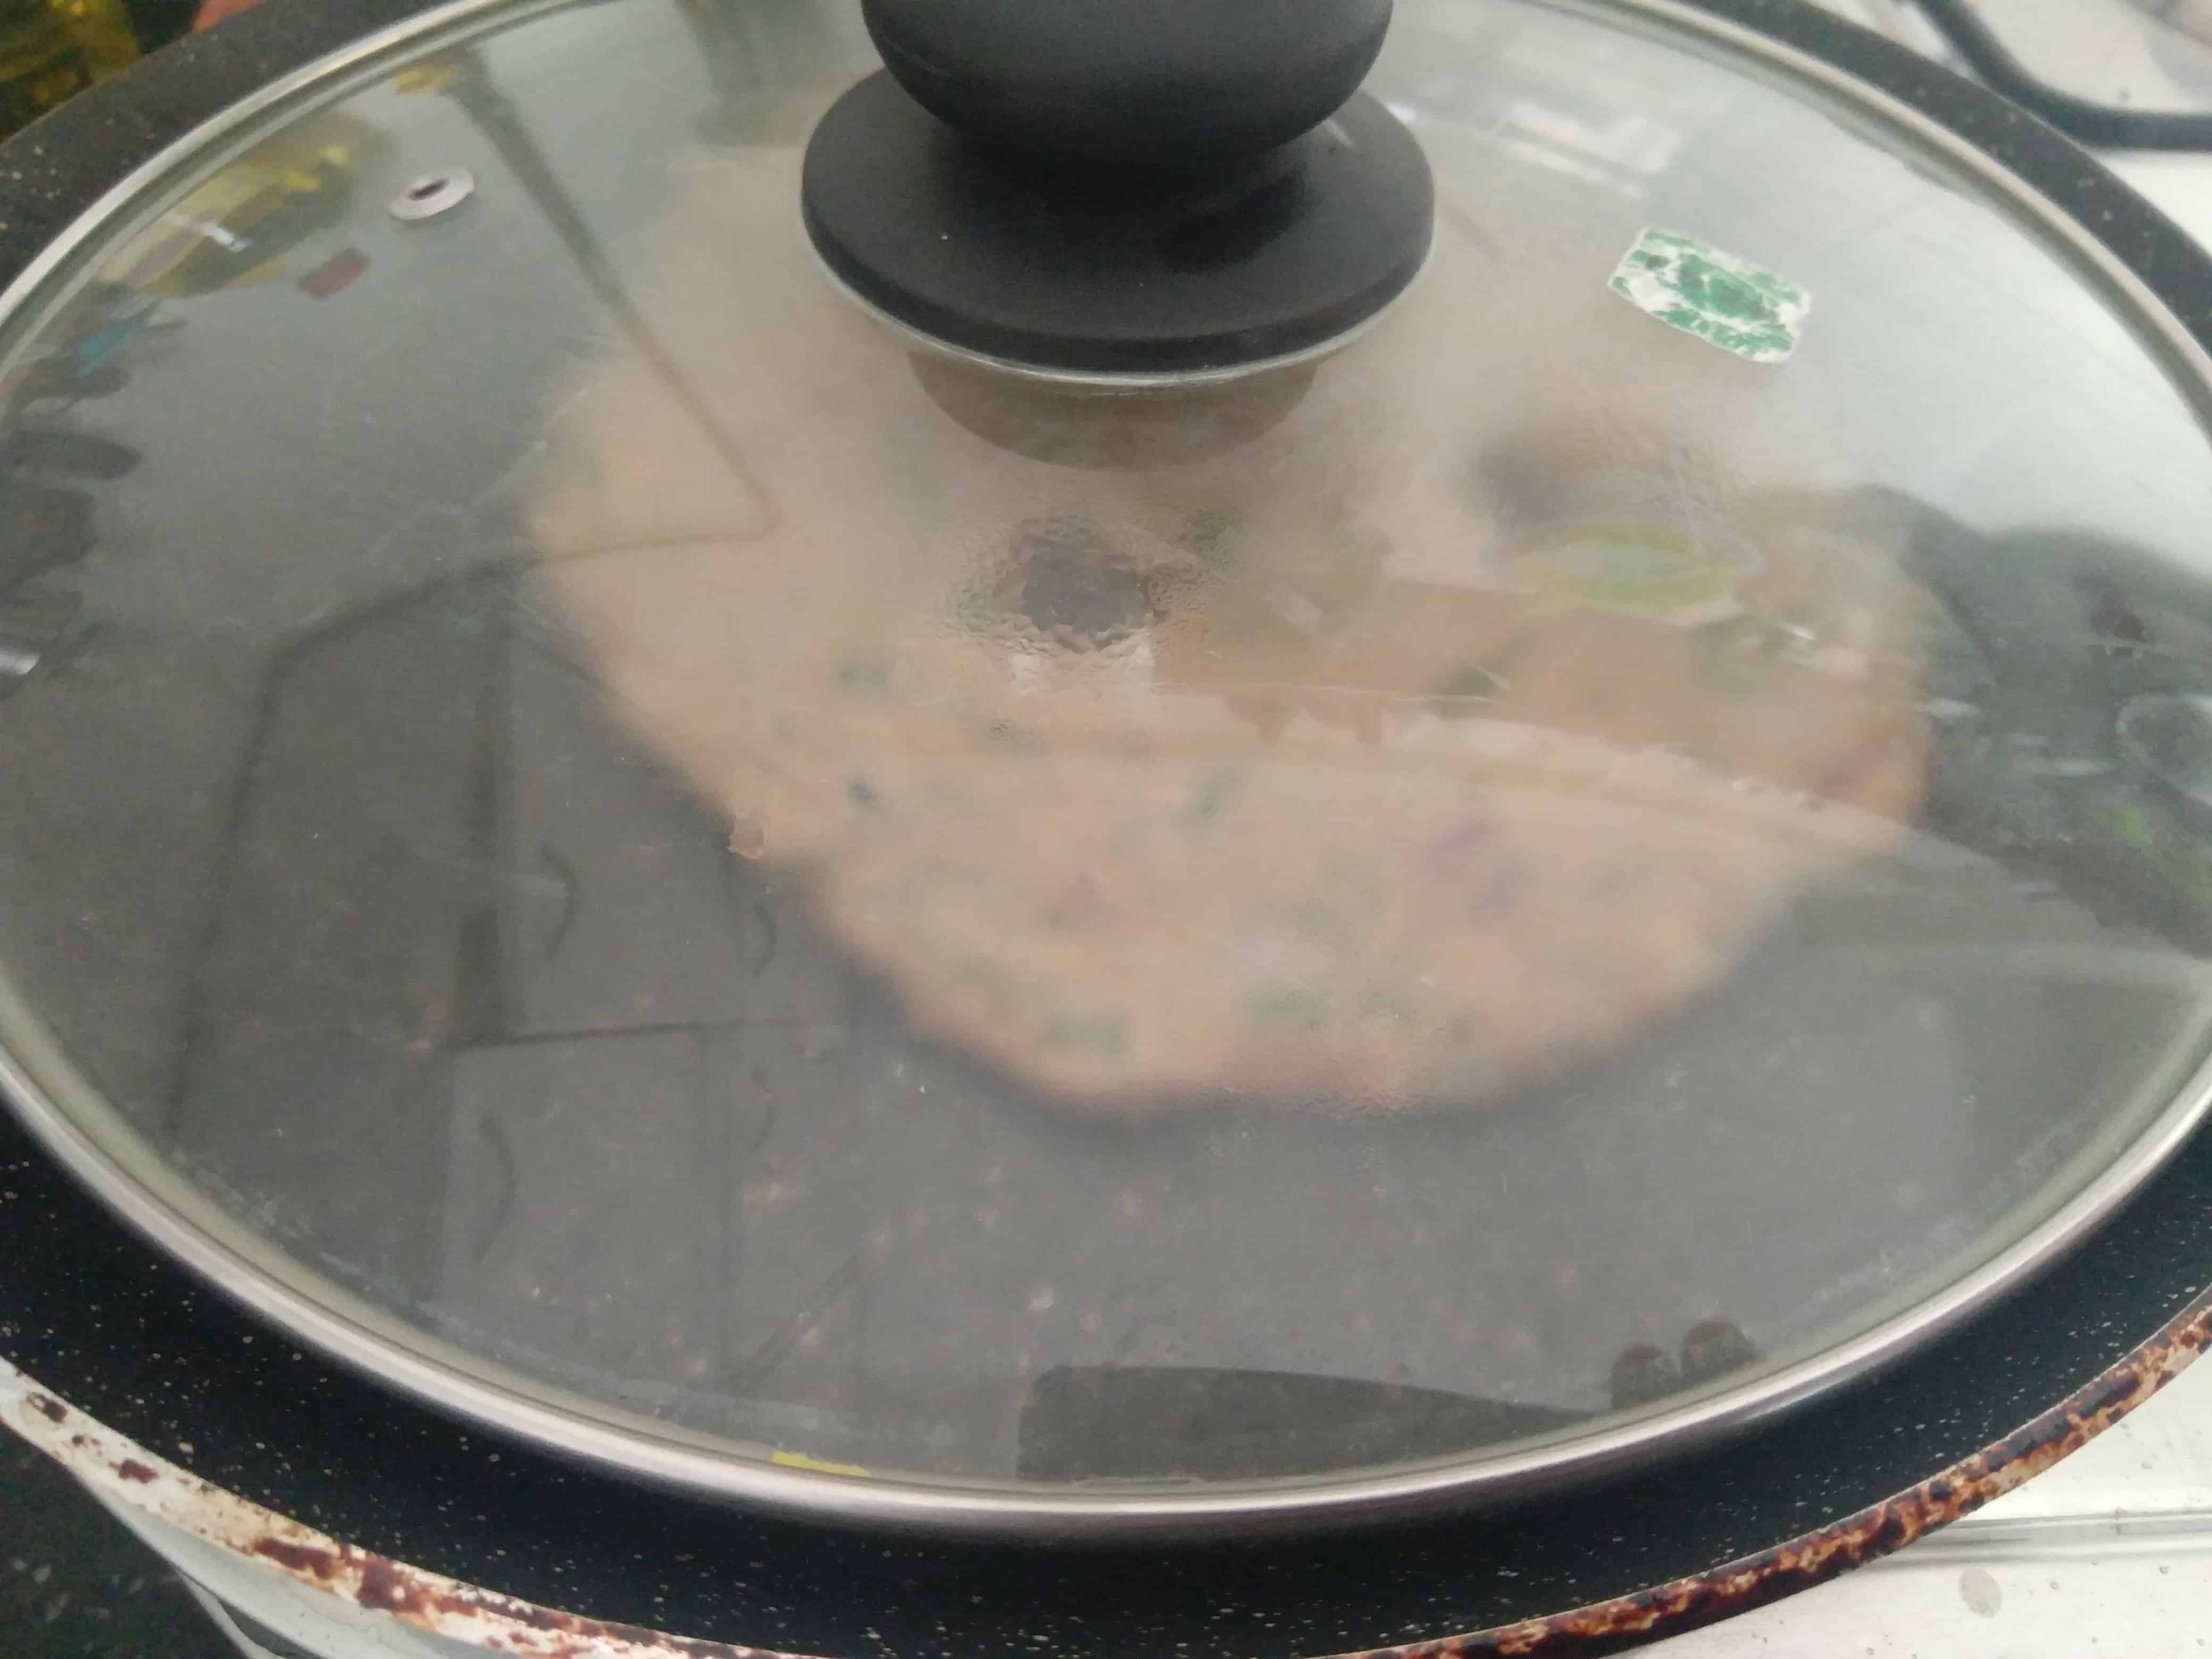
- Cook them on a hot griddle on low heat, covered, with few drops of oil drizzled on the sides and centre.
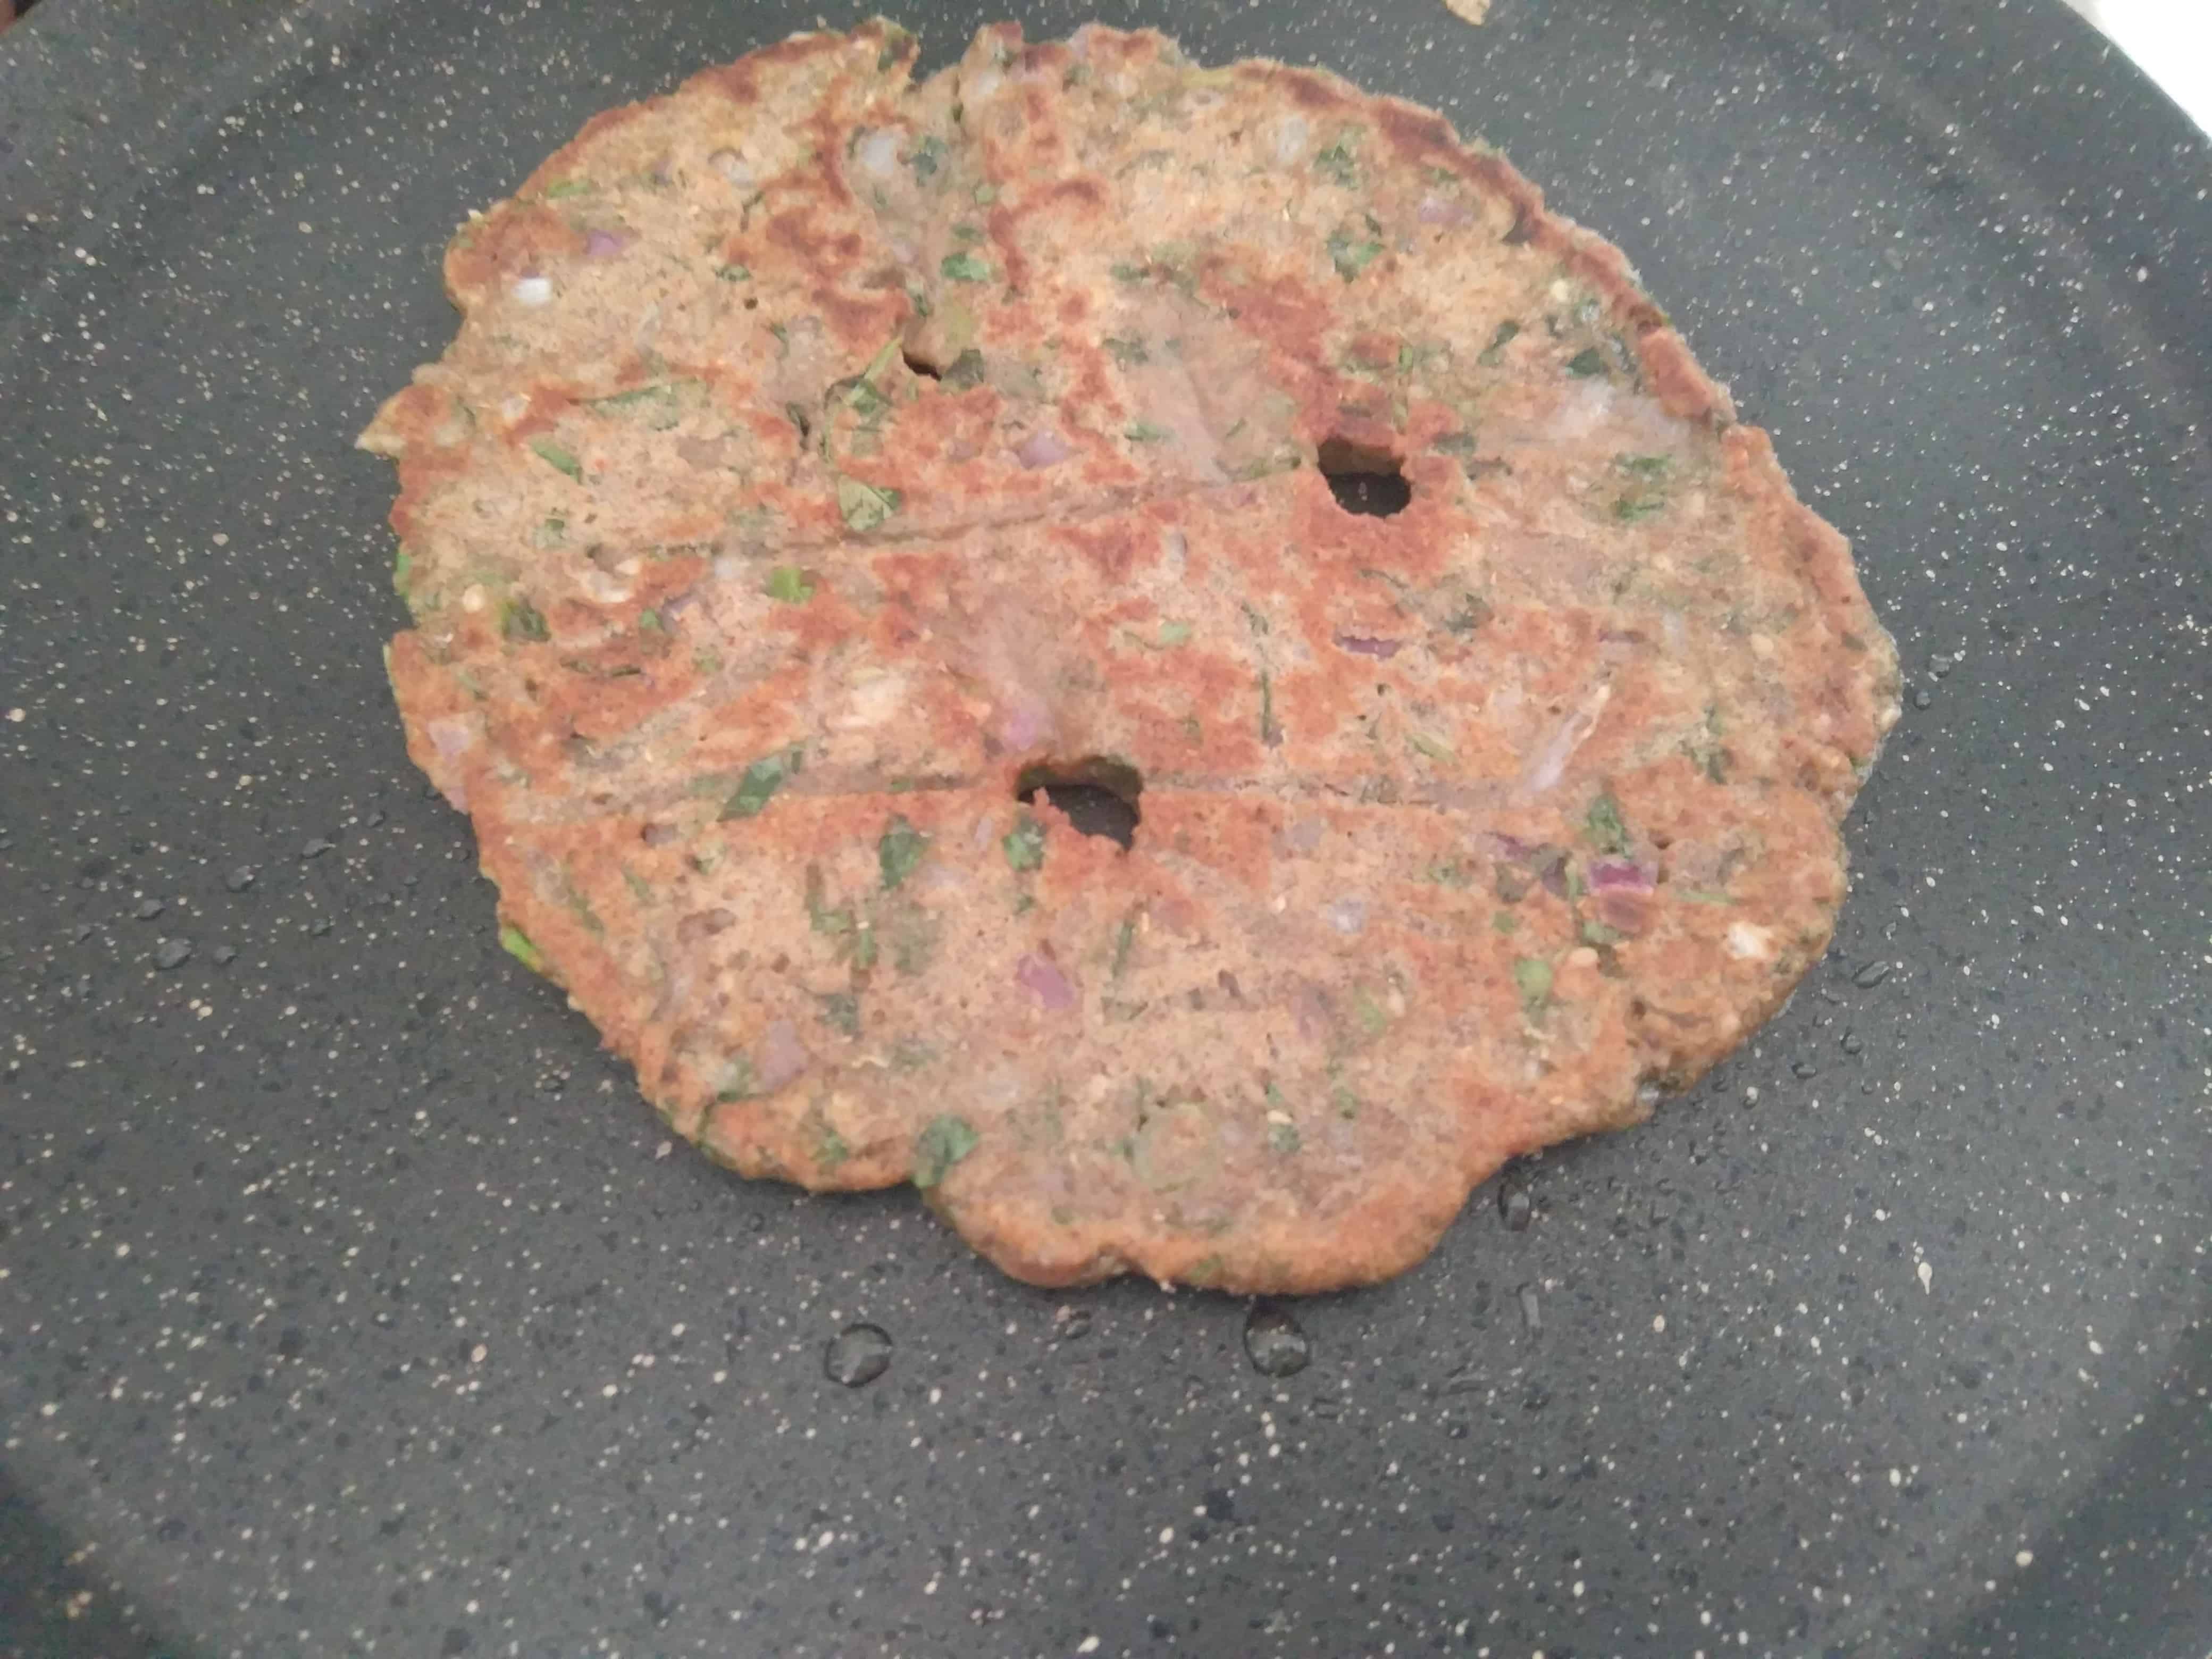
- Patiently cover and cook them on both sides over medium to low heat and serve piping hot with accompaniments of your choice.



Some Tips While Making Thalipeeth
- A greased butter paper or parchment paper works wonderfully to shape the thalipeeth.
- It is also comfortable to slowly separate the moist flatbread from the paper, place and cook over the hot griddle.
- Ensure you grease the butter paper or parchment paper with a drop of oil after shaping 2-3 thalipeeth.
- For beginners, I would recommend using 1/4 cup of wheat flour to the mix which will enable smooth shaping of the dough with hands. Once you have mastered the technique, feel free to add flours of your choice.
- Always cover and cook the thalipeeth. The holes in the centre of the flatbread allow you to pour drops of oil thereby enabling even cooking, especially in the centre.
- Unlike Roti dough, you cannot store the leftover dough in refrigerator. It tends to get soggy which makes shaping impossible. Try a small batch.
- Leftover thalipeeth or freezing thalipeeth is not a good idea. It tends to get hard as time passes. Enjoy Thalipeeth, piping hot!

Methi Thalipeeth (Methi Millet Flatbread)
Equipment
- Pan to Cook Thalipeeth
Ingredients
- 1 cup Jowar Aata or Sorghum Flour 1 cup is 250 ml measurement
- 1 cup Bajra or Pearl Millet Flour
- 1/4 cup Ragi or Finger Millet Flour
- 1/4 cup Besan or Gram Flour
- 1/4 cup Rice Flour or Chawal ka Aata / Arisi Maavu
- 1 cup Red Onions Finely chopped Use any variety of onions available
- 2 - 4 nos Green Chillies finely chopped Adjust according to spice tolerance
- 1/2 cup Finely chopped coriander leaves
- 1 cup Finely chopped Methi Leaves or Fenugreek leaves
- 1/2 tsp Turmeric powder or Haldi Powder
- 1 tsp Red Chilli powder or Lal Mirch
- 1 tbsp Sesame Seeds or Til
- 1 tbsp Coriander powder or Dhania powder
- 1/4 tsp Hing or Asafoetida Skip this ingredient for GF recipe
- 1 tsp Oil for the dough + as required to cook Thalipeeth Use peanut oil for authentic taste or any oil of your choice.
- Water as required to knead the dough
- Salt to taste
Instructions
- In a bowl, combine all the flours and add salt to taste.
- Now add the sesame seeds, methi leaves, turmeric, red chilli, hing, coriander leaves, coriander powder, onions and green chillies.
- Mix all the ingredients above and slowly add water to form a dough.
- Check for salt when it is partially forming a dough and add extra, if required, at that stage. Note — Do not add too much water as it gets very soggy making it
difficult to shape after the dough rests for 10 to 15 minutes - Once the dough has formed, add a tsp of oil and knead lightly. Allow it to rest for 15 to 20 minutes.
- After the dough has rested, make equal balls and pat them on a greased butter paper.
- Cook them on a hot griddle on low heat, covered, with few drops of oil drizzled on the sides and centre.
- Cover and patiently cook them on both sides over medium to low heat and serve piping hot with accompaniments of your choice.
Notes
- Pat and shape the thalipeeth only one at a time. It tends to stick and release moisture.
- Unlike rotis, it cannot be rolled and placed or stacked one above the other.
- A greased butter paper or parchment paper works wonderfully to shape the thalipeeth. It is also comfortable to slowly separate the moist flatbread from the paper, place and cook over the hot griddle.
- After shaping every 2 thalipeeths, grease the butter paper with a drop of oil and begin the process again.
- For beginners, I would recommend using 1/4 cup of wheat flour to the mix which will enable smooth shaping of the dough with hands. Once you have mastered the technique, feel free to add flours of your choice.
- Always cover and cook the thalipeeth. The holes in the centre of the flatbread allow you to pour drops of oil thereby enabling even cooking, especially in the centre.
- One cannot store this dough for the next day. It releases too much moisture making it difficult to shape. Make a small batch.
- Frozen thalipeeths don’t taste that delicious. They tend to get dry and hard as time passes. This is a make and immediately consume kind of breakfast or snack option.
If you try this at home, please give me a shout out / Tag Me on any of my social media handles.
- Twitter - https://twitter.com/masalachilli
- Facebook Page - https://www.facebook.com/MasalachillibyVidyaNarayan/
- Pinterest - https://in.pinterest.com/masalachilli
- Instagram https://www.instagram.com/masalachilli_vidyanarayan/
Vidya Narayan