


The Diwali recipe I share today is Ma’s absolute fool proof recipe to make delicious Ribbon Pakoda at home. Till today, this is my go-to recipe and my Diwali snack preparation always starts with Ribbon Pakoda, just like Ma used to, when we were kids.
Ribbon Pakoda is a savory spicy snack that resembles “ribbons” that are used for tying pigtails or pack gifts.Only difference is these Ribbon Pakodas are edible – Lol!
They are utterly delicious, crumble in your mouth (if you follow the tips below) and have a long shelf life. Sadly, I find it hard to resist when there is a stock of Ribbon Pakoda lying at home.
Ribbon Pakoda is also known as Ribbon Pakodam, Nada Pakoda, Ola Pakoda and Nada Thenkuzhal.
This is a popular tea time dry snack recipe that tastes best with Filter Coffee (yes down South, Coffee is our 4 pm friend).
There are countless recipes and proportions used to make Ribbon Pakoda. Some measurements vary (the ratio of Kadala Maavu or Besan to Arisi Maavu or Rice Flour). Some recipes call for adding pottukadalai powder for crispy pakoda while others call for butter.
Frankly, I haven’t changed a thing to this recipe that my mother followed and till date, I blindly follow the method. I guarantee, once you try this, it would be your go to recipe as well.
Tips to Make Crispy Ribbon Pakoda
- 2:1 Proportion of Flours (2 cups besan and 1 cup Rice flour, sieved twice for best results)
- For every cup of flour, 1 tblsp hot oil is added to the flours (secret to a crunchy ribbon pakoda)
- Crumbling the flours with the oil for atleast 5 minutes until the oil has incorporated in the flours. (this step is most important for crispy pakoda)
- Use Kashmiri Red Chilli powder for that red tinge.
My Paati (Maternal Grandmother) made mouthwatering savory snacks and sweets. She learnt it from her mother (my great grandmother) who was an excellent cook (I have heard countless times from my mother). My sister still remembers fondly of all the snacks she ate as a kid, made by Paati. Now you know the secret of the amazing cooking genes in me. Haha!
Before I begin sharing the step by step recipe, let me advise you that always try a small batch at home, especially when you are trying this for the first time. You can save a lot on time, effort and cost of ingredients.
Also, if everything goes South, add water, make a batter, chop some onions or methi greens and fry some pakodas for real! Zero Wastage!
Ribbon Pakoda Recipe with Step By Step Images
In a big wide bowl, Sieve the Rice flour, chickpea flour / besan together and discard impurities to ensure smooth dough. For best results - Sieve twice.
Now add sesame seeds, salt, red chilli powder, hing and the hot oil.

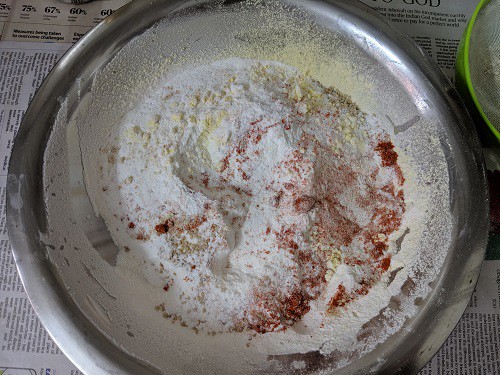
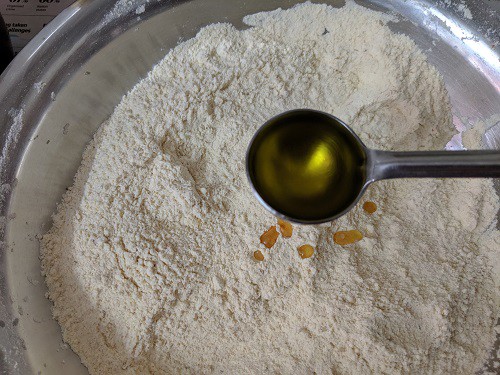
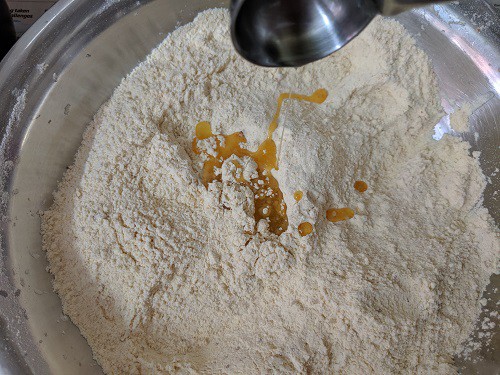
Crumble this dry mixture with your hands until the oil spreads evenly. Recommend doing this for atleast 5 minutes which results in crispy and crunchy ribbon pakodas.
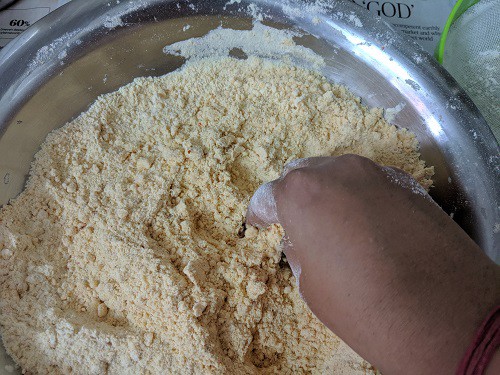
Once the crumbs are ready, slowly incorporate water and knead the dough.
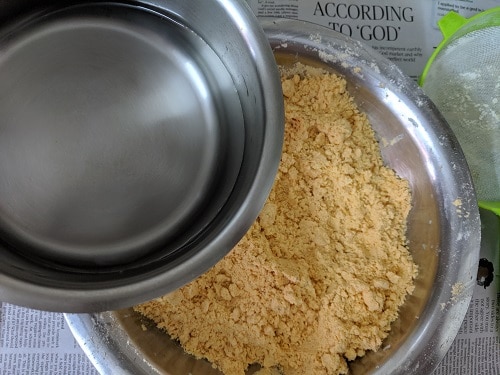
The dough should be soft to touch. In the meanwhile, heat some oil on the gas stove.
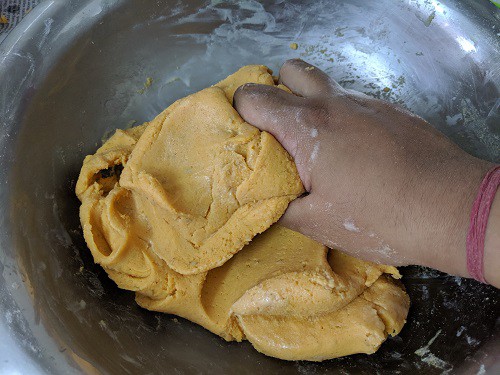
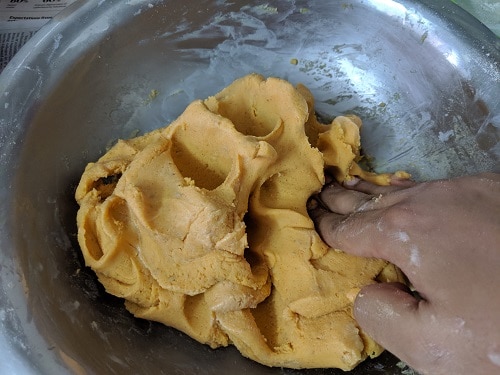
Grease the ribbon pakoda mould with some oil and fit the ribbon pakoda plate.
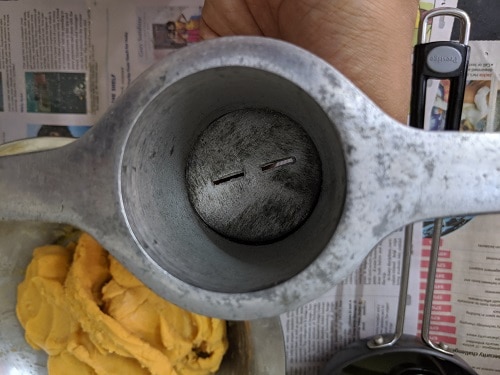
Fill the mould with a small portion of dough and close it. Now press this over the hot oil in a circular motion.
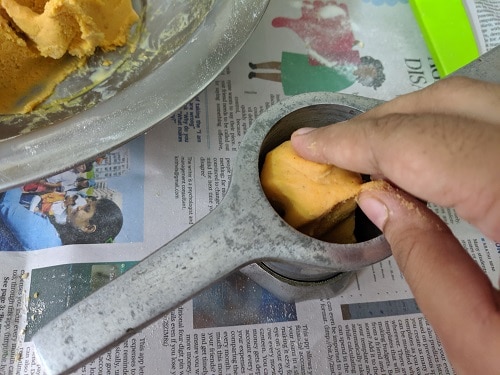
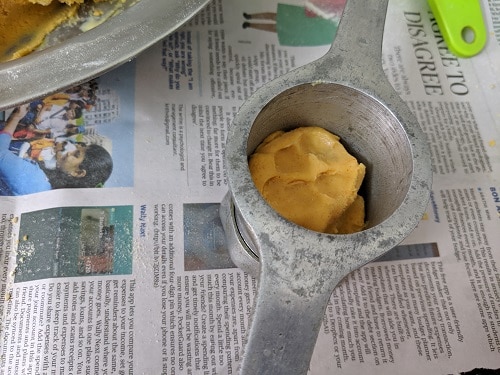
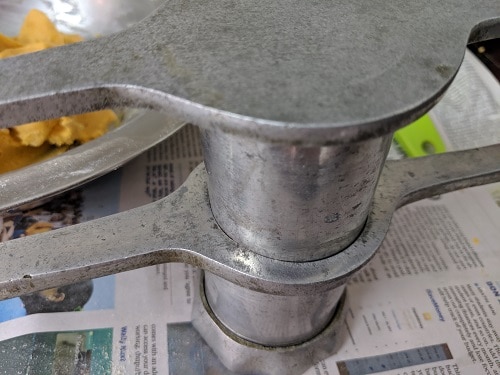
Allow it to cook on medium to low heat. If your dough is of the right consistency, the pakodas will be light and float on top within 5 seconds of dropping it in the oil.
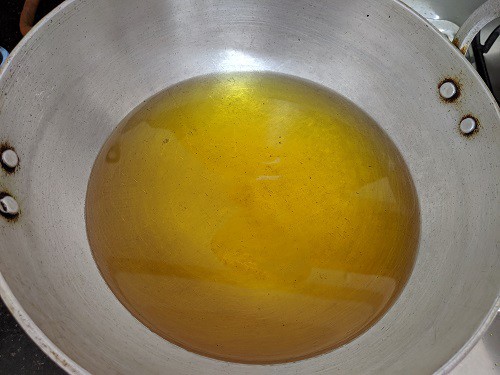
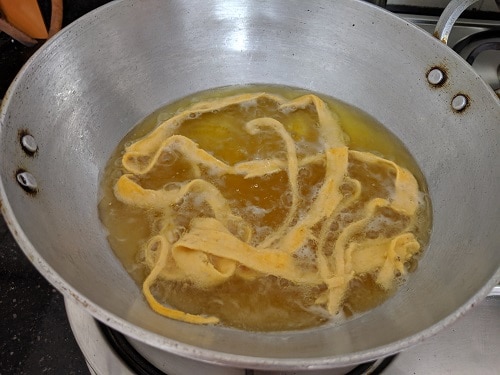
While making ribbon pakodas ensure the oil is just hot and does not smoke else it the pakodas will turn brown too fast and stay uncooked and lumpy.
Drain the excess oil on a kitchen towel and transfer it to an airtight container, once cooled slightly.
Stays good for a month

Ribbon Pakoda
Ingredients
- 2 cups Besan, Kadala Maavu or Chickpea flour 1 cup is 250 ml measurement
- 1 cup Rice Flour or Arisi Maavu
- 2 tsp White Sesame Seeds or Ellu
- 1/2 tsp Hing or Asafoetida
- 3 tbsp Hot Sesame Oil
- 1 tbsp Red Chilli powder Use Kashmiri Red Chillies for the colour
- Salt to taste
- Oil as required for deep frying
- Water as required to knead the dough
Instructions
- In a big wide bowl, Sieve the Rice flour, chickpea flour / besan together and discard impurities to ensure smooth dough. For best results - Sieve twice.
- Now add sesame seeds, salt, red chilli powder, hing and the hot oil.
- Crumble this dry mixture with your hands until the oil spreads evenly. Recommend doing this for atleast 5 minutes which results in crispy and crunchy ribbon pakodas
- Once the crumbs are ready, slowly incorporate water and knead the dough. The dough should be soft to touch.
- In the meanwhile, heat some oil in a kadhai.
- Grease the ribbon pakoda mould or press with some oil and fit the ribbon pakoda plate
- Fill the mould with a small portion of dough and close it. Now press this over the hot oil in a circular motion.
- Allow it to cook on medium to low heat. If your dough is of the right consistency, the pakodas will be light and float on top within 5 seconds of dropping it in the oil
- While making ribbon pakodas ensure the oil is just hot and does not smoke else it the pakodas will turn brown too fast and stay uncooked and lumpy.
- Drain the excess oil on a kitchen towel and transfer it to an airtight container, once cooled slightly.
Notes
- Don’t overcrowd the oil when making ribbon pakodas. Do a small batch and wait for it to cook completely. Else it wont result in crispy pakodas and it will also be under cooked in most parts.
- Ensure you add the 3 tblsp of oil in the rice flour and besan mixture. It leads to crispy pakodas. You may add melted butter too but I prefer adding oil.
- Never make a big batch of pakoda batter. It tends to get dry which will lead to breaking of the pakodas in the oil.
- If your batter for some reason has turned a bit dry, sprinkle some water, knead the dough again for some 2 minutes and then start again. PS – Go easy with the sprinkling of water as excess water will damage the consistency.
- Shelf life is 1 month. However, I guarantee it won't last until then.
- I have used vegetable oil for frying and Sesame oil for adding in the dough (hot oil).
- Use any cup, bowl or glass for this recipe.
- I usually use a steel glass and then use the same for measuring both flours. The quantity or ribbon pakoda would vary depending on the glass used for measuring the flours.
Some other Traditional South Indian Diwali Recipes on the blog
This recipe first appeared in 2017 and has been updated with Step wise instructions, a recipe card tips and notes to make Perfect Ribbon Pakoda at home for Diwali.
Hope you enjoy this recipe and the festivities with family and friends. Wishing all my readers a Happy Diwali.
Loving the Recipes shared by us? Planning to try this at home?
Do give us a shout out or tag us when you post a recipe on any of our social media handles – INSTAGRAM, TWITTER, FACEBOOK PAGE AND PINTEREST.
You can also subscribe to our website to receive all the delicious recipes in your mail box.
Would be really happy to receive your feedback.
Thank you for visiting
Vidya Narayan