
One of the most loved South Indian Dessert that is a must for every festive occasion.
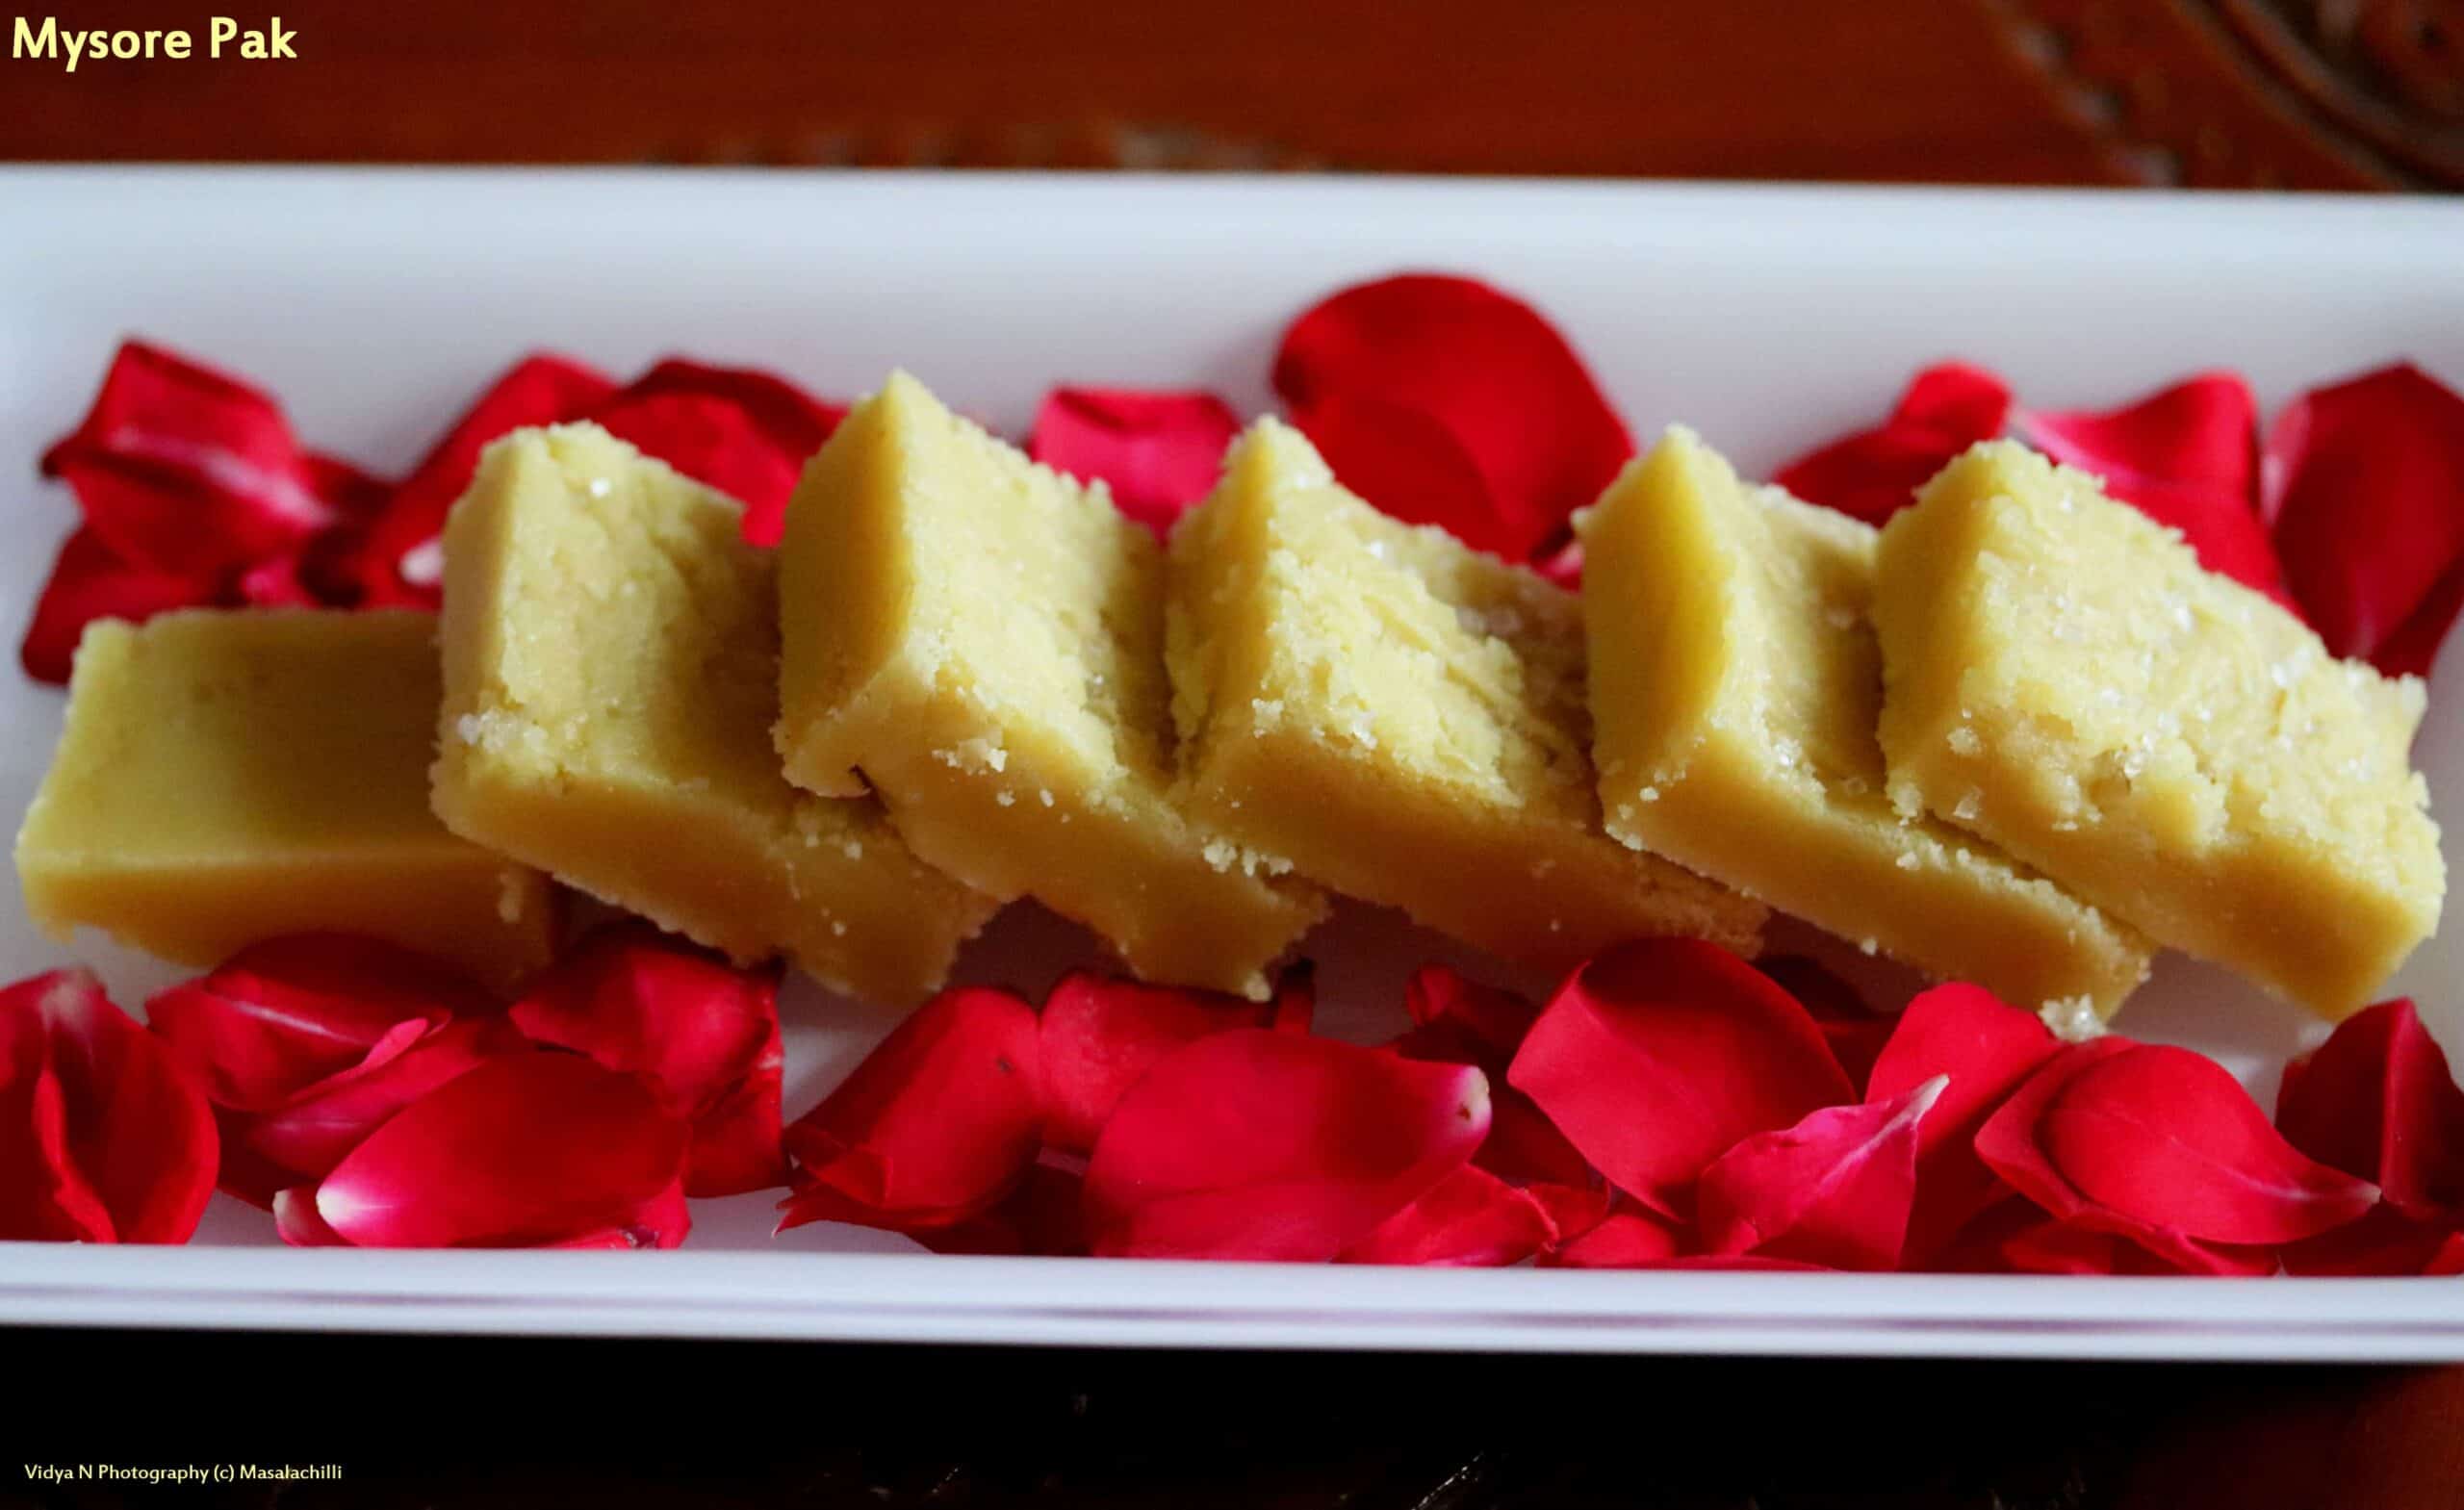
Mysore Pak holds a special Diwali memory for Narayan (my husband). Apparently, my mother in law made the best (read melt in mouth) Mysore Pak and that too in large quantities to be distributed amongst friends and neighbours. So, no doubt, this is one of Narayan’s favourite sweets (right next to Theratipal aka milk based south indian sweet). I don’t make theratipal at home (wonder why) but ensure I make Mysore pak every year to make my husband happy and hear the words “Amma oru nyabagam vandu du” translated as “Remembering my Mom”.
Diwali also brings us some sad memories, one being, Narayan lost his father at an early age on the day of Diwali. So he hasn’t really been celebrating the festival with great enthusiasm. However, we carry on with the tradition of lighting lamps, distributing sweets etc as life does go on.
Life is all about living in the moment, so celebrate festivals, spend time with loved ones as much as possible, be off gadgets for a few days in a year, go visit someplace you haven’t seen, eat something you haven’t tasted etc as moments don’t last forever and so do people! Cherish what you have!
Happy Diwali everyone. The detailed recipe is given below & this time with the step by step pics too for convenience.

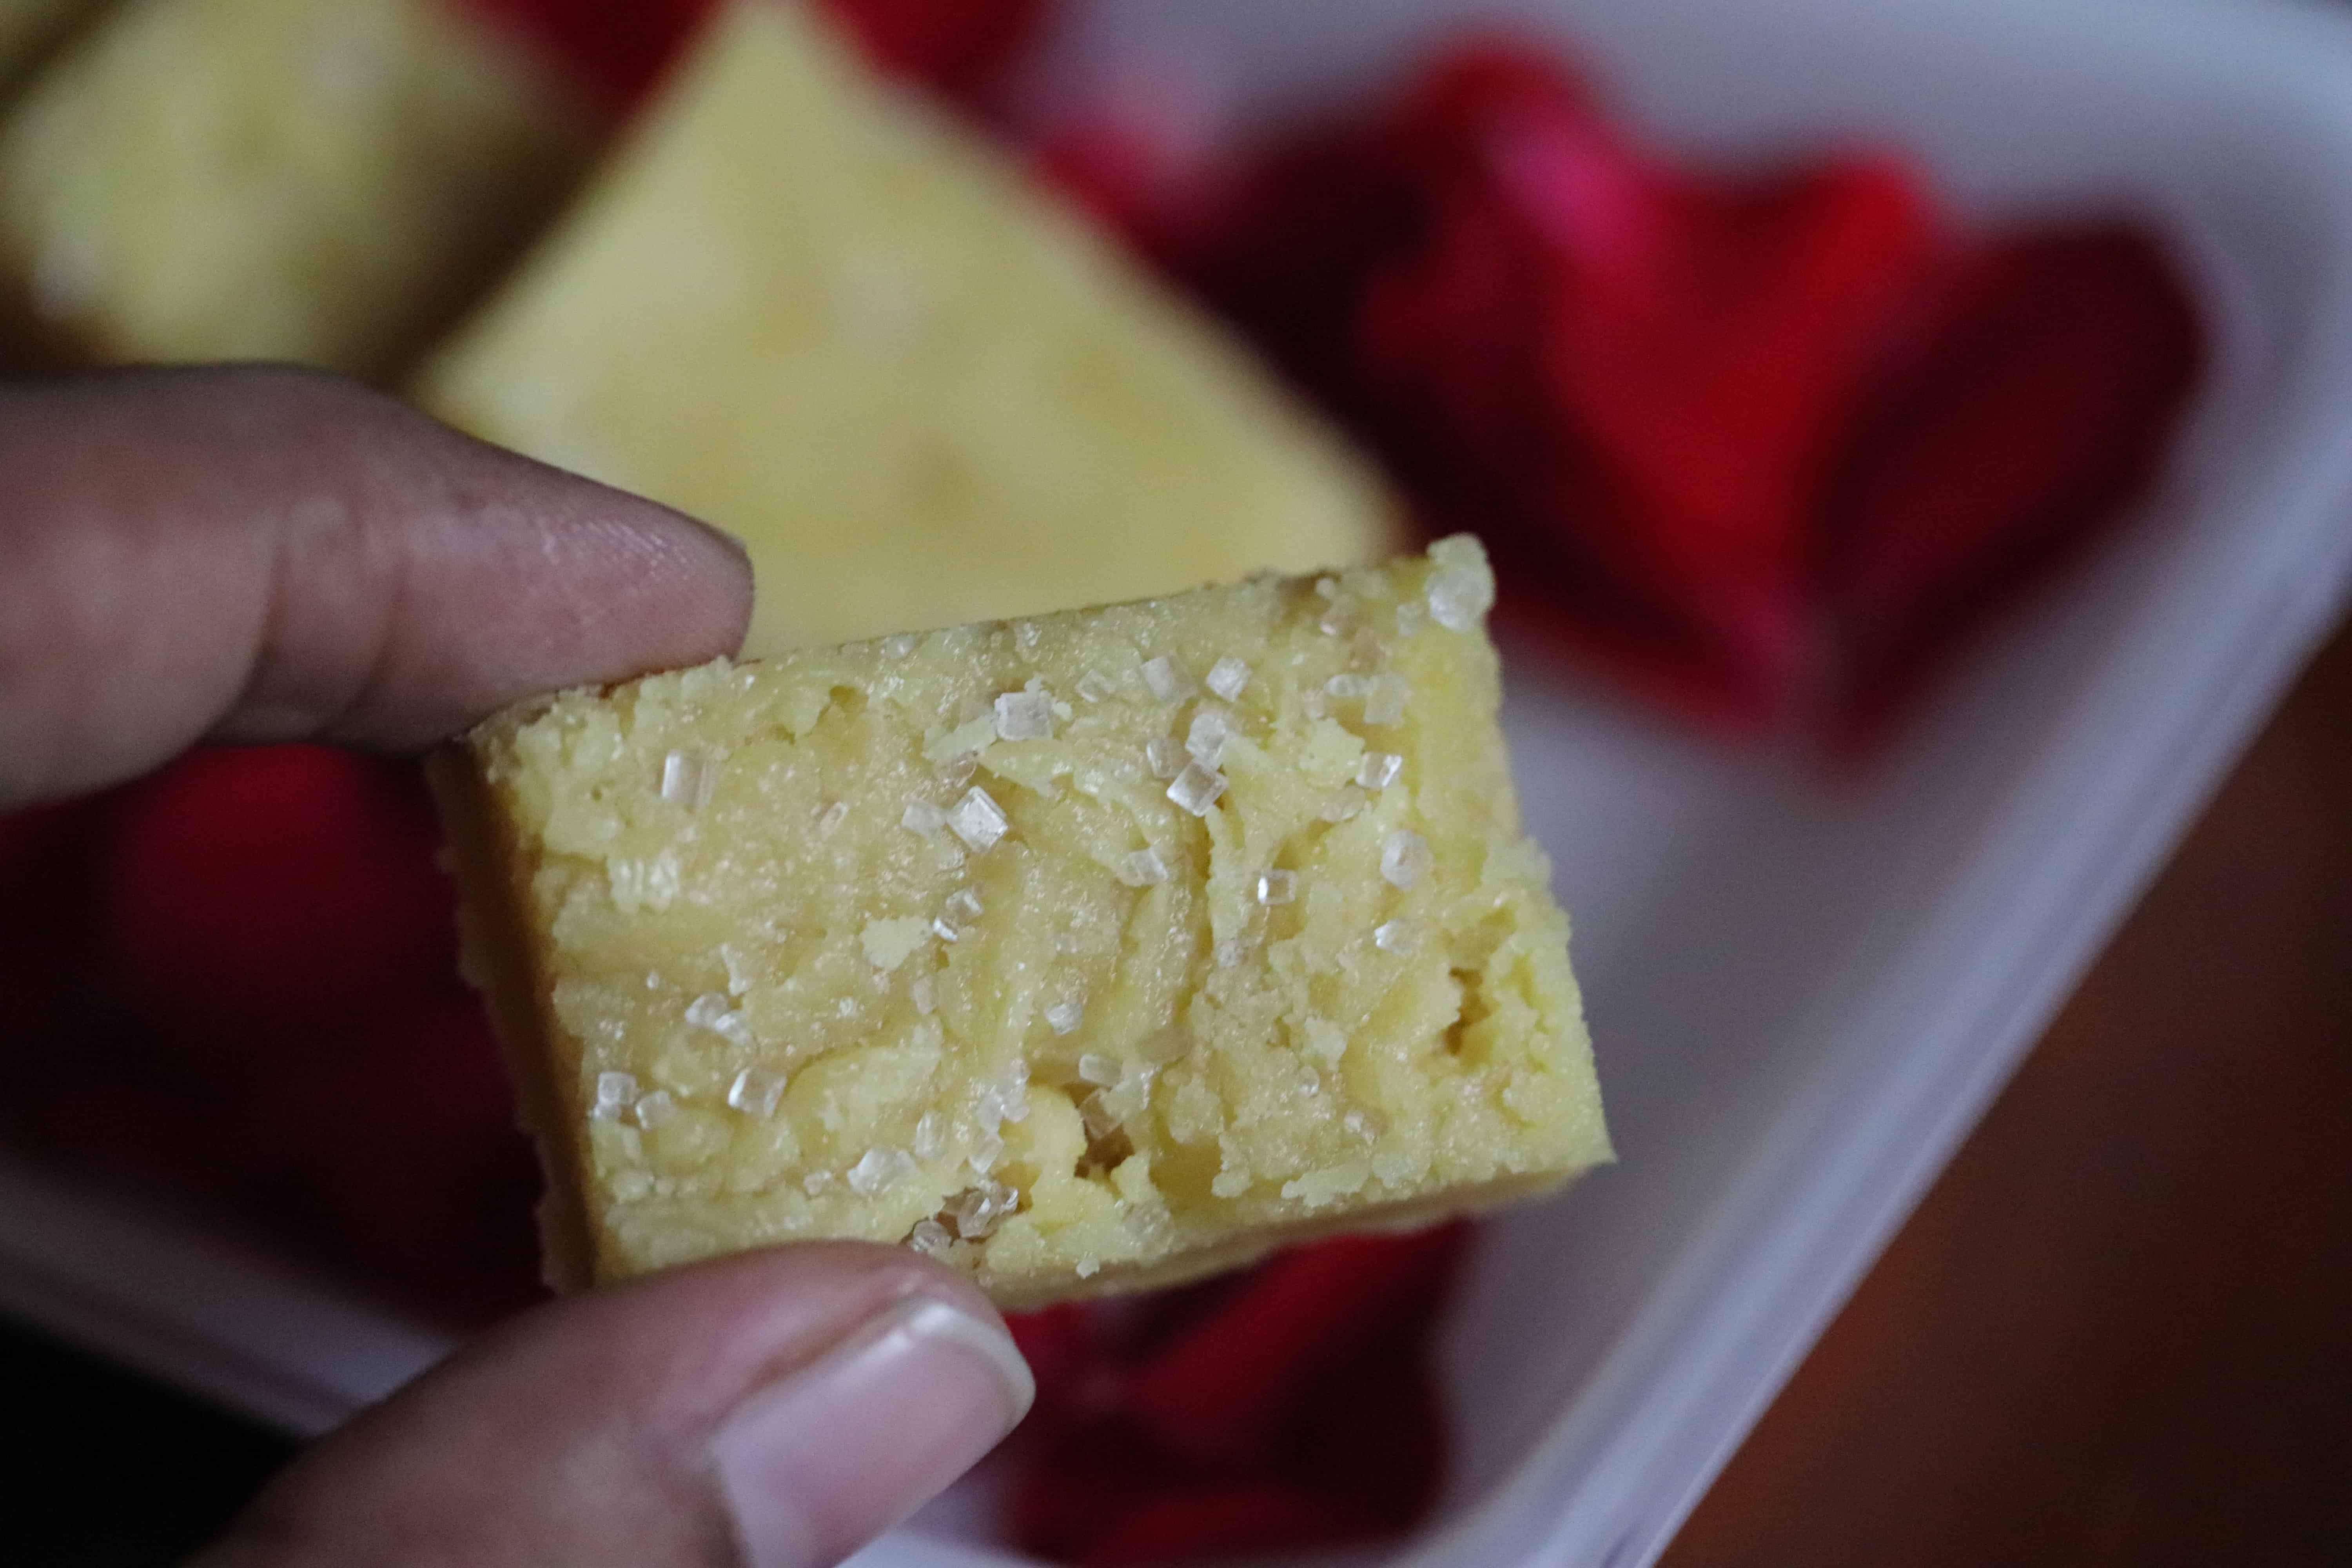
Mysore Pak (Shree Krishna Sweets Style Mysore Pak)
Preparation time – 10 minutes
Cooking time – 30 odd minutes
Ingredients
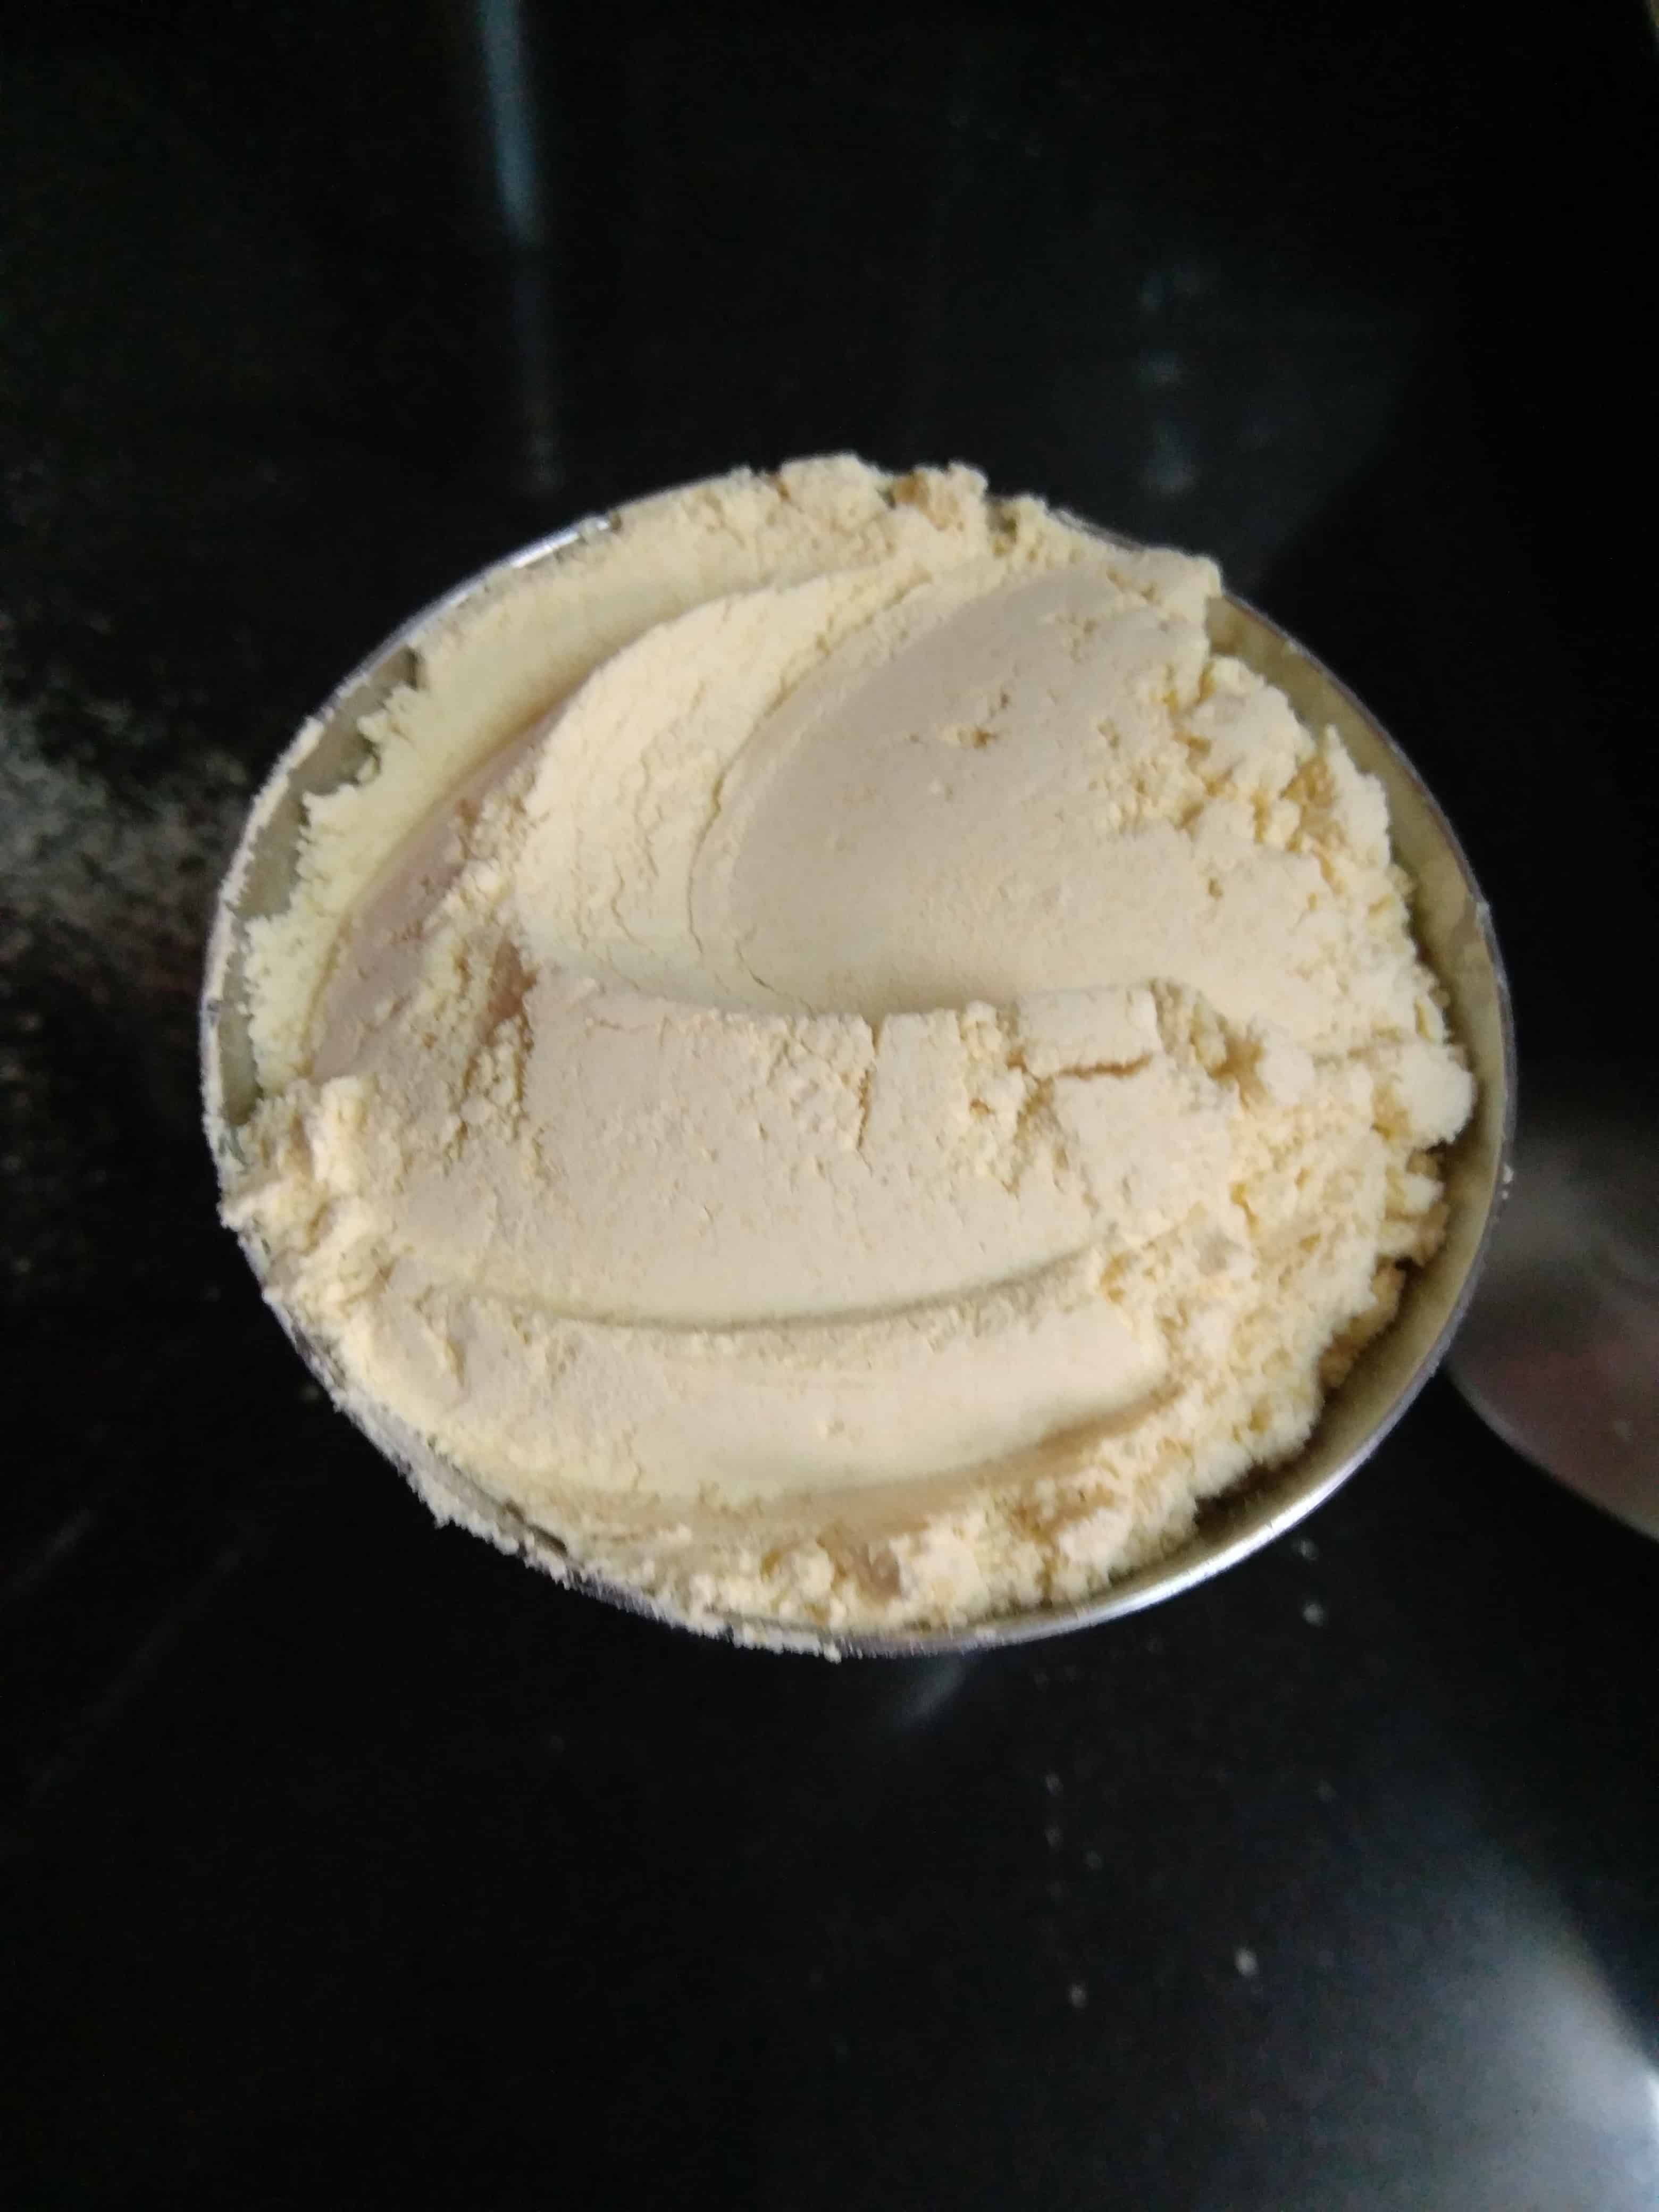
- Chickpea flour / Besan – 1 cup
- Sugar – 1.5 cups + 1 tsp for sprinkling (optional)
- Water – 1 cup
- Ghee or Clarified Butter – 1.5 cups + 1 tsp to grease a thali or aluminium tray
Method
- Before beginning the mysore pak process, melt ghee or clarified butter, measure and keep aside.
- Sieve the Besan or chickpea flour, measure and keep aside. Sieving the besan or chickpea flour ensures there are no lumps in the mysore pak while stirring. It has to have a smooth consistency so when you bite it, you don’t feel the uncooked lumps of flour in your mouth.
- Grease a thali or plate or an aluminium tray with a tsp of ghee or clarified butter.
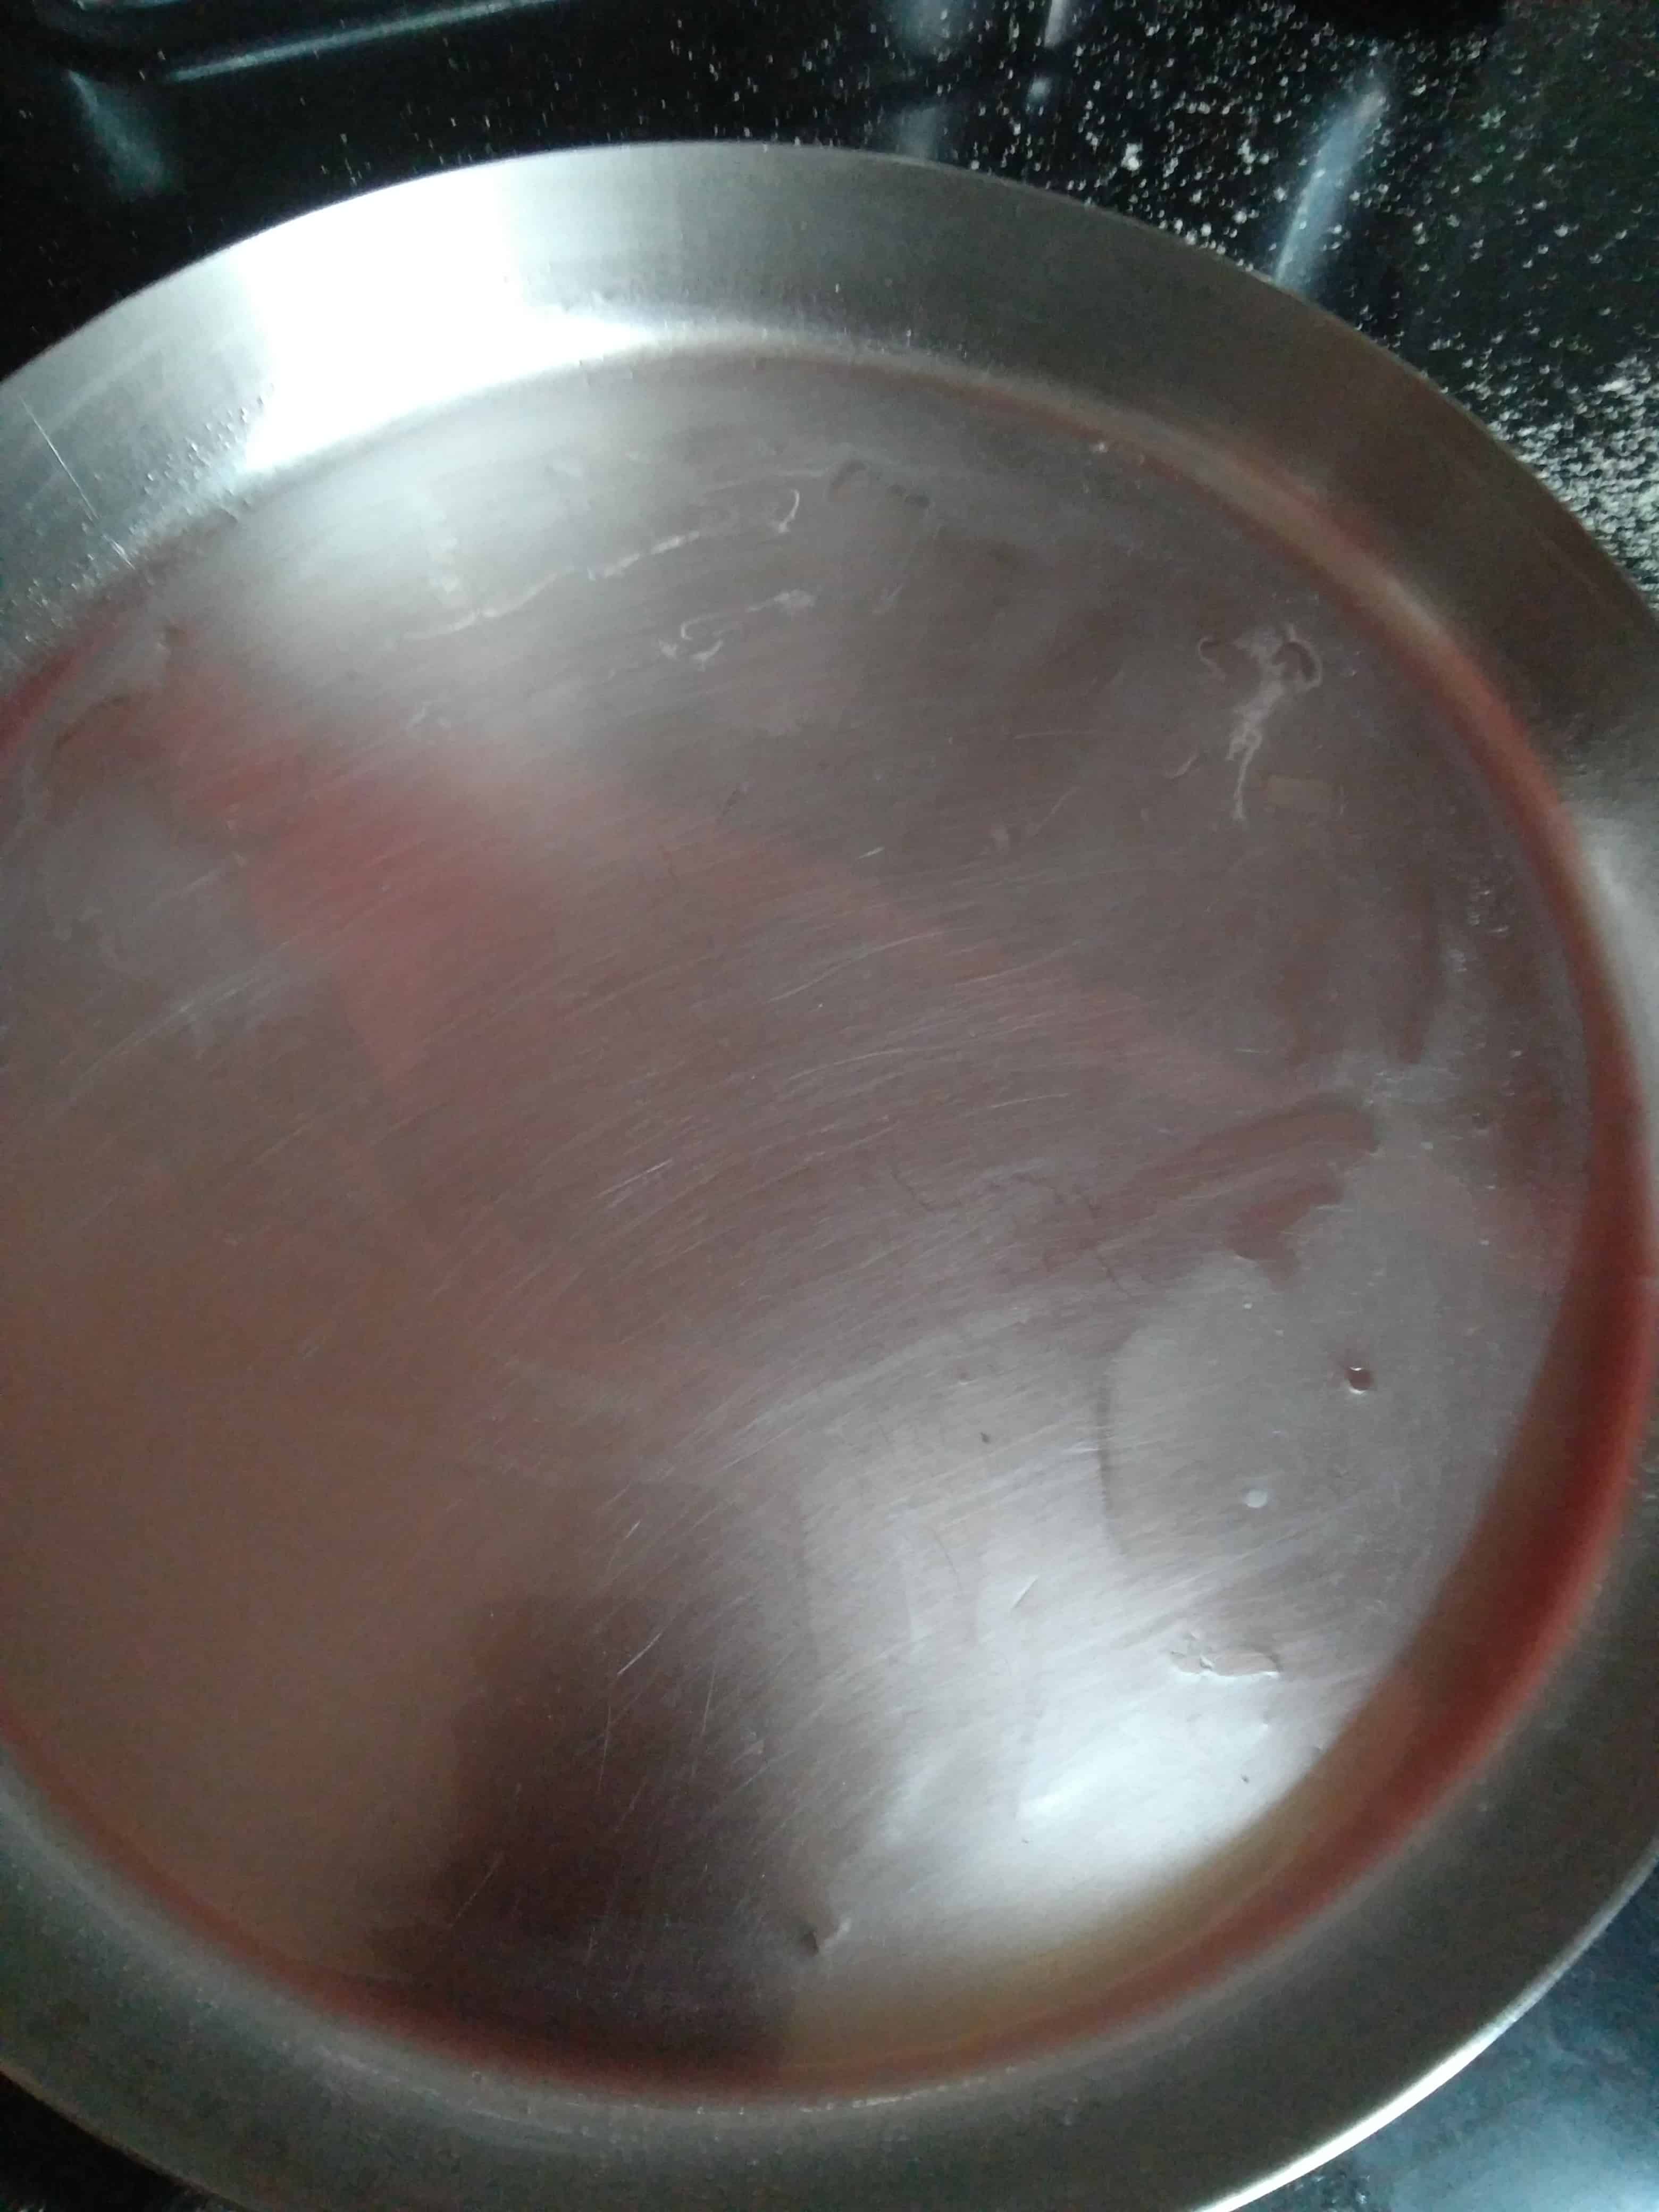
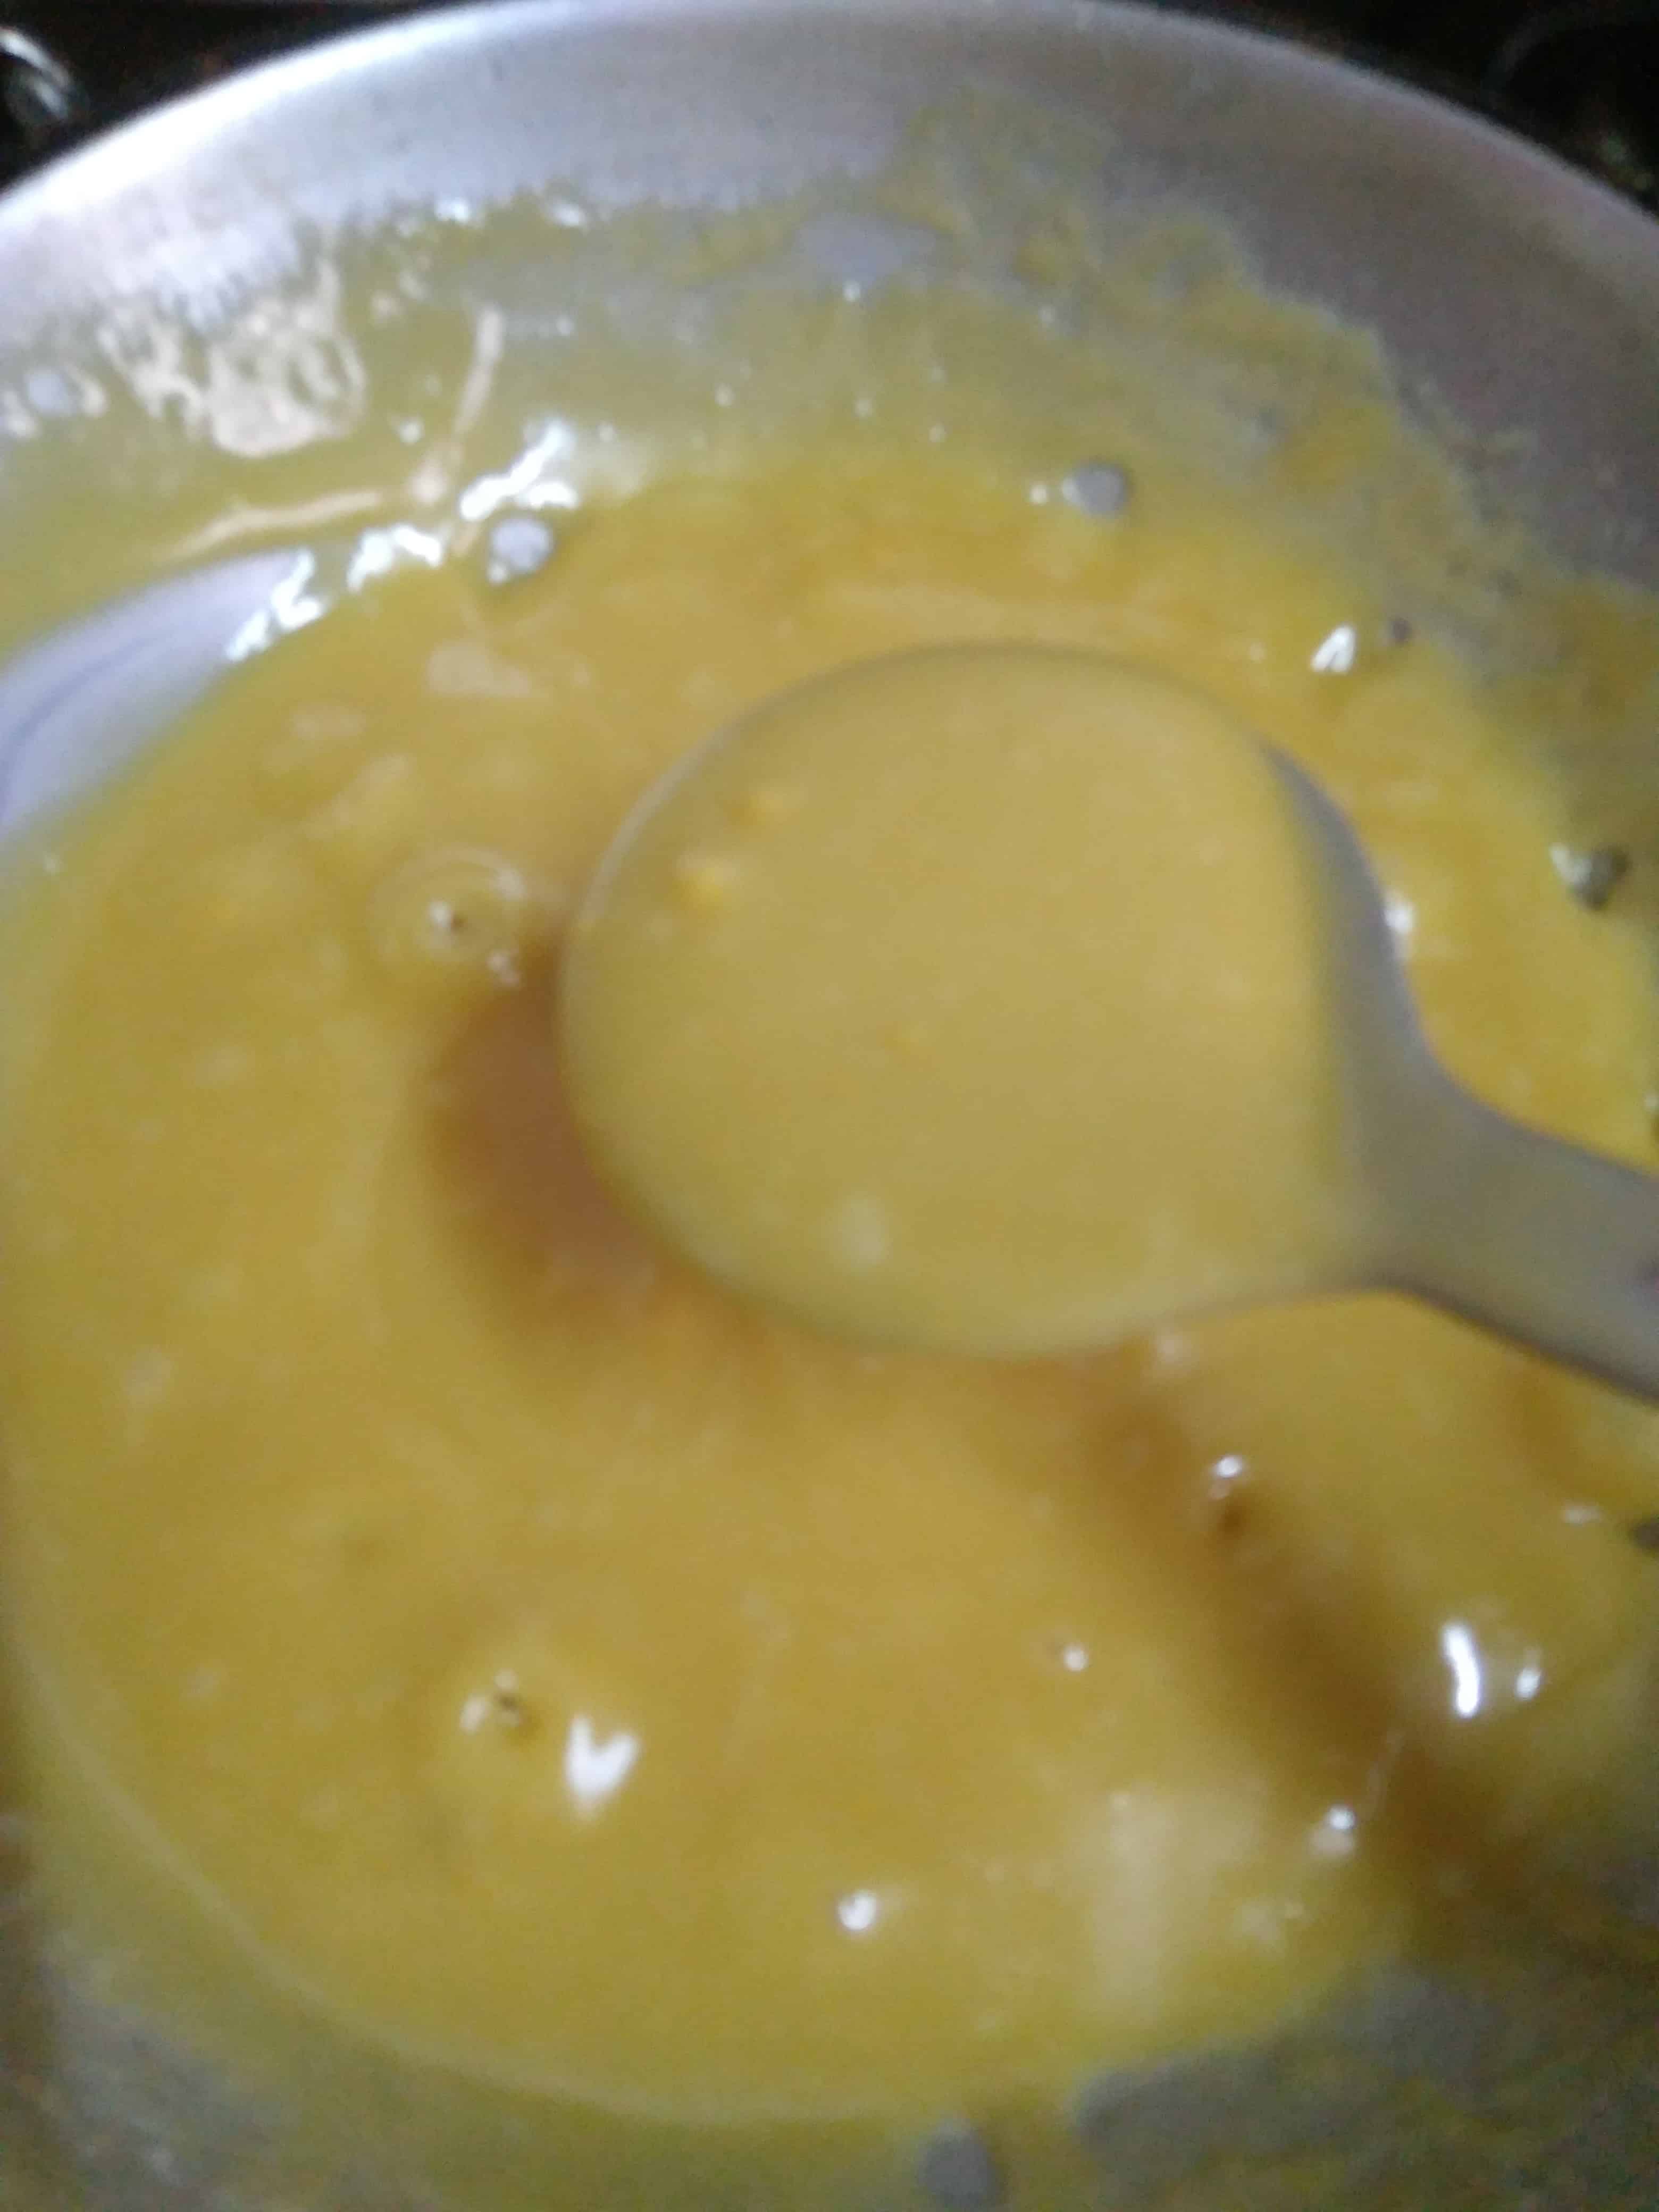
- In a thick bottom kadhai, add sugar and water. Bring it to a boil and let it simmer on medium heat until it forms a one string consistency sugar syrup.
- Once the syrup is ready, slowly incorporate the besan or chickpea flour and then rigorously start mixing the sugar and besan mixture. Add atleast ½ cup of ghee during this stage. Keep continuously stirring the mixture on low flame.
- The mixture will form bubbles and the ghee will start reducing which means the chickpea flour is cooking and it is also time to put the remaining half (1/2) cup of ghee or clarified butter.
- The reason why I have asked to melt the ghee is its ability to mix quickly into the chickpea mixture.
- Stir the mixture continuously and do not leave it unattended for even a second. Ensure low heat at all times and allow it to cook completely.
- The mixture will now be slightly thicker and its time to pour the last ½ cup of the ghee by stirring the mixture continuously.
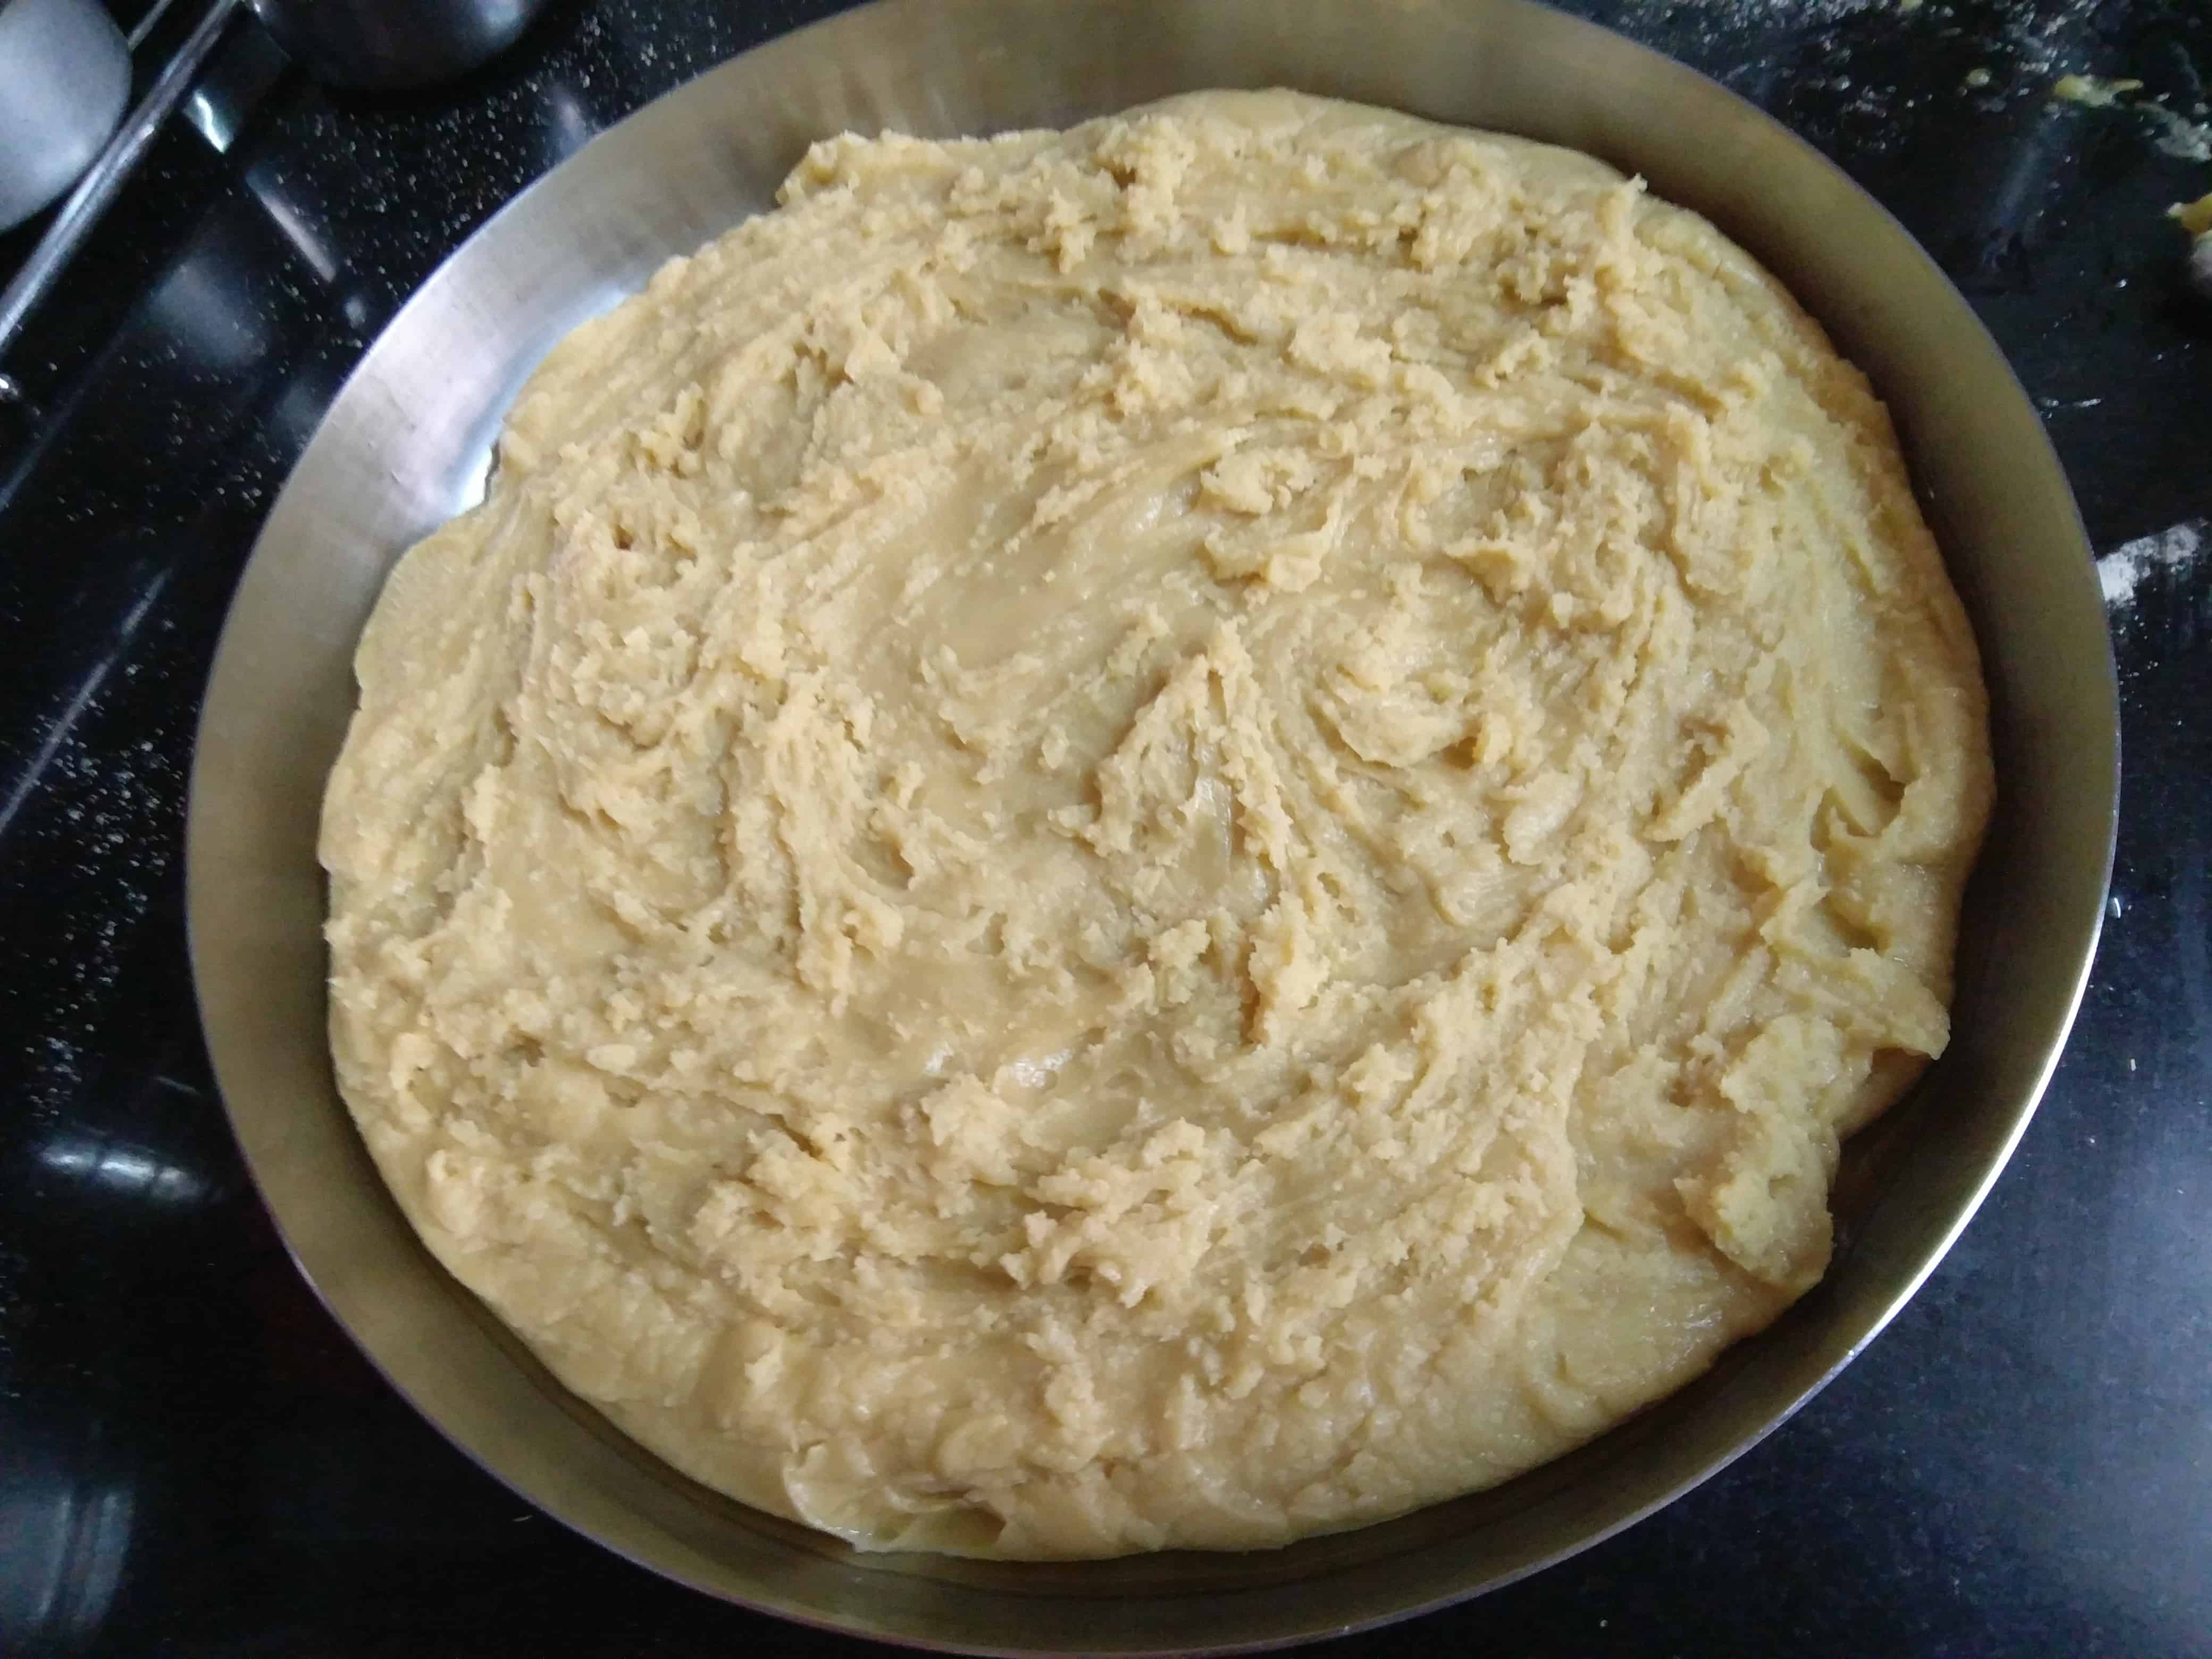
- Now after 5 odd minutes, you will see the mixture becoming like a thick fudge / forming a burfi like consistency ready to be poured into the greased thali or mould. I always go for the steel thali, find it convenient.
- Sprinkle some sugar (optional) on top and pat it slightly. At this stage you will find the ghee or the clarified butter oozing out from the sides. It will be absorbed as it cools down, say 10 – 15 min.
- Once cool, cut them in squares and store them in an airtight container at room temperature for 2 days and then shift it to the refrigerator to be stored for a further 5-6 days.
- However, you should always enjoy mysore pak warm, so when serving them to your guests or enjoying them yourself, kindly heat it for 10 odd seconds in the microwave so that the ghee or clarified butter slightly oozes out thereby making the mysore pak super soft to consume.
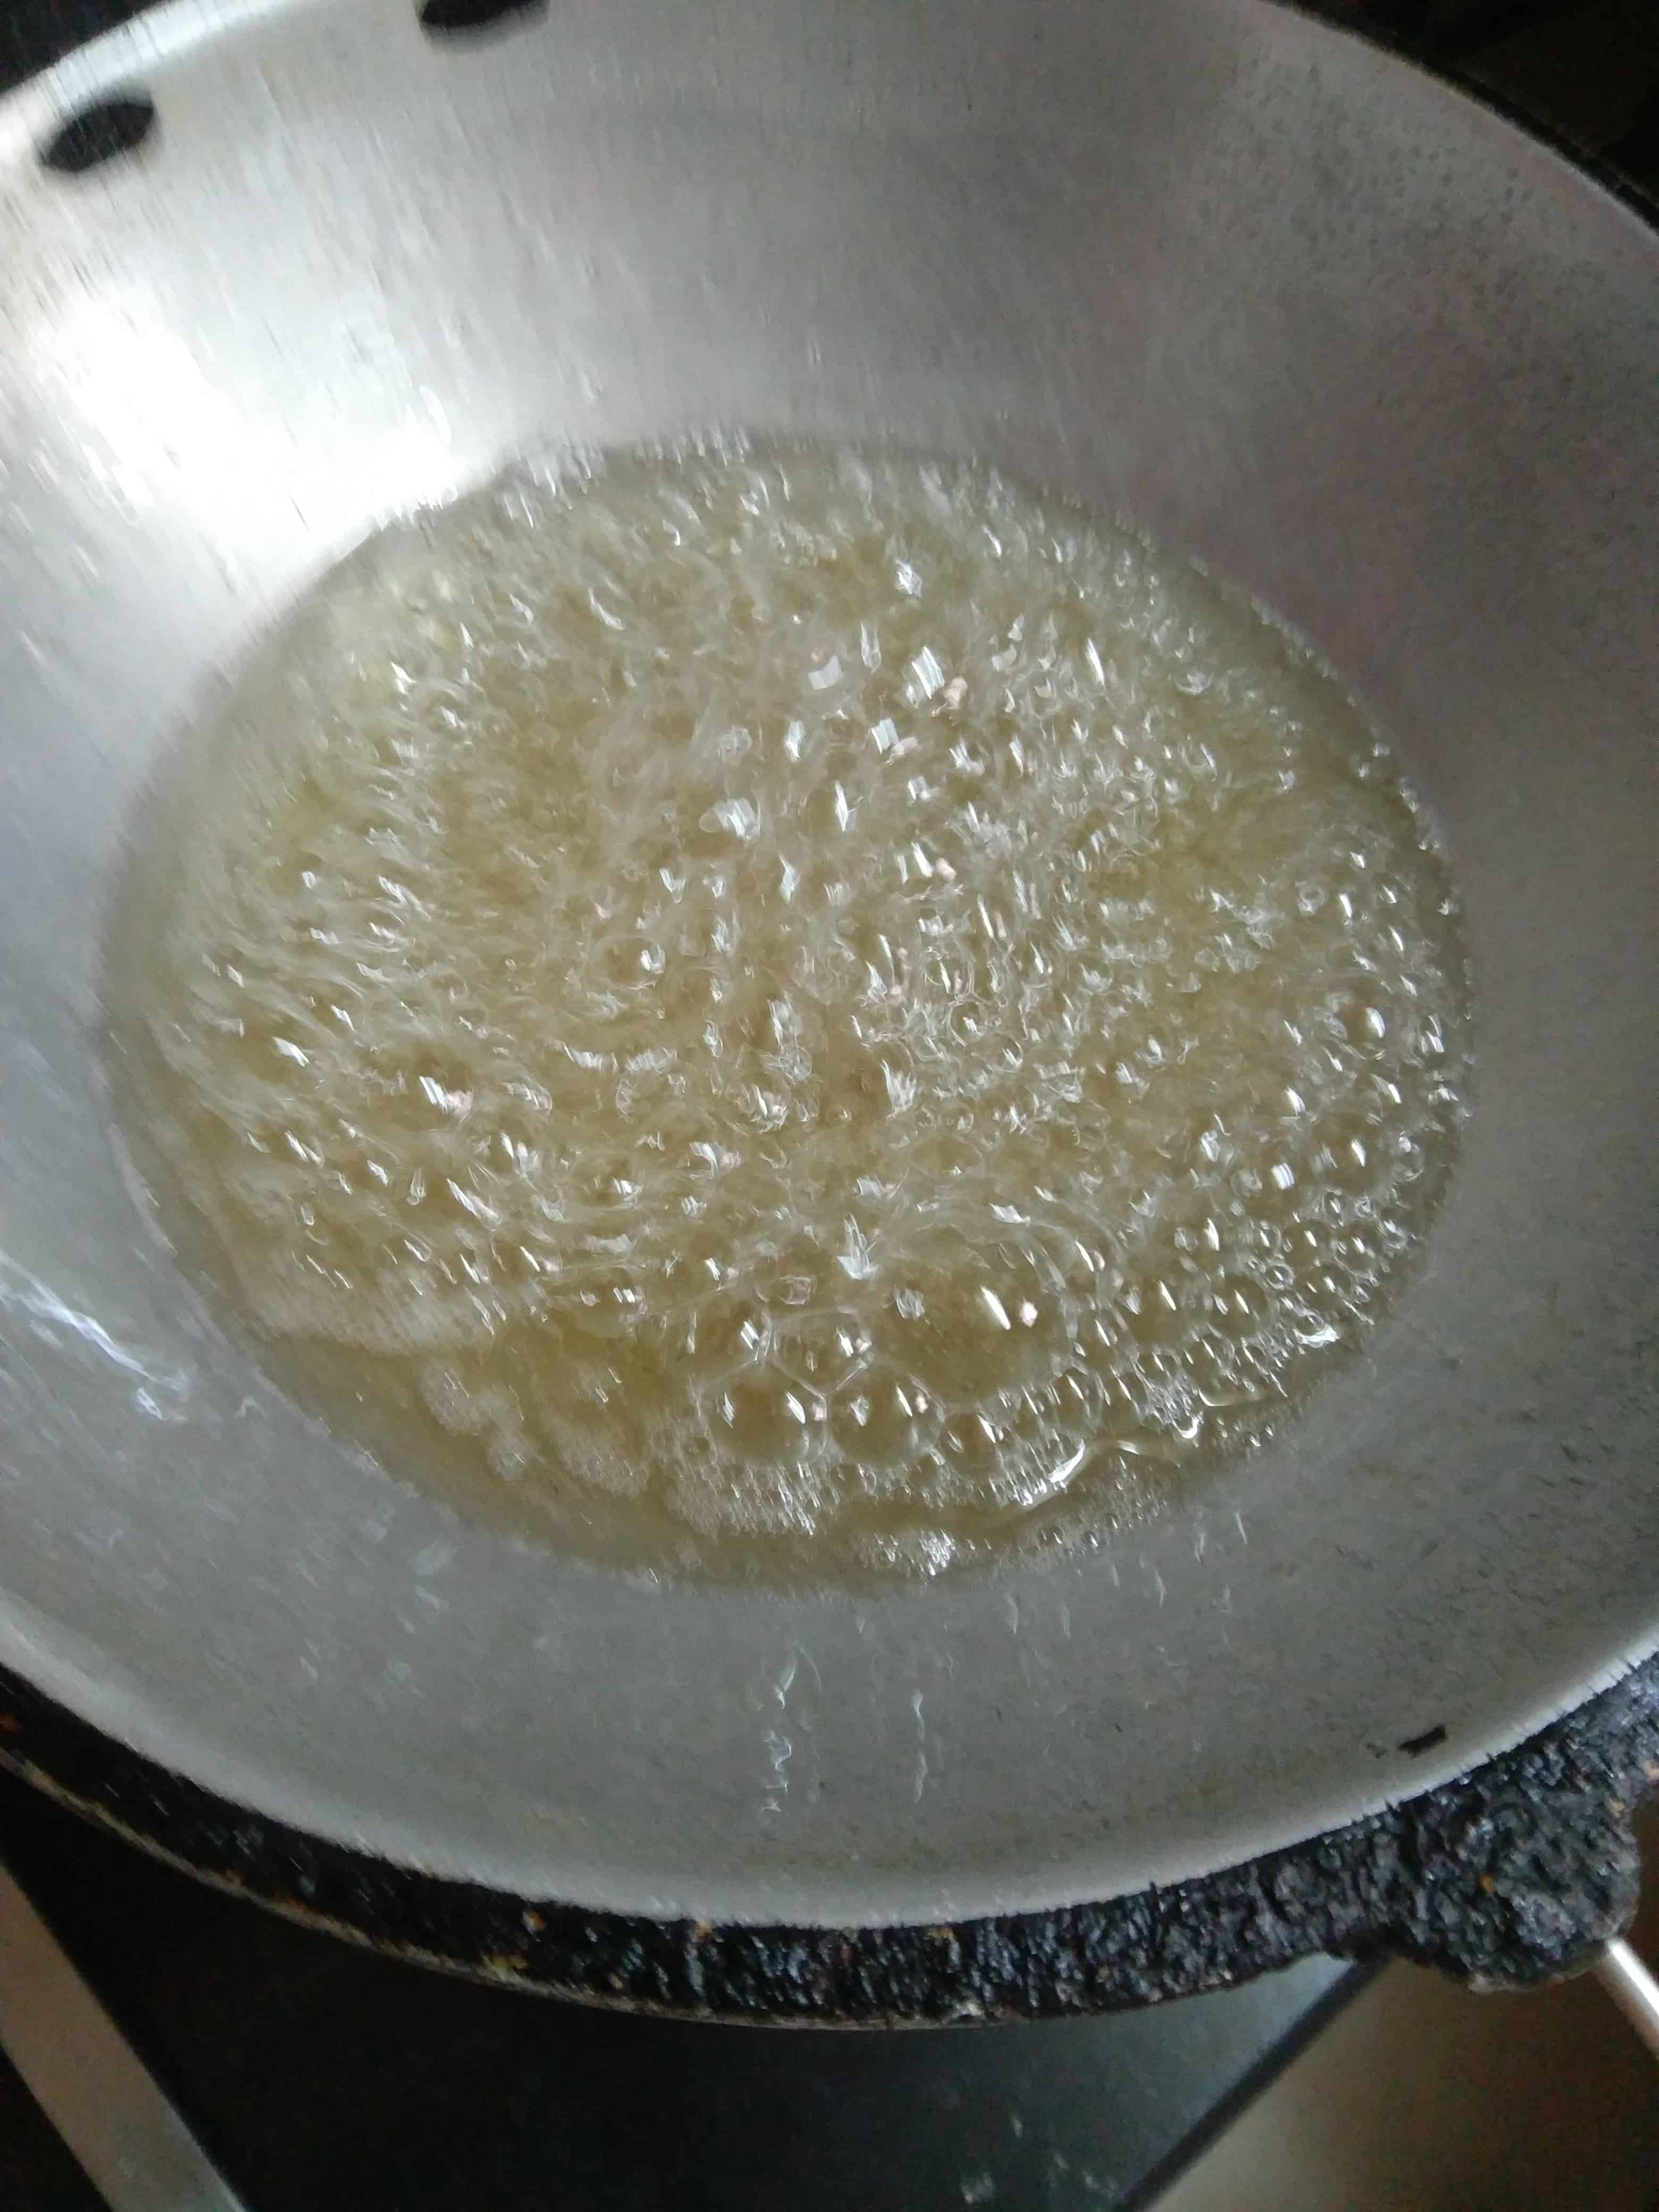
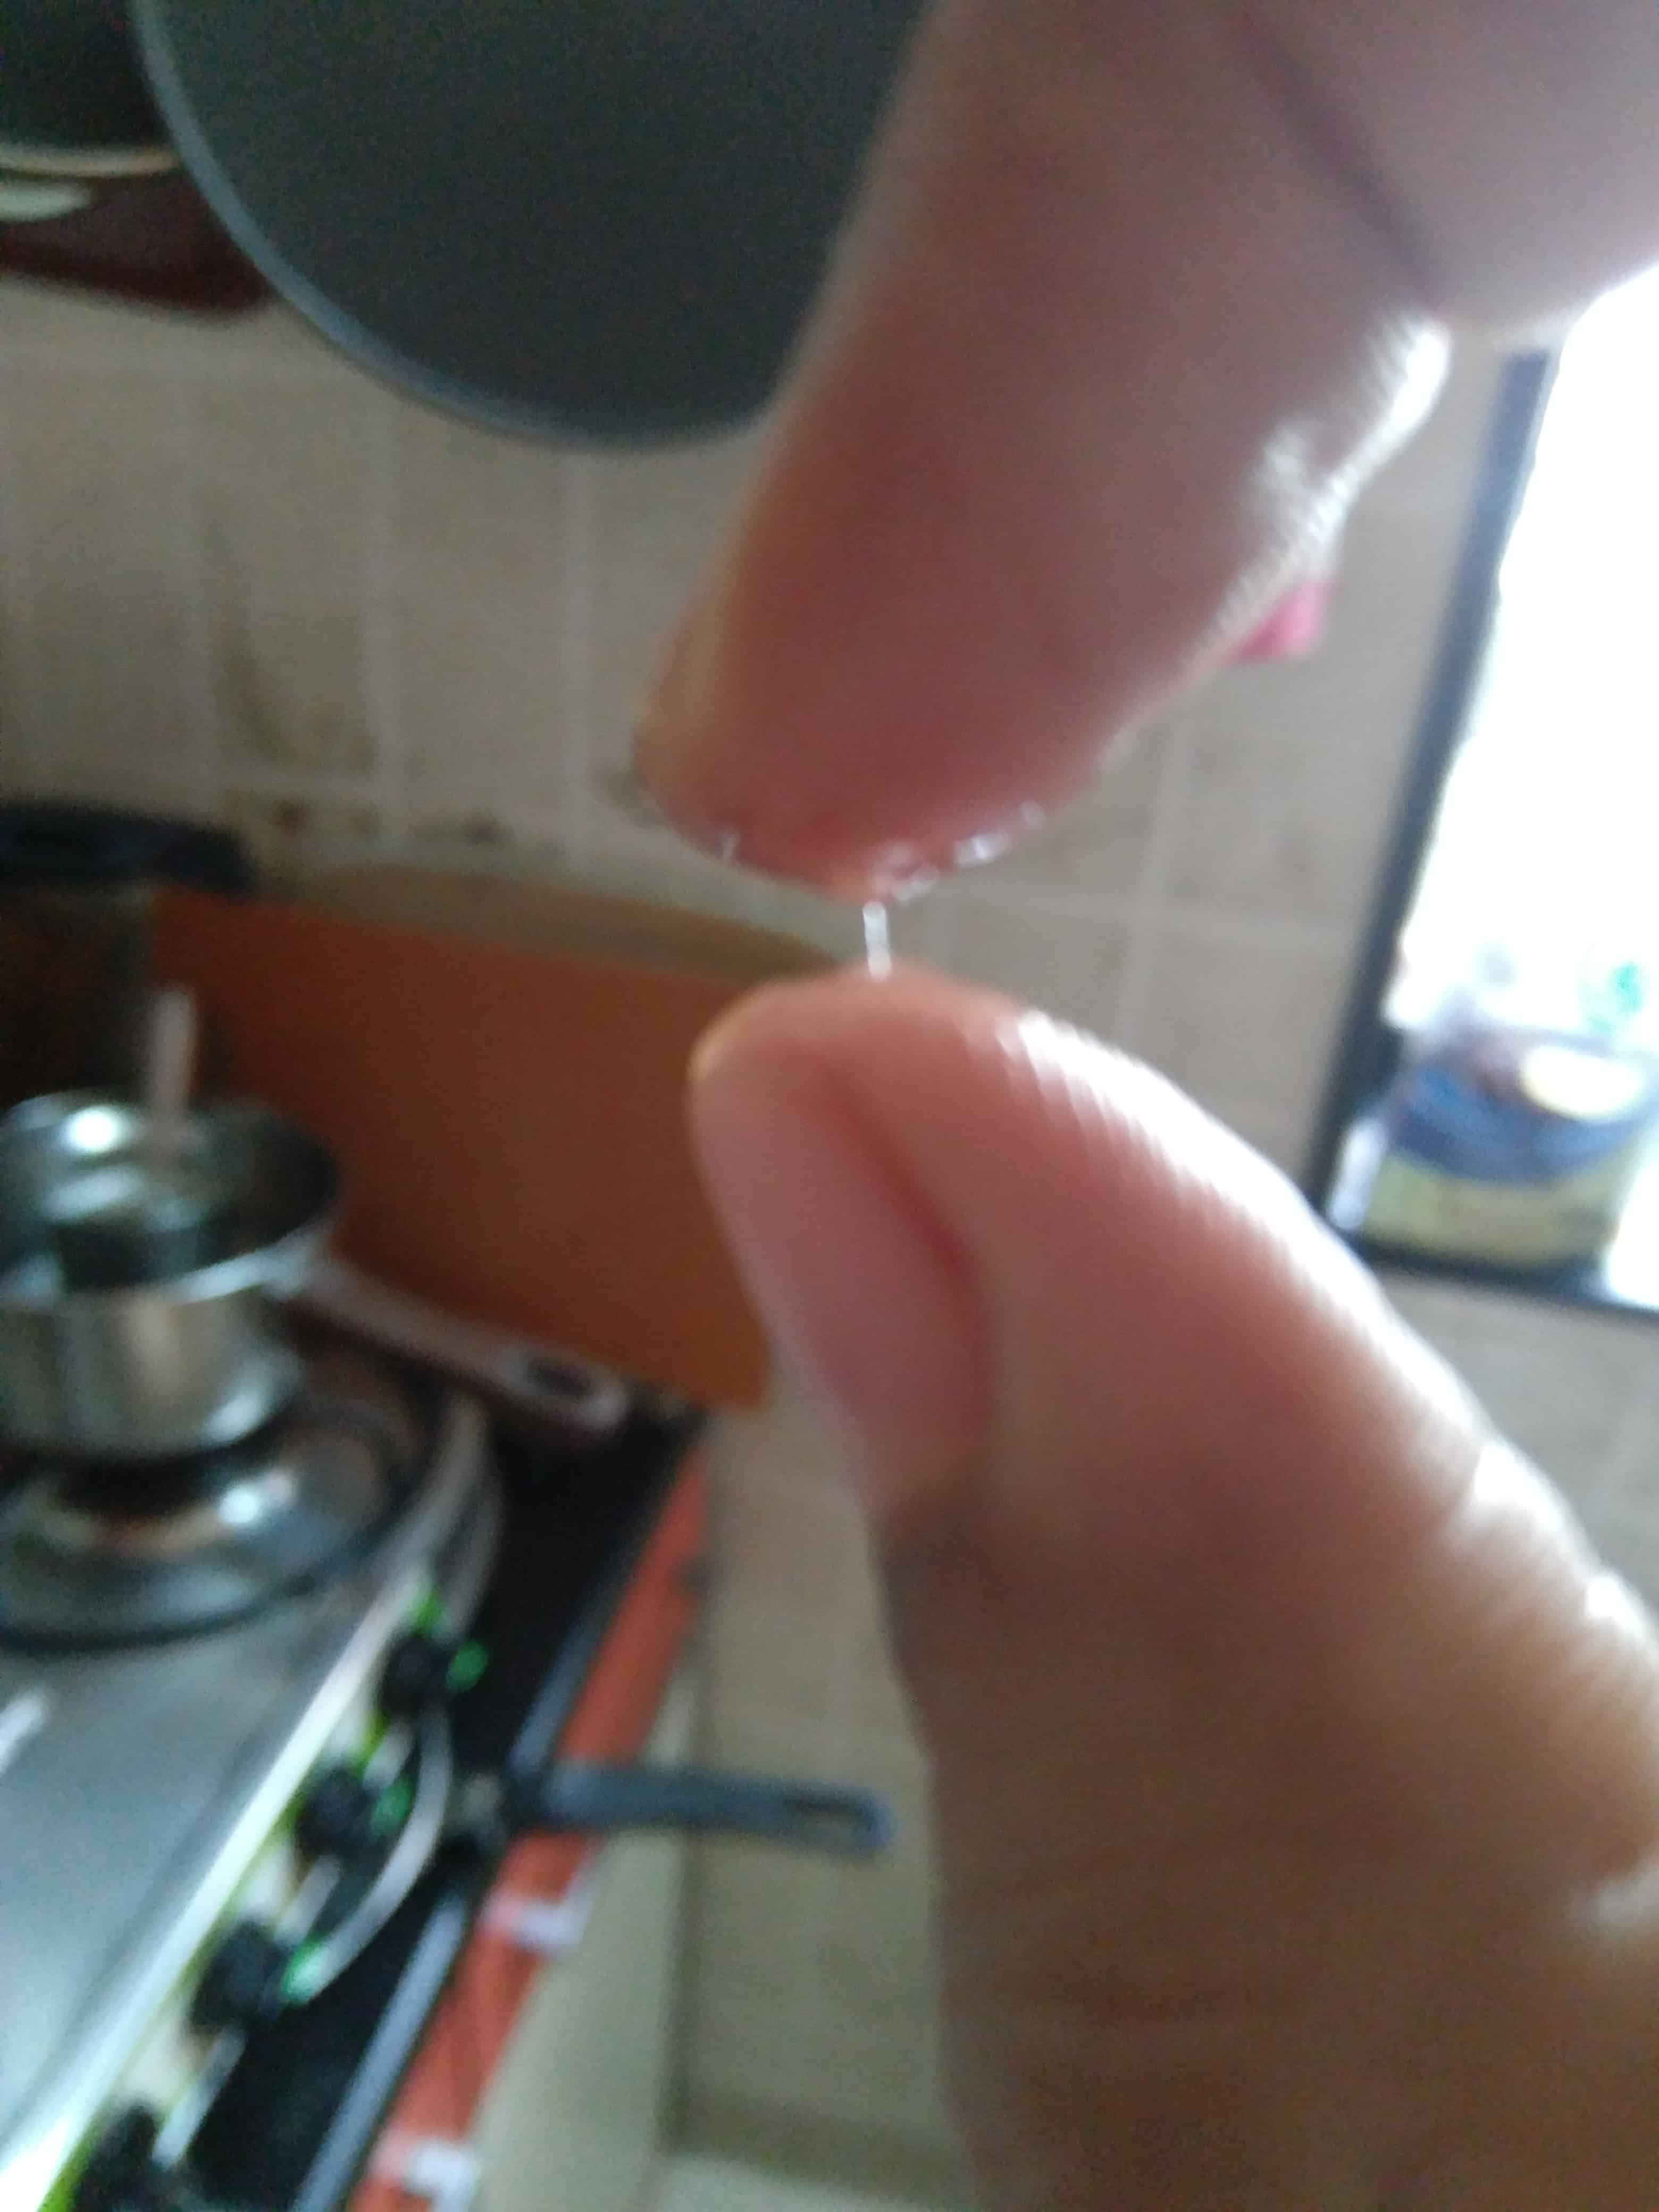
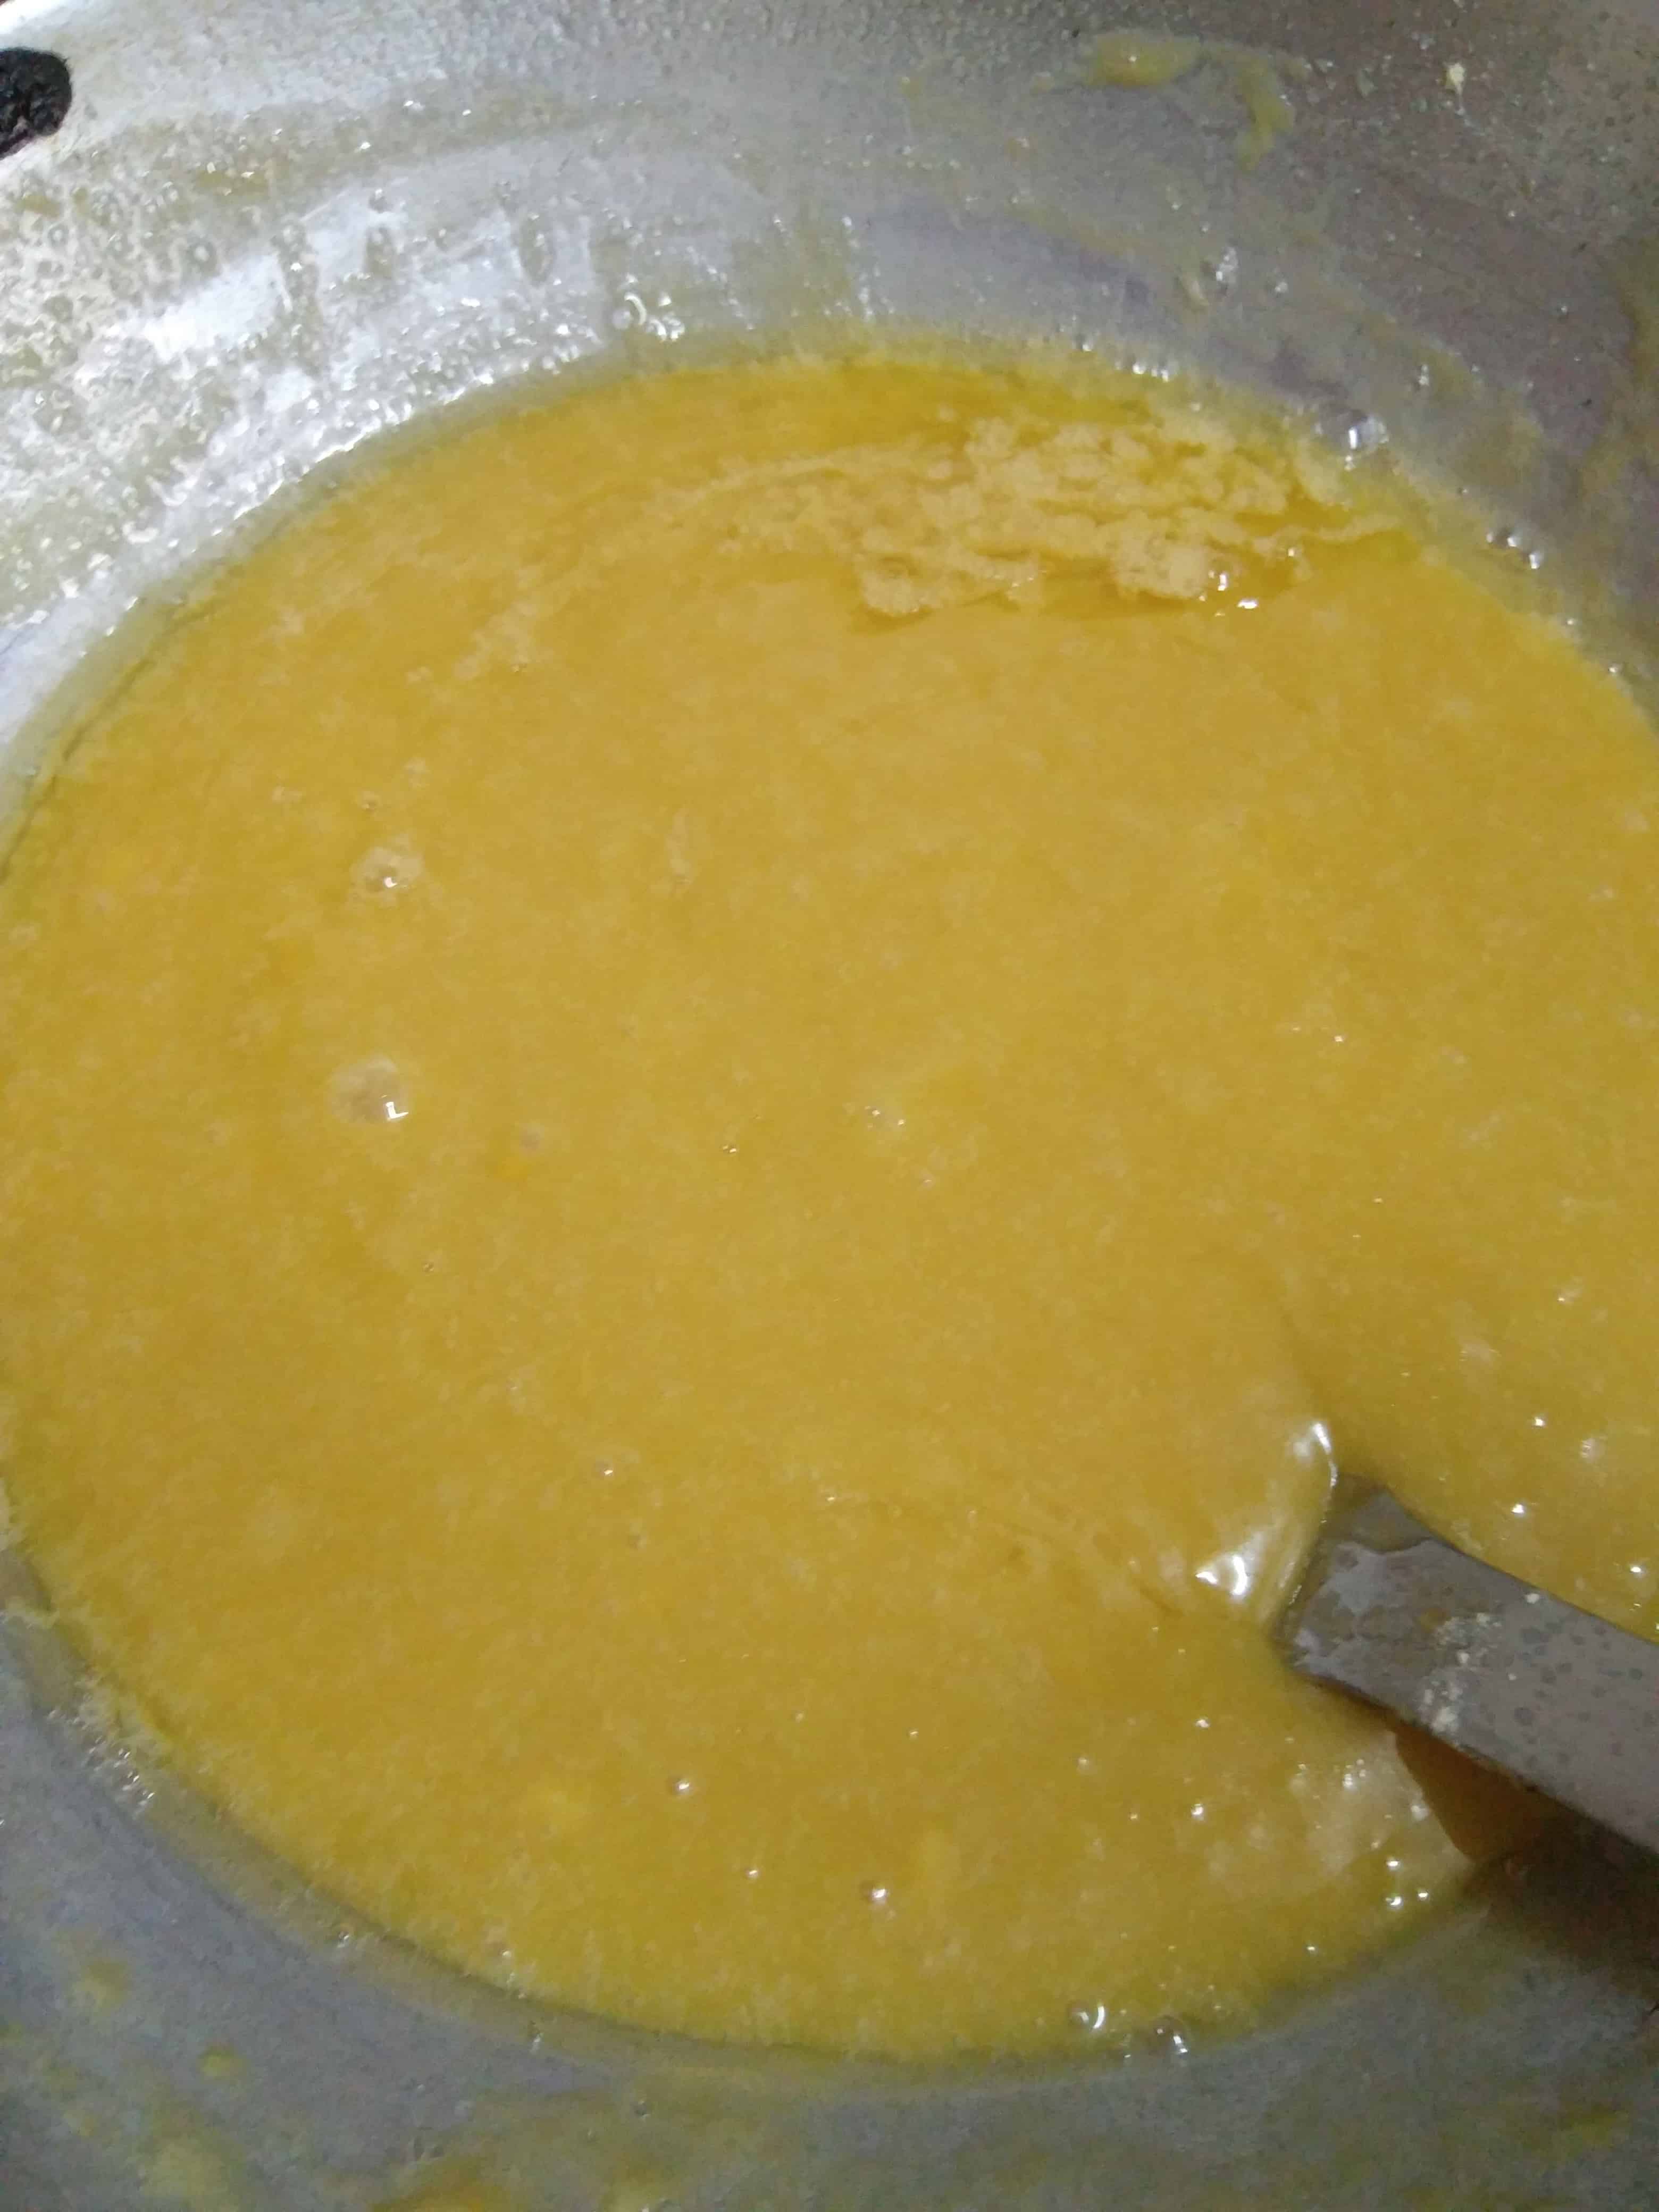
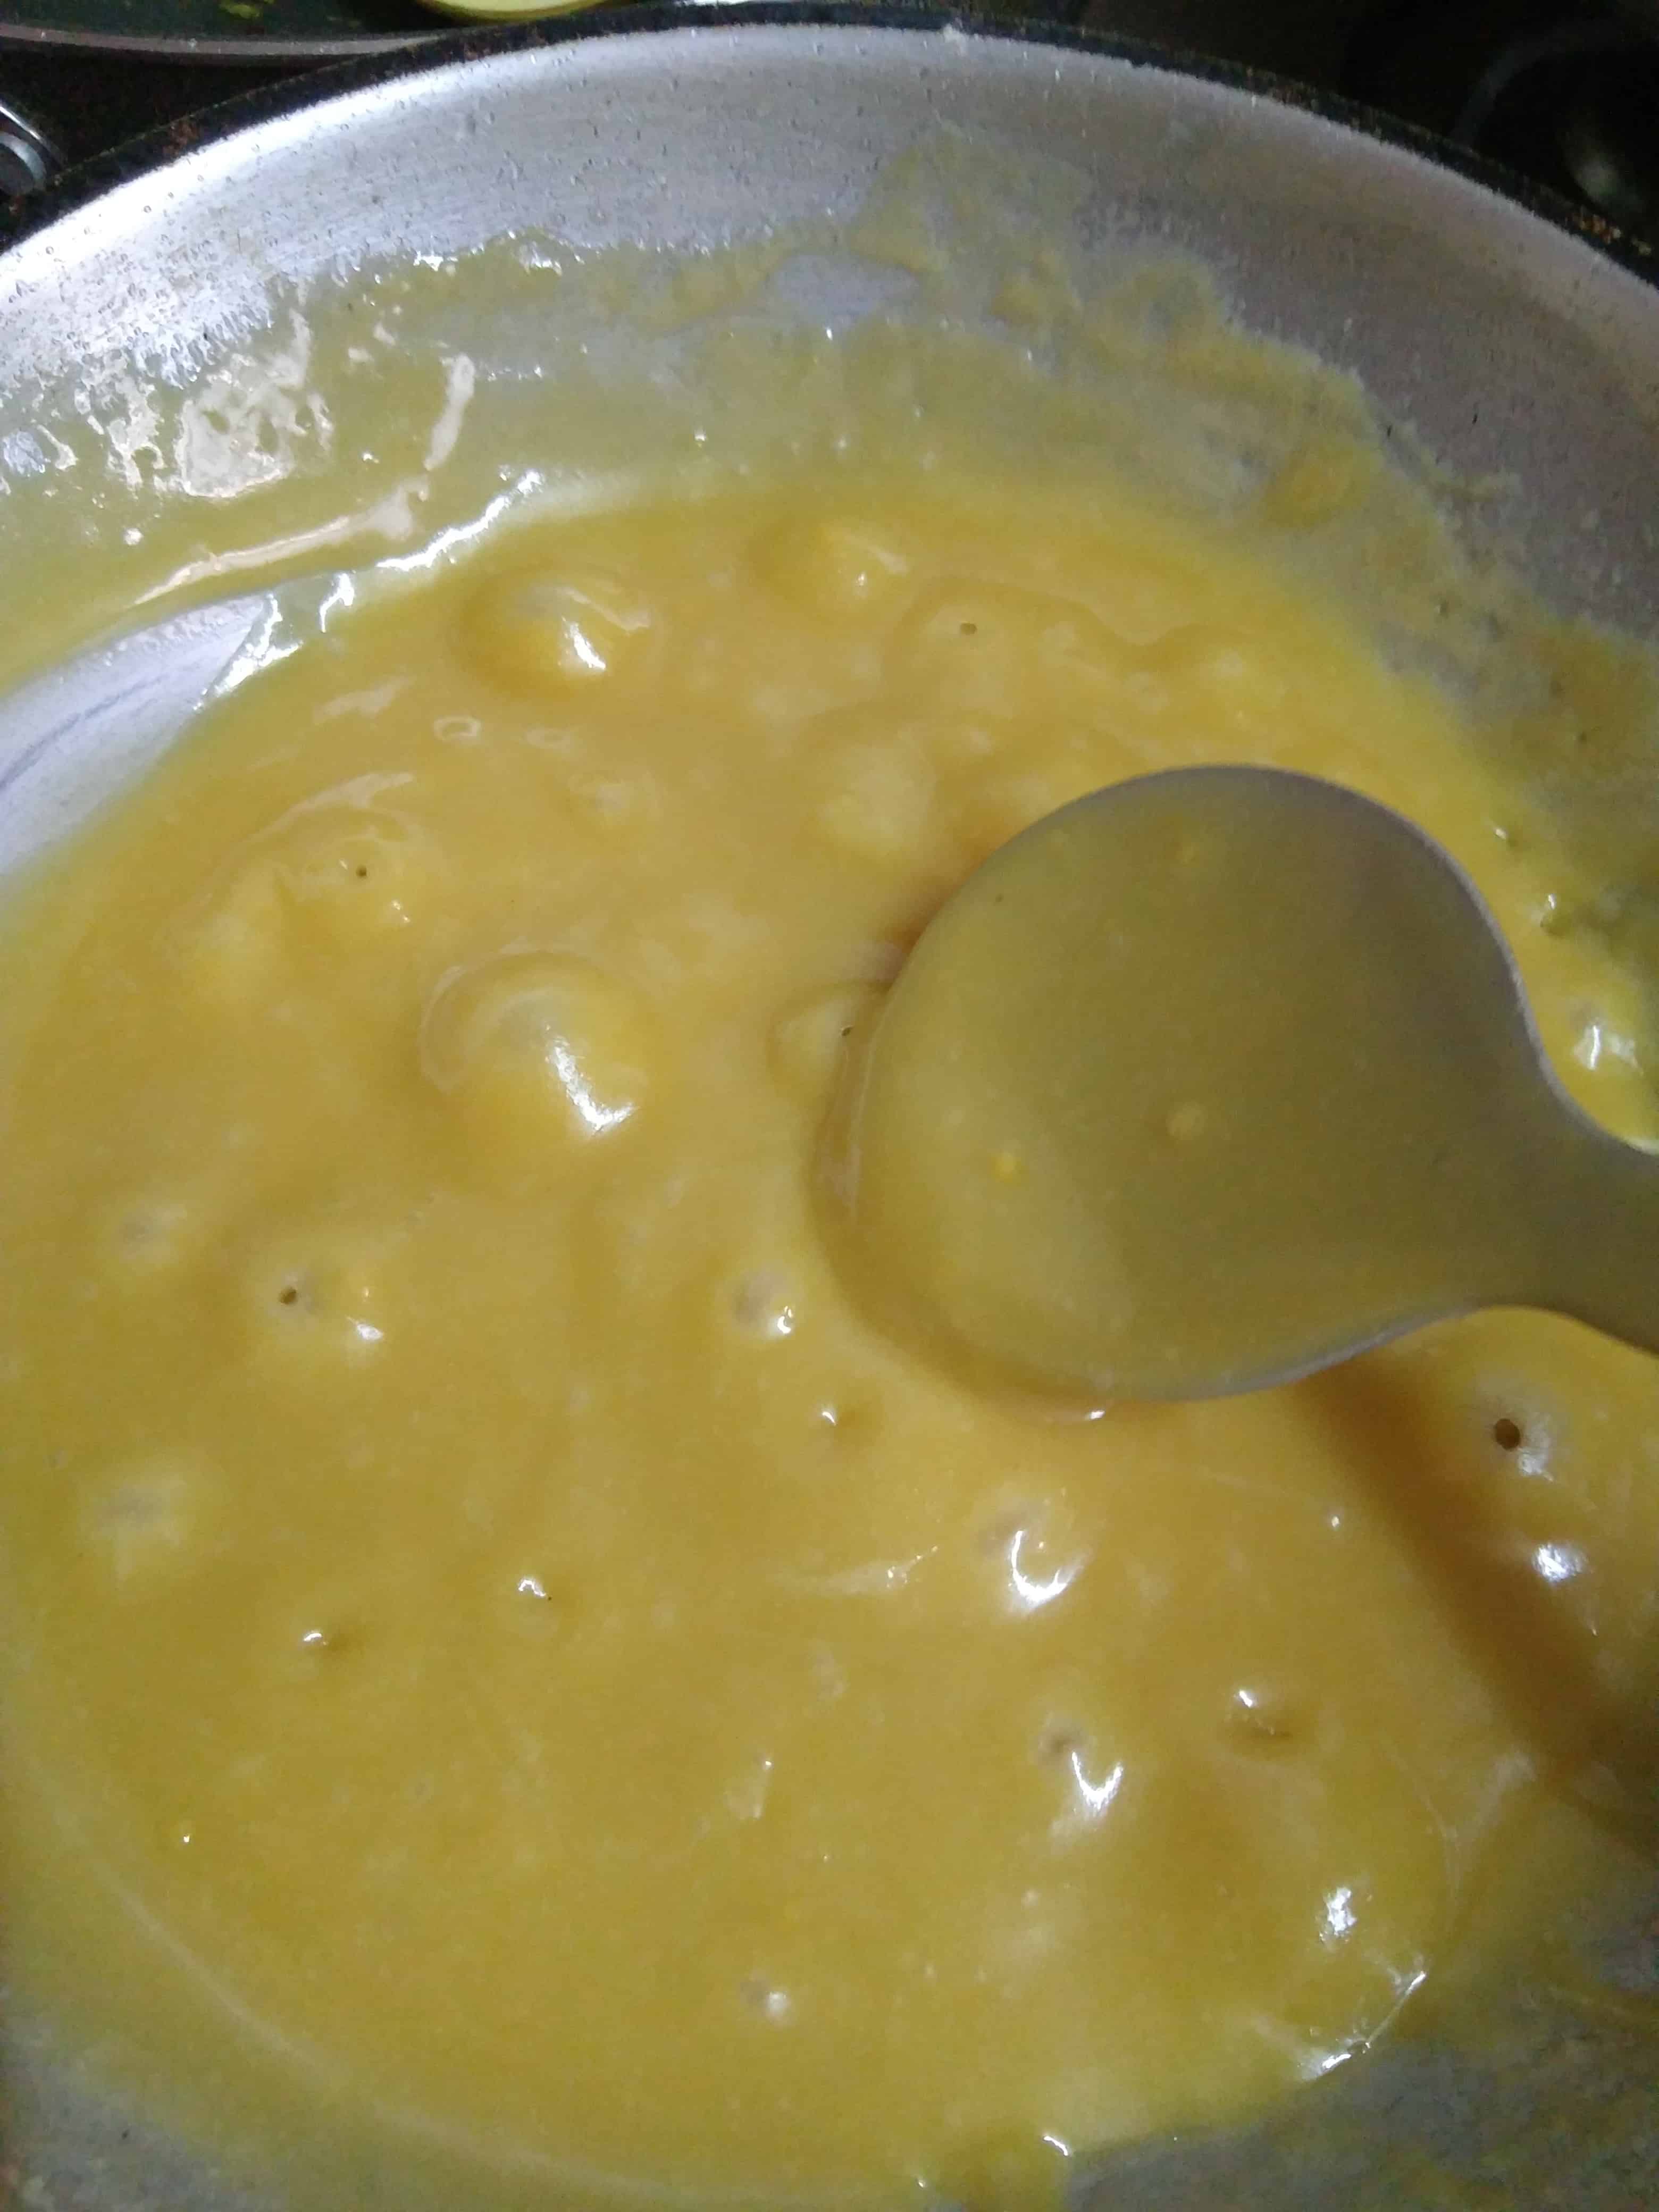
Recipe Notes / Tips –
- The only step where people make mistake is the one string consistency thereby spoiling the mysore pak texture. Pour the besan or chickpea flour only when the one string consistency of sugar syrup is achieved (check the photograph).
- Always keep the flame on low heat once the sugar syrup is ready and the chickpea flour is to be poured for stirring.
- This is a time consuming process, requires a bit of attention so do not move away from your cooking stove at any given point nor stop stirring the mixture.
- If you don’t understand when to add ghee or clarified butter, a simple way is to keep adding a tblsp of ghee after every stir or two.
- Sieving the flour is very important. Also when pouring the flour into the sugar syrup, at first you may notice some lumps here and there. Do not worry, just keep stirring rigorously and it will disappear after some ghee is added to it. In case you see any lumps even after all this, use a whisk (I avoid this as a lot of the mixture gets stuck in the whisk which is a waste).
- Use good quality of ghee or clarified butter since it is one of the most important ingredients of this sweet dish.
- Some people add half oil and half ghee but I strongly don’t recommend the same. We make Diwali sweets once a year and ghee is far better than oil. So go ahead, eat it.
If you like my work, please show me some love by following me on:-
Twitter - https://twitter.com/masalachilli
Like My Facebook Page - https://www.facebook.com/MasalachillibyVidyaNarayan/
Pinterest - https://in.pinterest.com/masalachilli
Instagram - https://www.instagram.com/masalachilli_vidyanarayan/
Vidya Narayan
one of my favorites!!
Fabulous step by step instructions and photos , Vidya! No wonder this Mysore Pak is your husband's favorite. Looks so yummy!
Thanks dear. Glad you liked it.
Looks so delicious & tempting !
South indian's weakness if I may say so, is Mysore Pak. Thank you!
Wow...just simply wow..Superb recipe with such a nice detailed explanation..Loved it,,Will give it a try soon..Loved it !!
Please do. Not that difficult to attempt. Glad you liked my work dear.
Explained so well ?
So glad to hear this!