


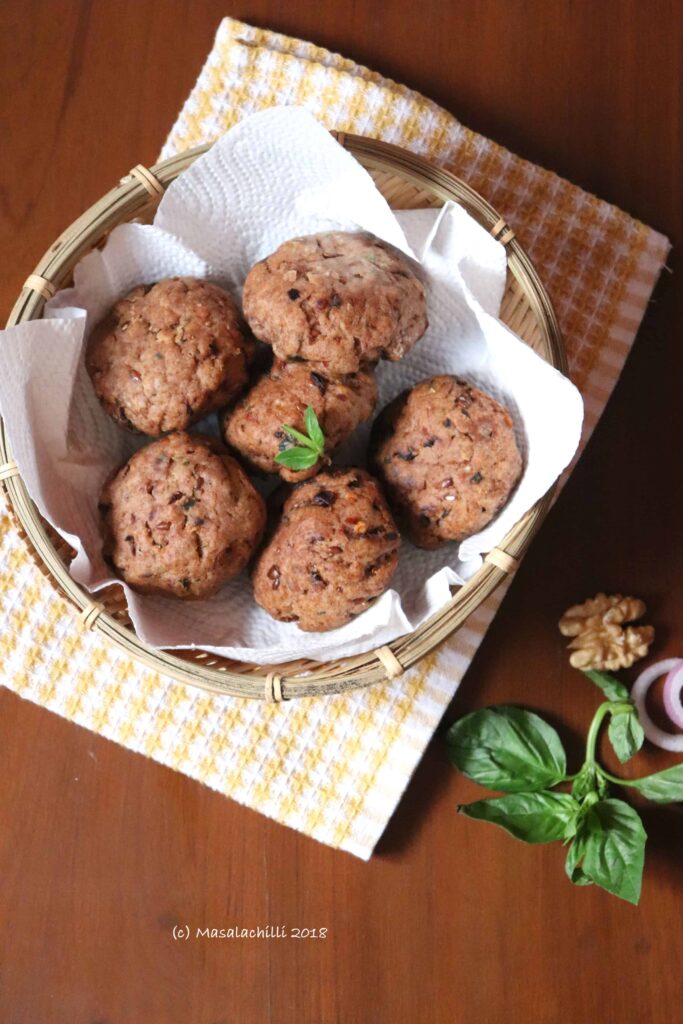
A couple of weeks back, when I was on a beast mode in the kitchen, experimenting a lot of stuff, I thought why restrict myself to cooking when I can bake too. As if I need a reason to bake!
Baking might be cumbersome to few, but for people like me, who are in absolute love with the flour and yeast, it is just an activity that the mind and body look forward too. I had not done a nachni bread since long and I was not keen on a loaf so wanted to do something fun and healthy. Also, since it was a Friday, when I did this, I thought my weekend breakfast / tea time snack would be sorted with this so went ahead and did a small batch of buns. I have been using ragi since quite some time not because millets are good for health and its sudden craze. My husband is slightly gluten sensitive so I incorporate ragi rotis instead of going completely wheat.


Earlier that week, I had been to Natures Basket which I often do, as I love grocery shopping / buying vegetables the old school way – See, Touch, Feel, Smell! Also, my husband always teases me with the fact that you don’t spend a lot of time shopping for clothes the way you shop for your kitchen essentials. That is a fact! I hate shopping. Yes, for most women, this statement is a complete shocker but yes, I hate shopping. I shop only once in a year. Everything that I need is listed down to the T and I spend just an hour and am done with it. The shops are pre-scouted and earmarked before the shopping commences as I hate wastage of time. But if you tell me to visit a market, grocery shop or Natures Basket for example, I am completely lost in time. But the best thing about me is I don’t binge shop and get stuff that I wont be using / required for that week or next. I am always armed with a list. The thing that you will always find inside my bag is a diary and a pen. No, I am not a mobile calender person at all too. I love writing with my pen and paper till date. So yes, I am a bit organised (old school way) in that sense.
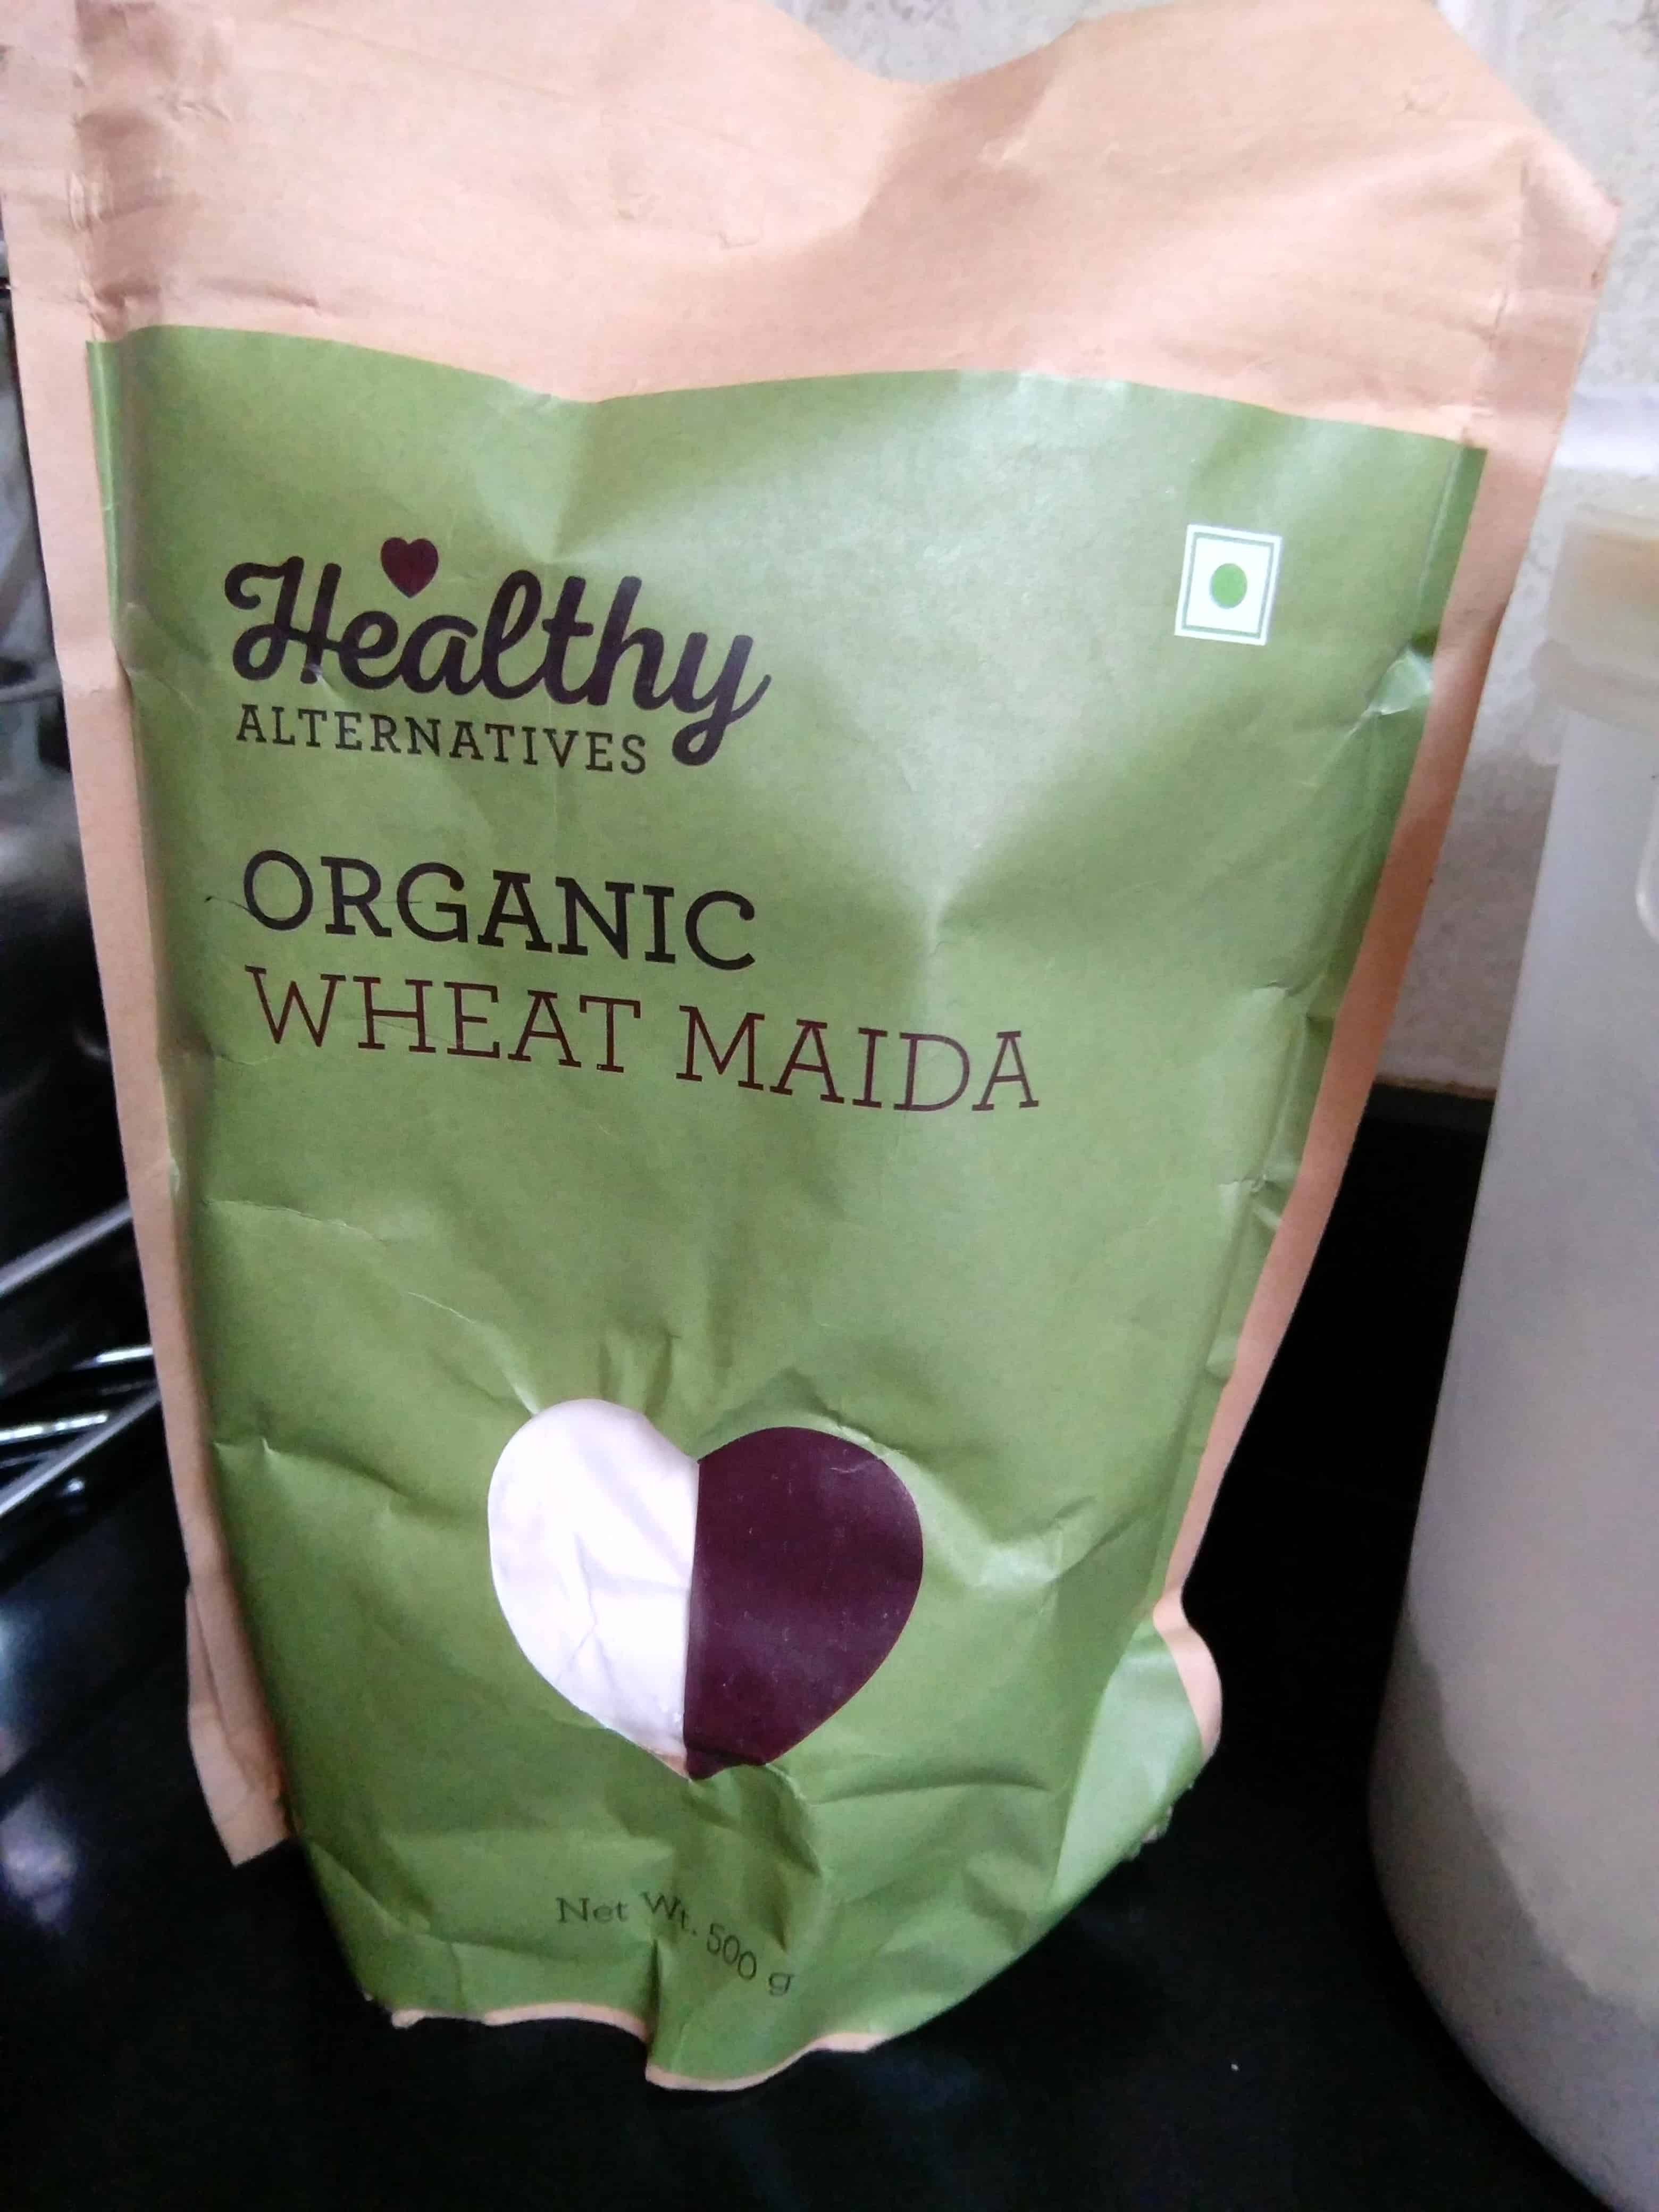
Anyways, so I found this APF from Healthy Alternatives which says Wheat Maida and I used that instead of the APF that I normally buy from a local grocery store. I have included a picture too in the post so you can check out yourself, in case you wish. The results are very good. I went ahead and made a Sandwich Loaf with Flax and Sesame Seeds too recently using the same flour (100%) which turned out super soft.

This time, I also used very little yeast, allowed the buns to rise very slowly. Since the buns had very little gluten (maida) and no other additives, it did not rise like the normal pav buns do. But I was happy with the outcome. They were soft from the inside, flavourful and not to mention, way too delicious!

We dunked these buns in our chai the next morning and finished it off in one go. They were super delicious. We just heated them in the microwave for 30 seconds, tossed some olive oil and drizzled some dry herbs and enjoyed it.
Good option for after school snacks, exam time treats, mid meal snack, evening snack etc. A delicious way to incorporate Ragi / Nachni / Finger Millet into your diet. Not to forget, a great way to include powdered nuts and seeds too that go a long way to good health.
Recipe for Nachni Buns flavoured with caramelised onions, walnuts and flax seeds
Makes approx. 8 to 10 small sized buns
Ingredients for the Bread -
- Nachni or Finger Millet / Ragi Flour – 1 cup
- Maida or APF – 2 tblsp
- ¼ tsp instant dry yeast
- 1 tsp sugar
- ½ tsp salt
- Milk – 1 tblsp
- Olive Oil – 1.5 tblsp for kneading, 1 tsp for greasing the pav tin
- Butter - 1/2 tsp for brushing post baking
- Lukewarm water – ¾ cup
Ingredients for the Flavourings-
- 1 medium sized onion finely chopped
- 1 tblsp flax seeds
- ¼ cup walnuts
- Few Basil leaves or a tsp of dry basil
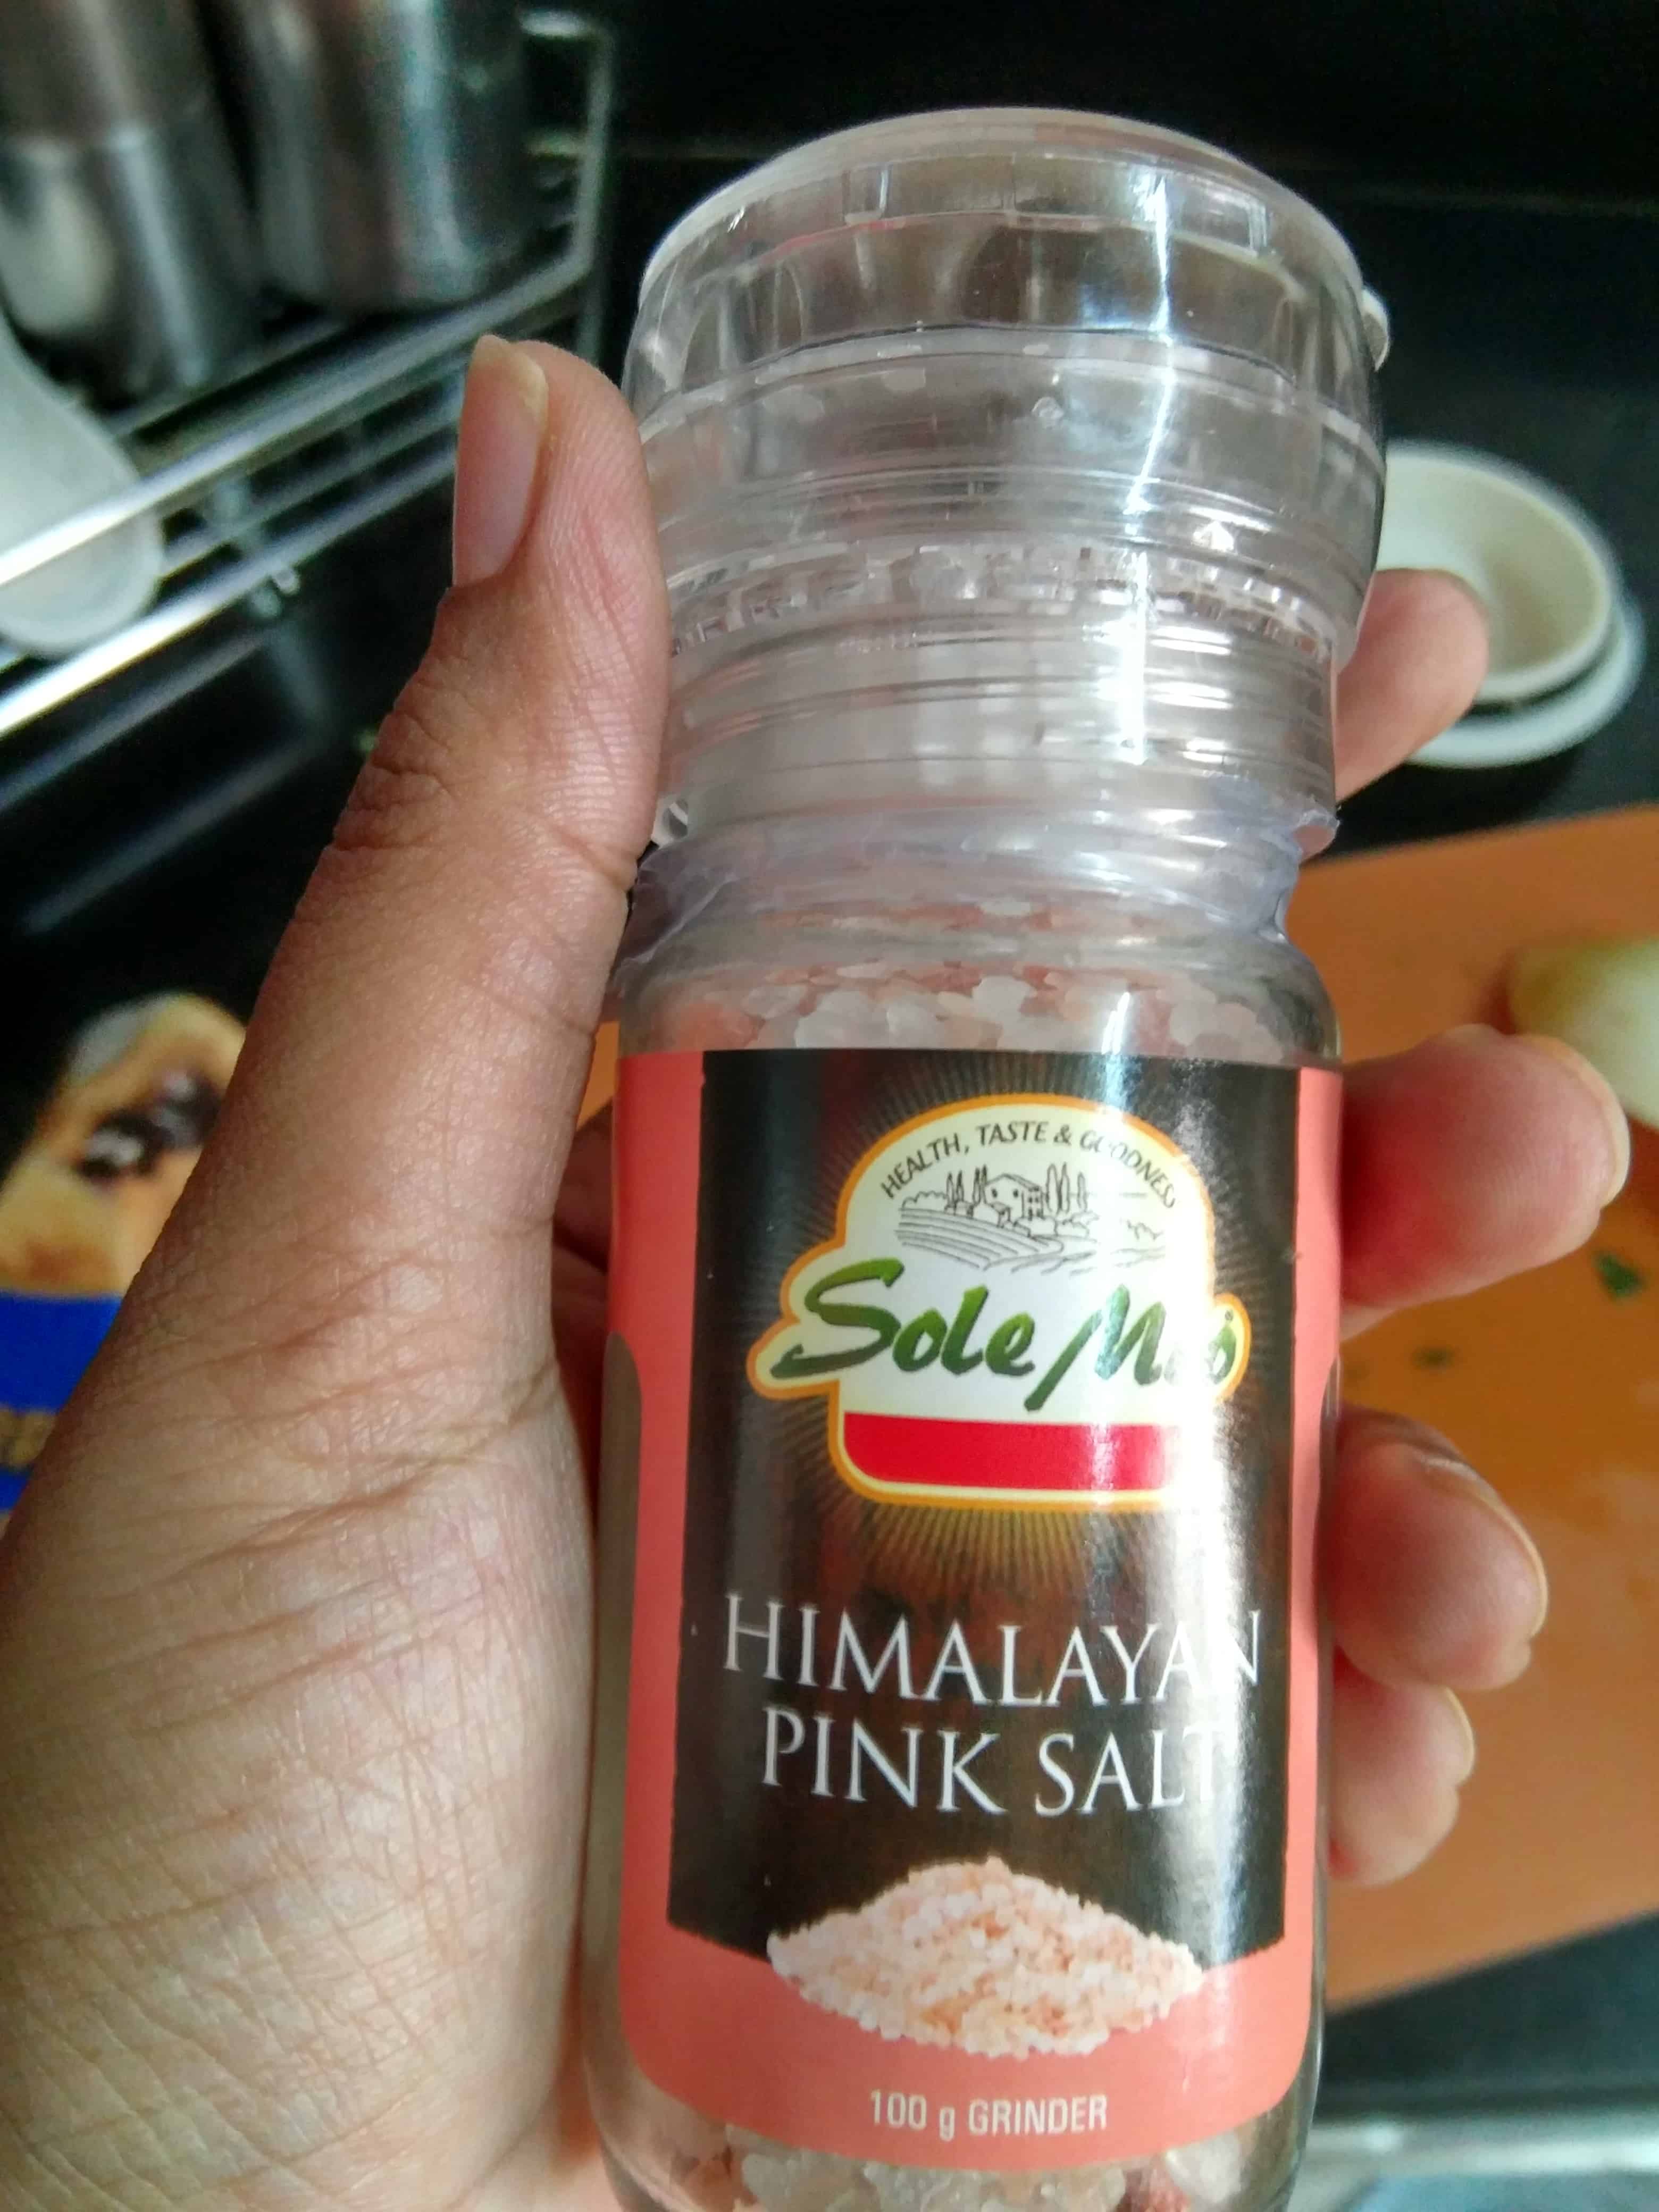
- Himalayan Pink salt as per taste
- Red chilli flakes – as per taste
- Oregano – ¼ tsp
- Olive Oil – 2 tsps
Method for making the flavourings to the Bread-
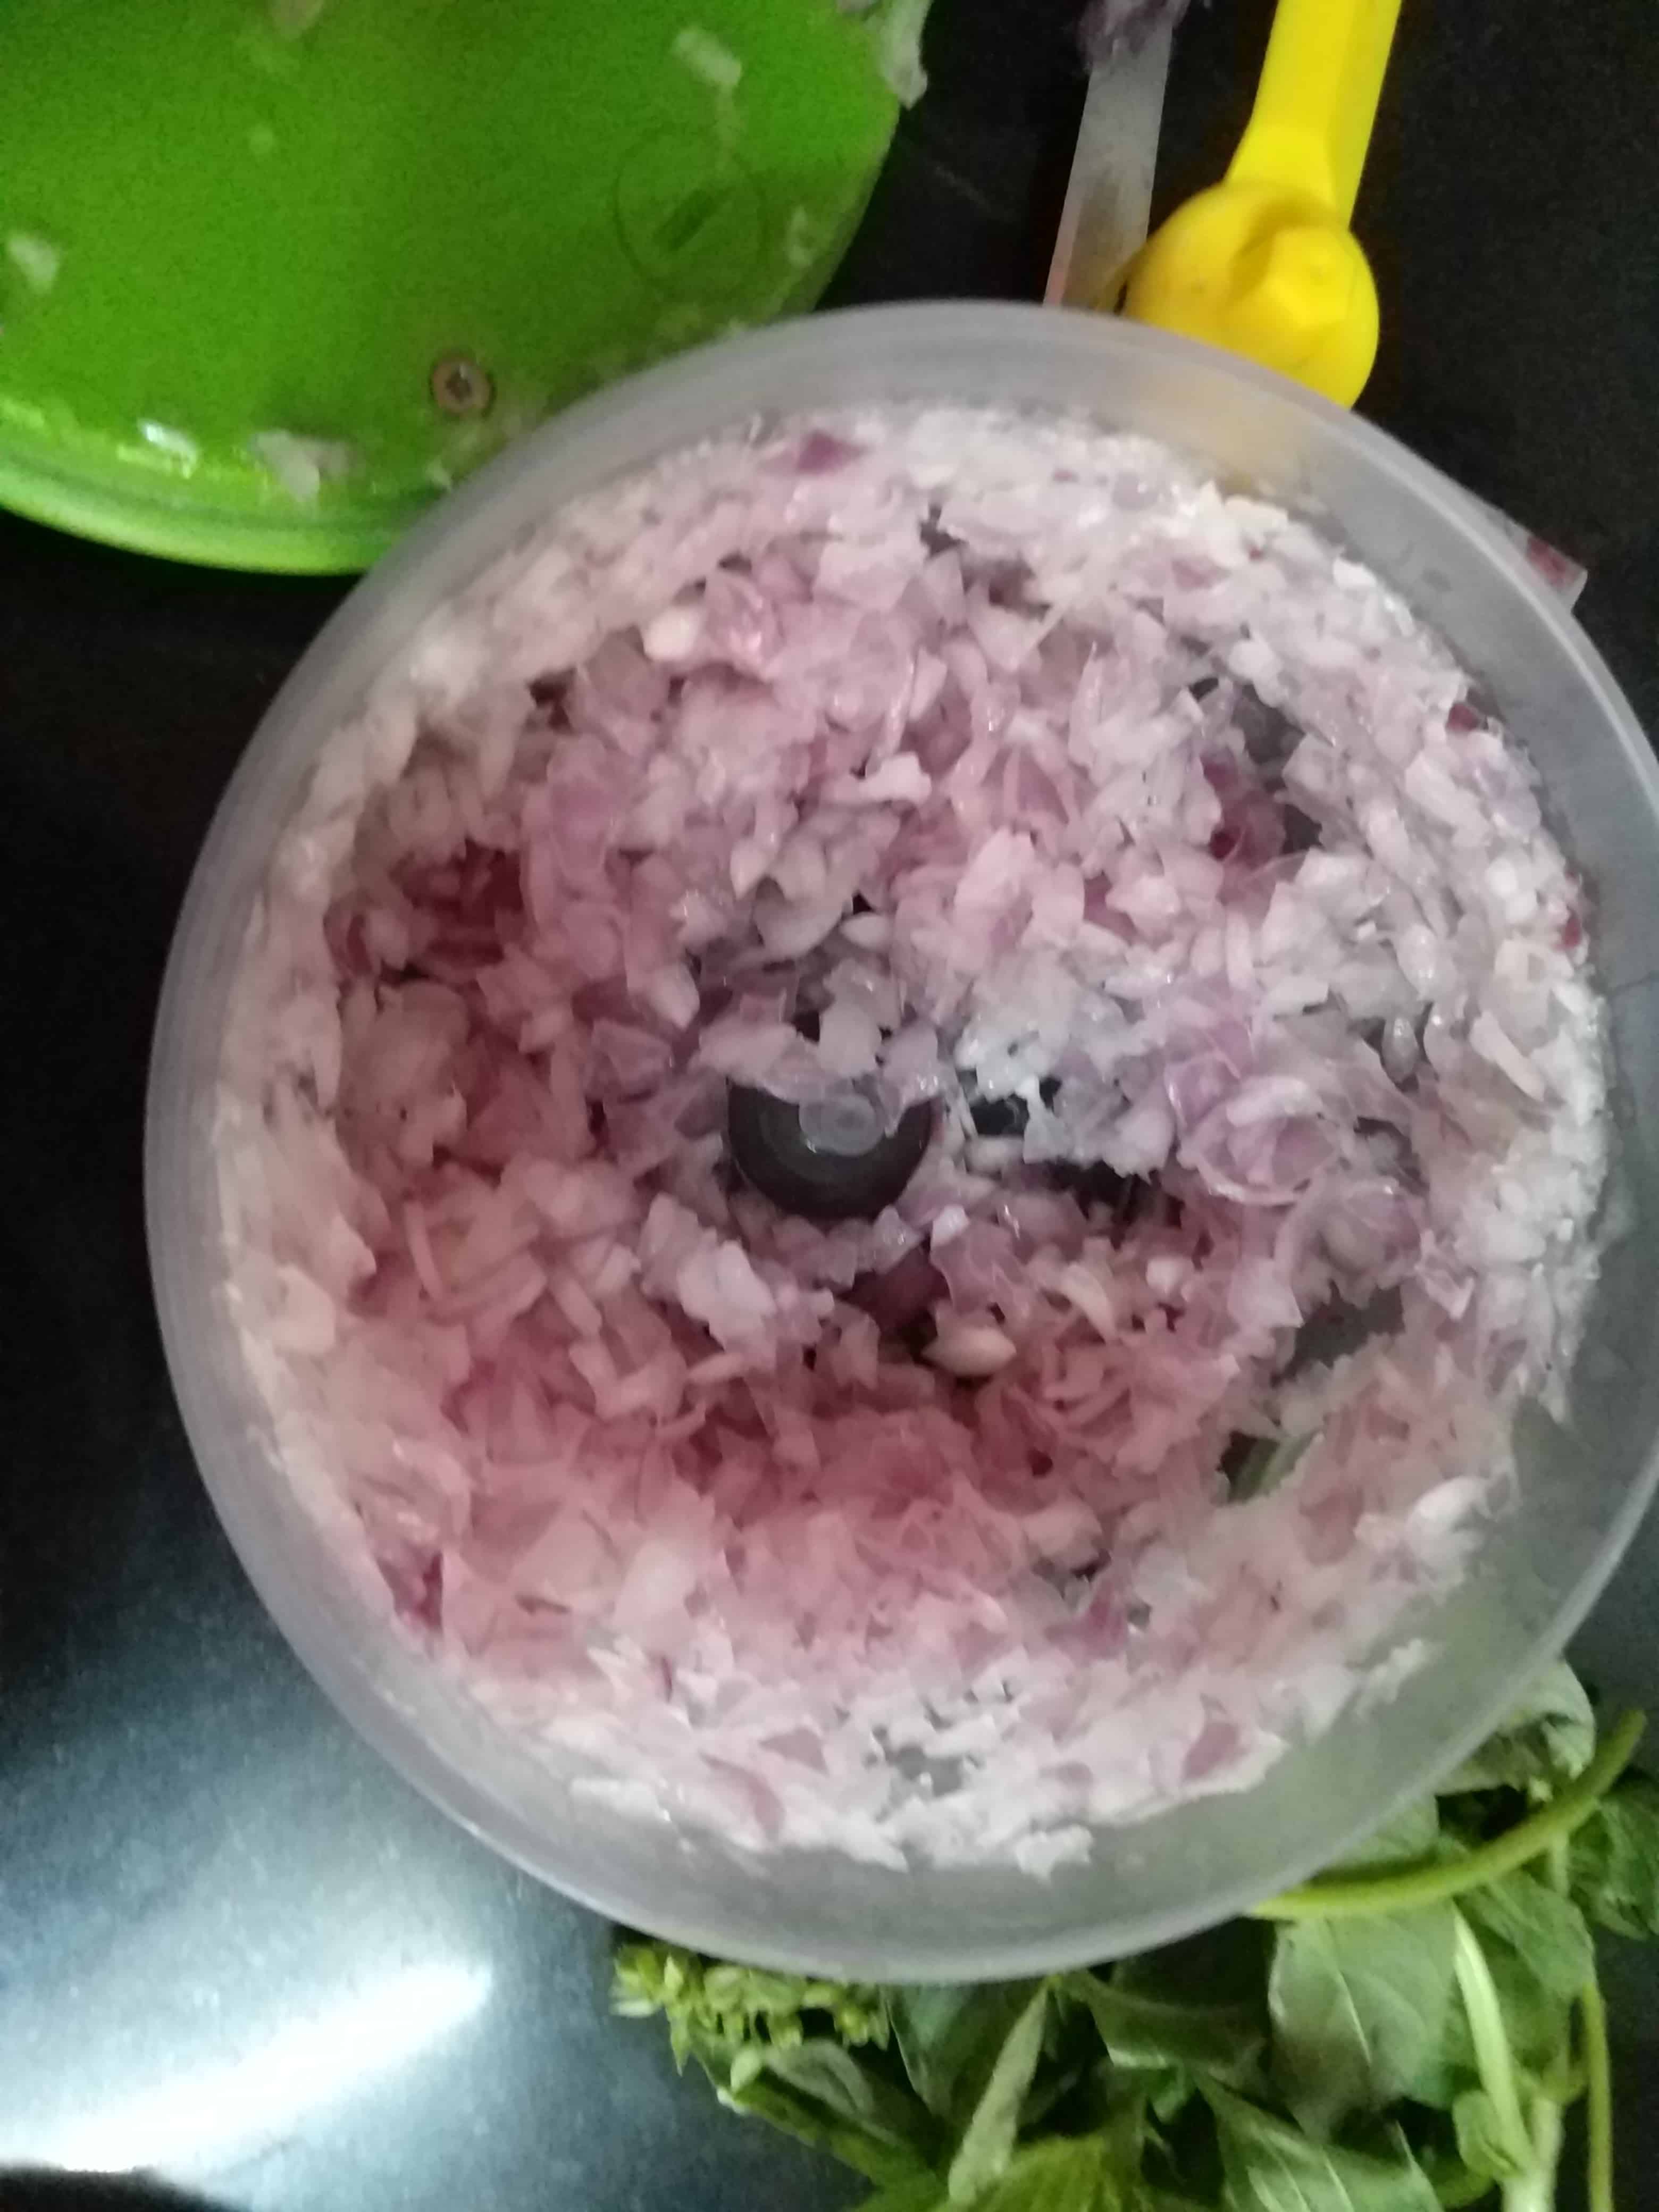
- Finely chop the onions. I have used an onion chopper to finely chop it as large pieces of veggies etc tend to tear the bread while prooving.
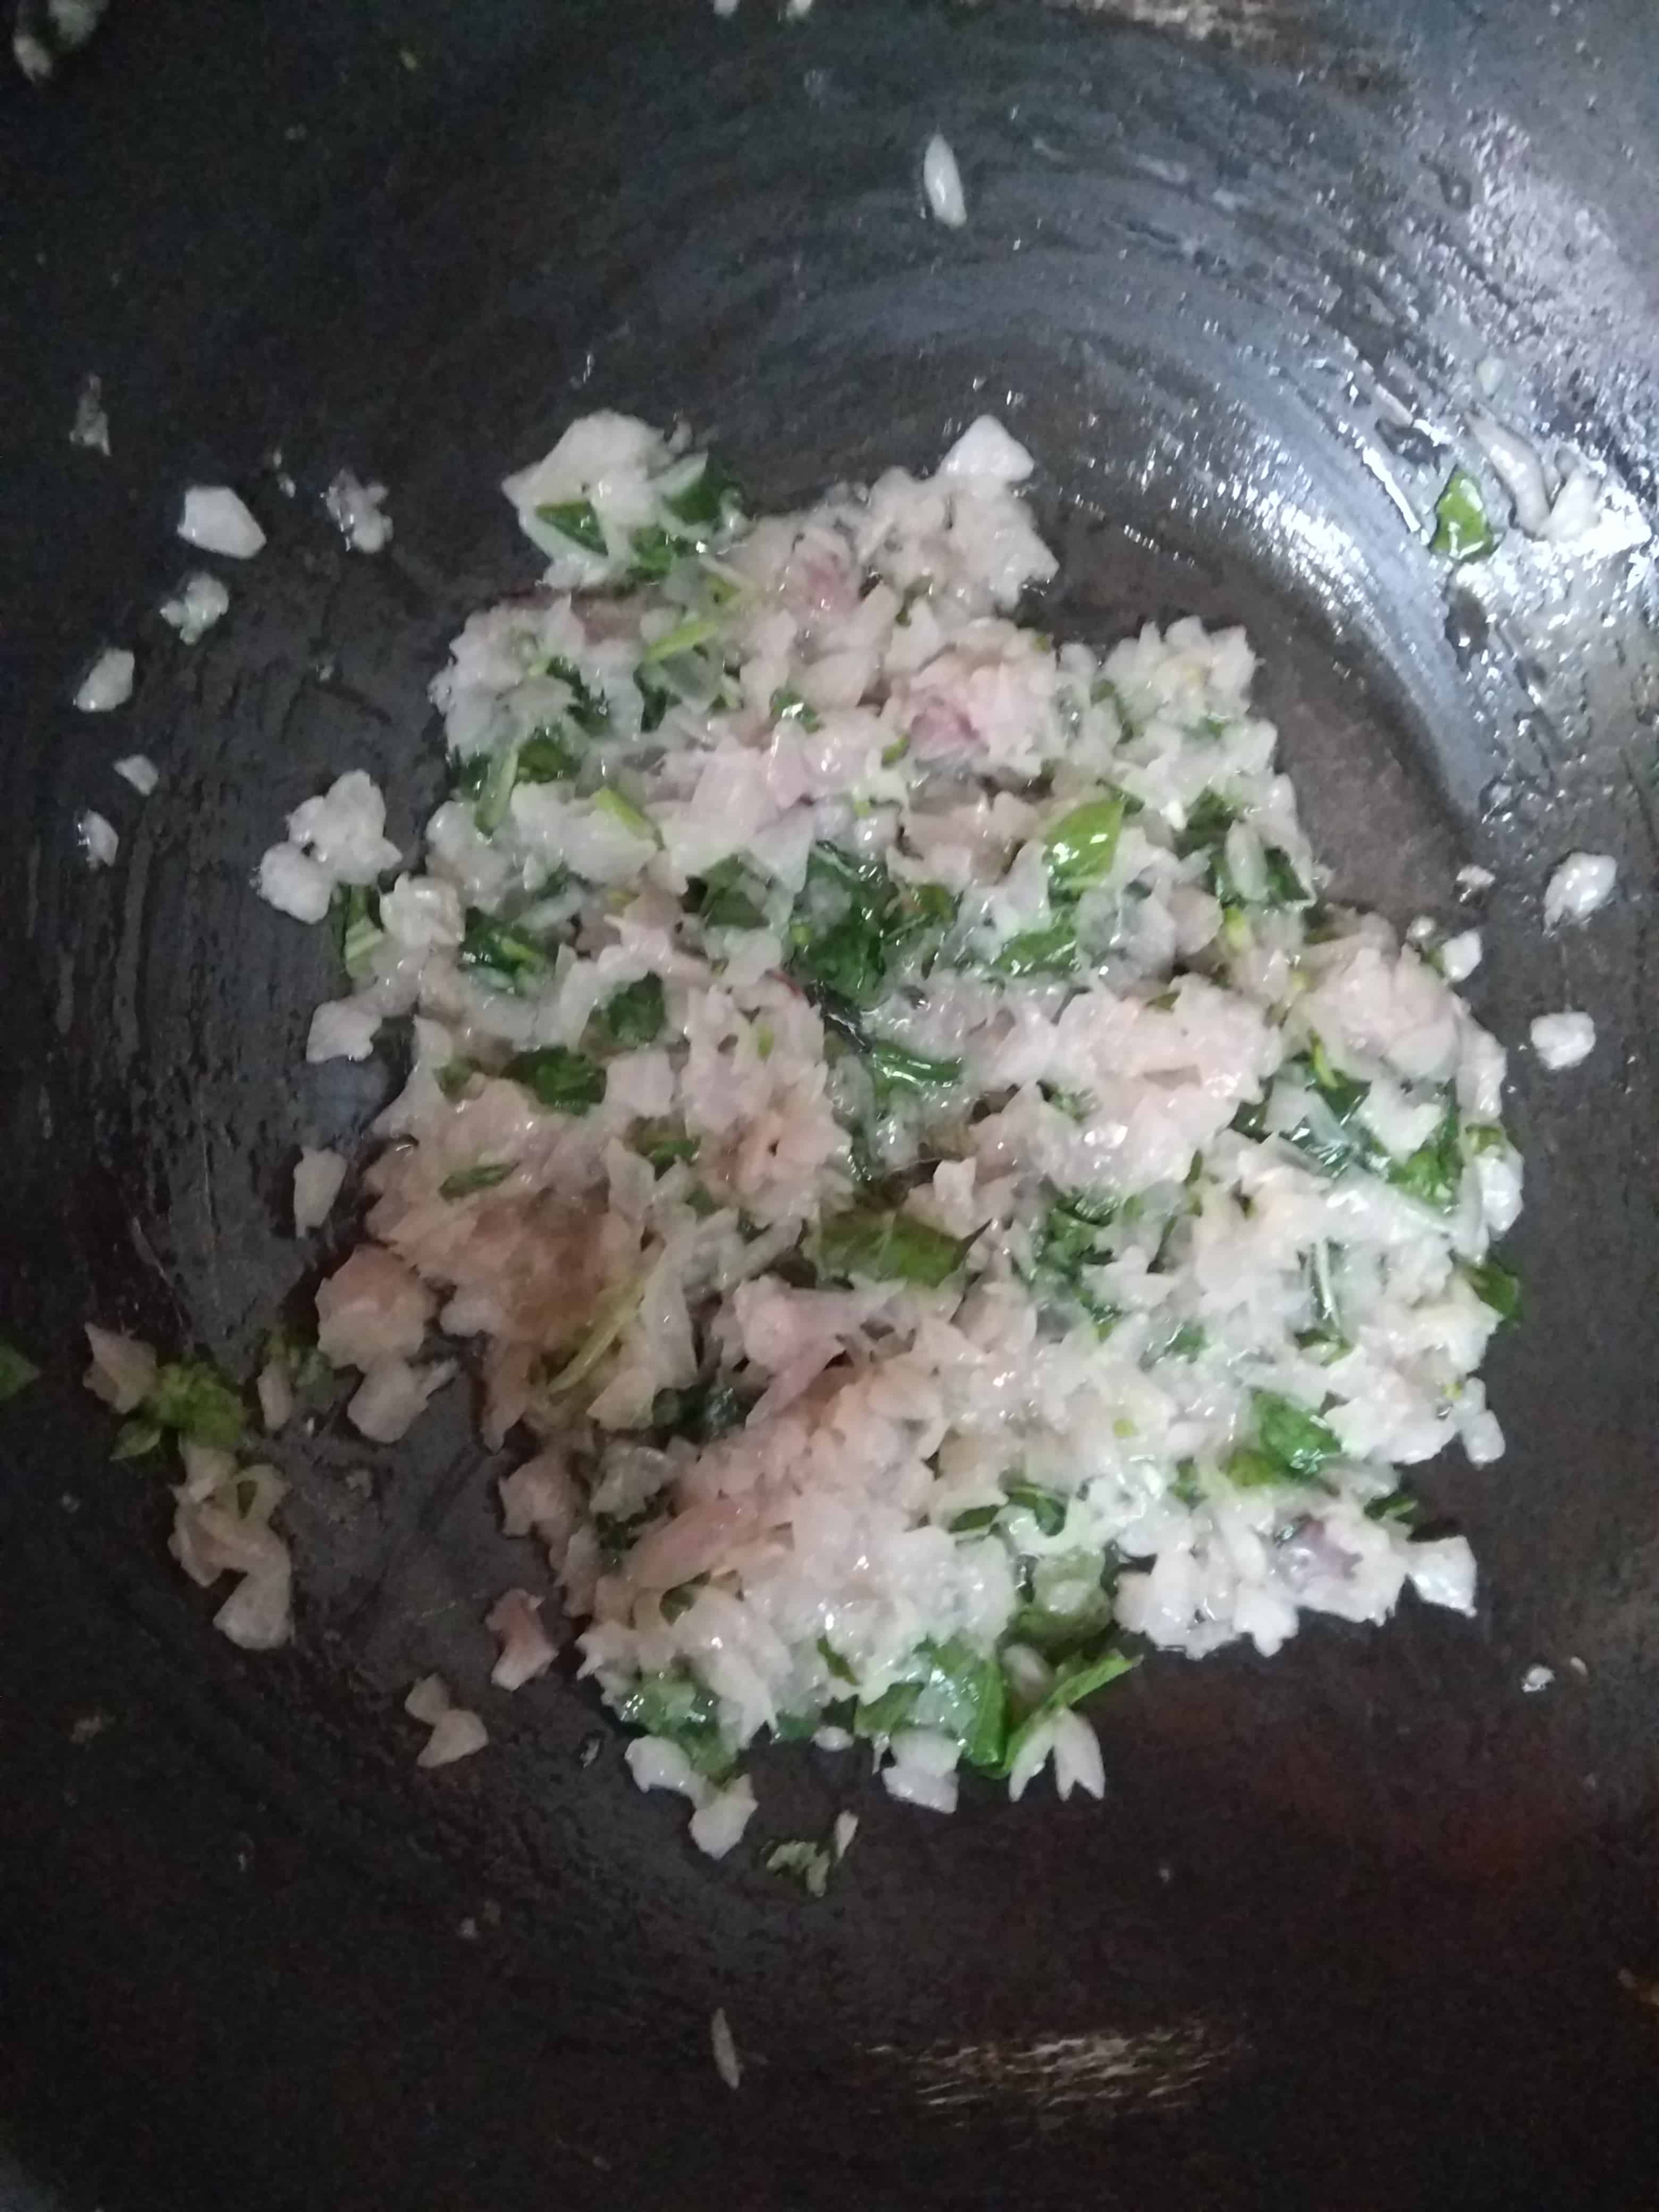
- Heat a kadhai or a non-stick pan, add olive oil and once it heats, add the finely chopped onions and allow it to caramelise slowly on a low flame. Throw in some torn basil leaves or if you don’t have fresh ones, you can use the dry herb too.
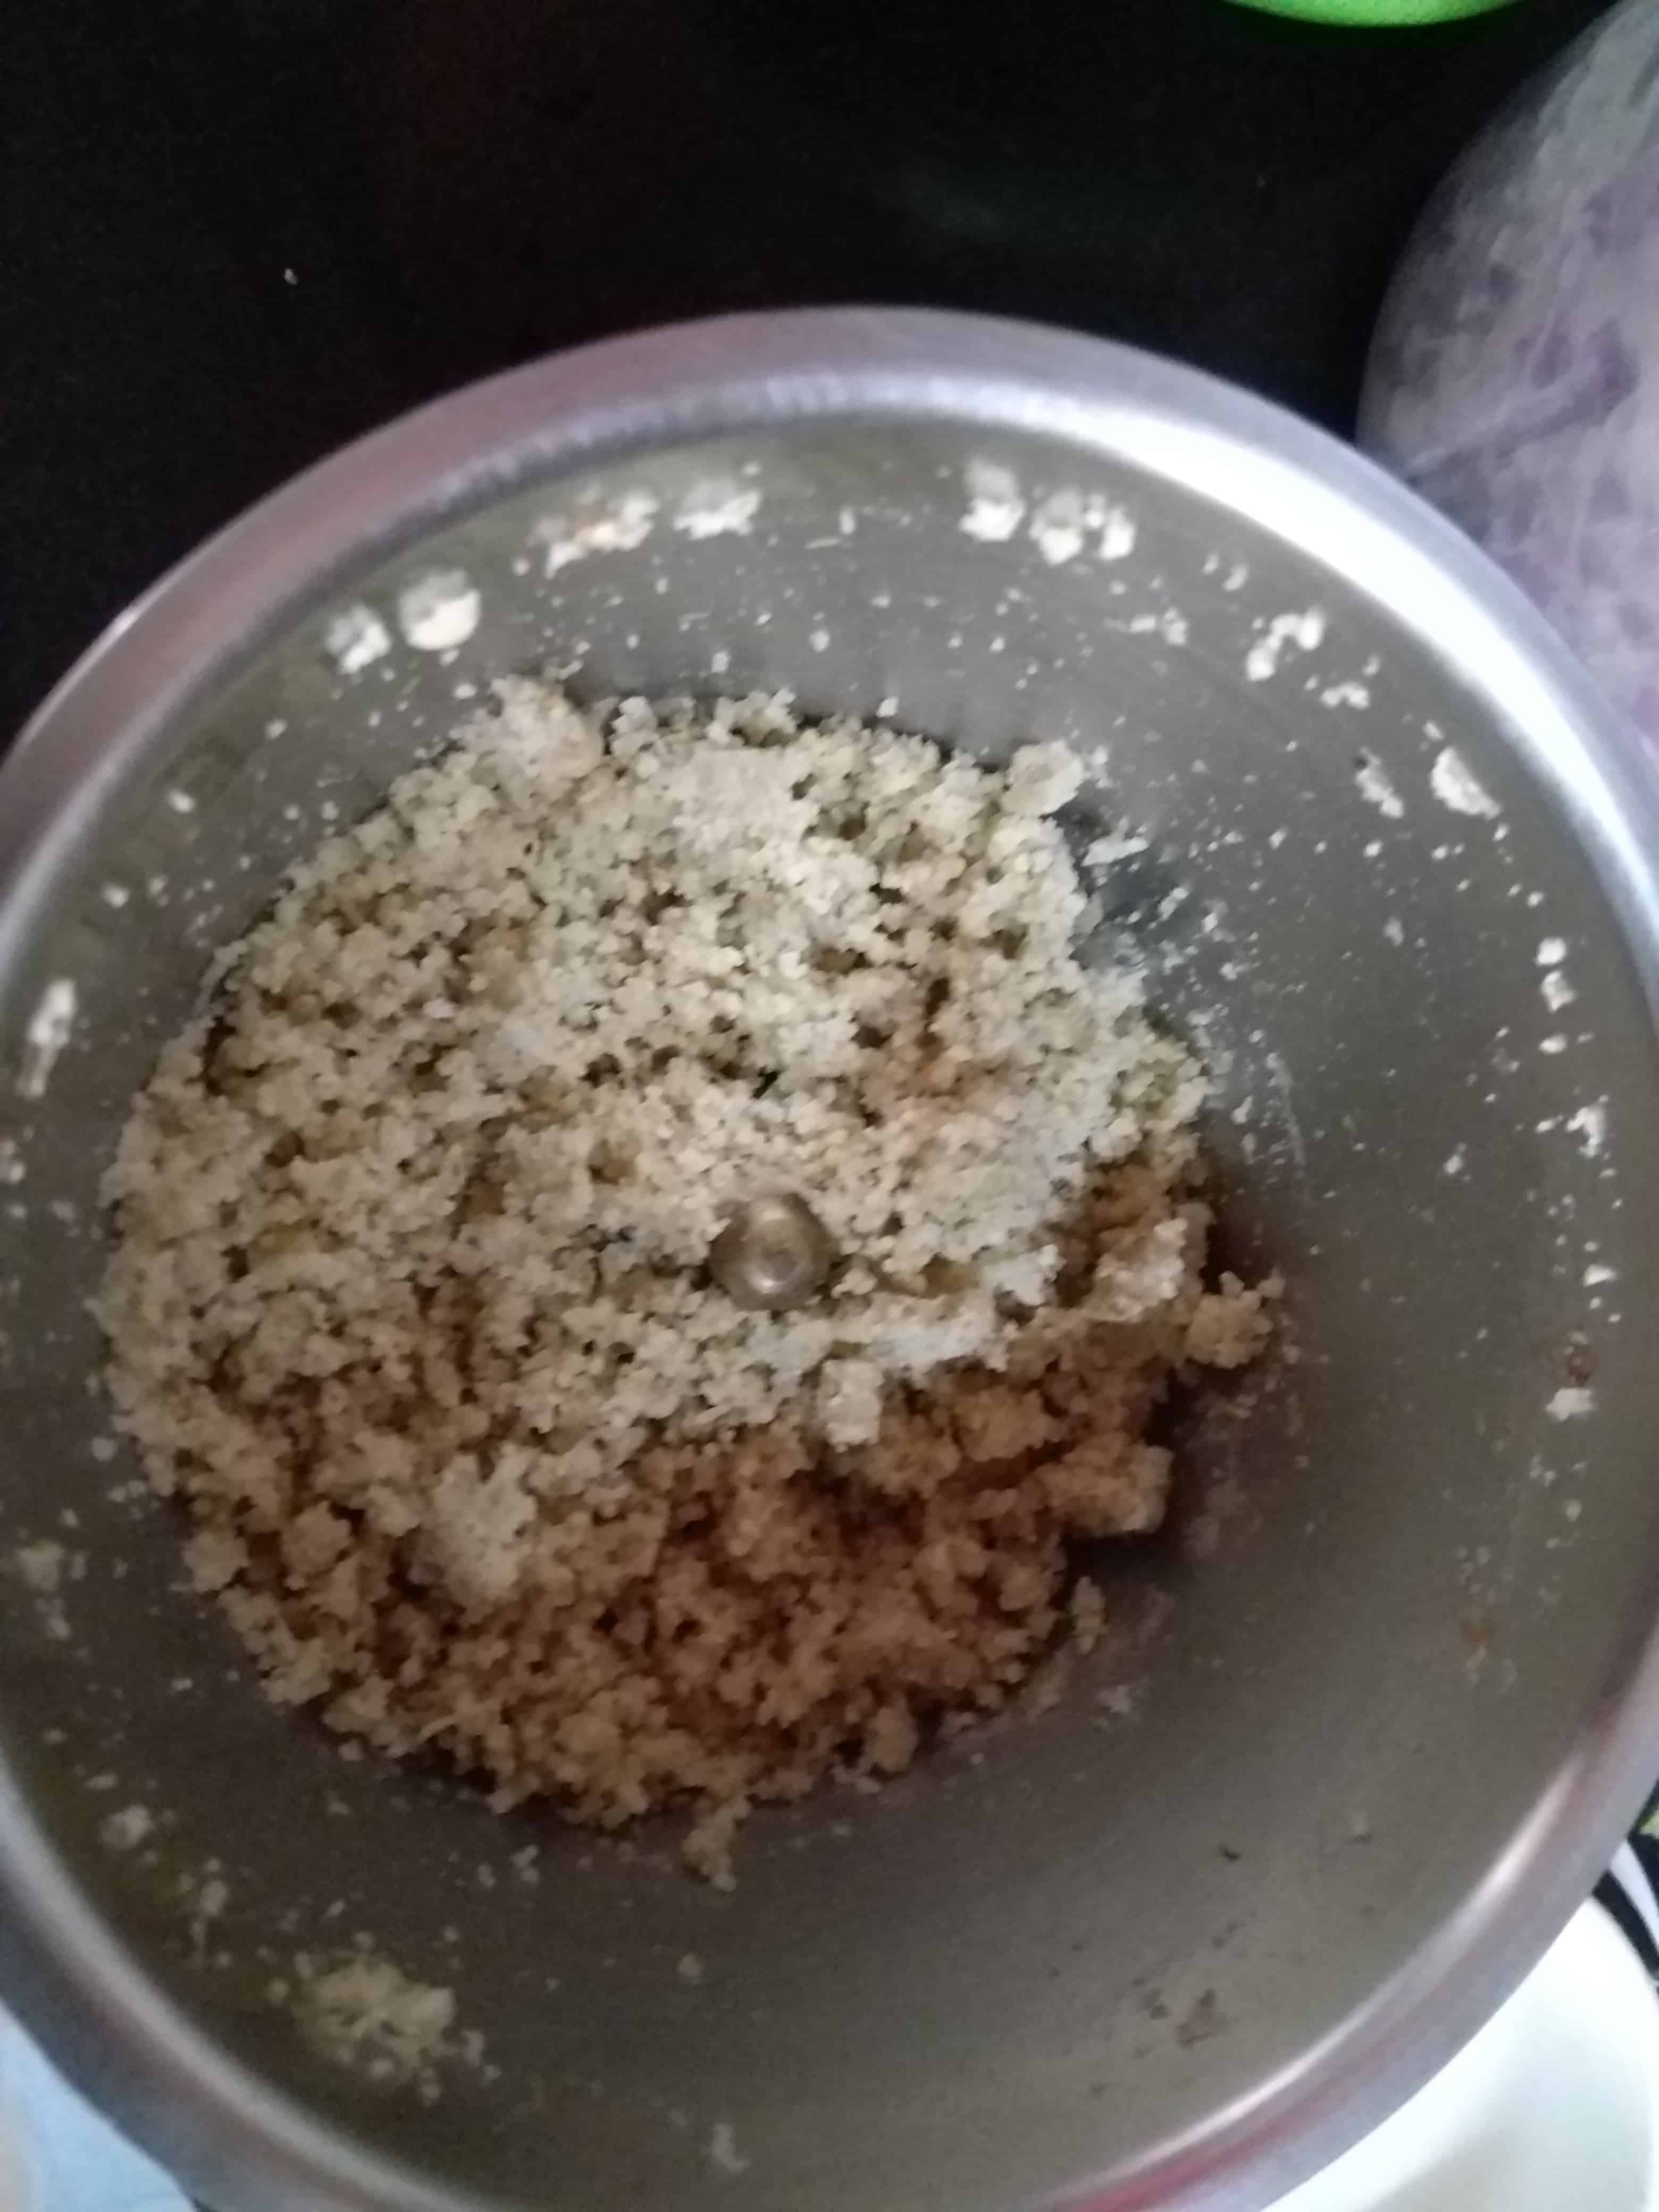
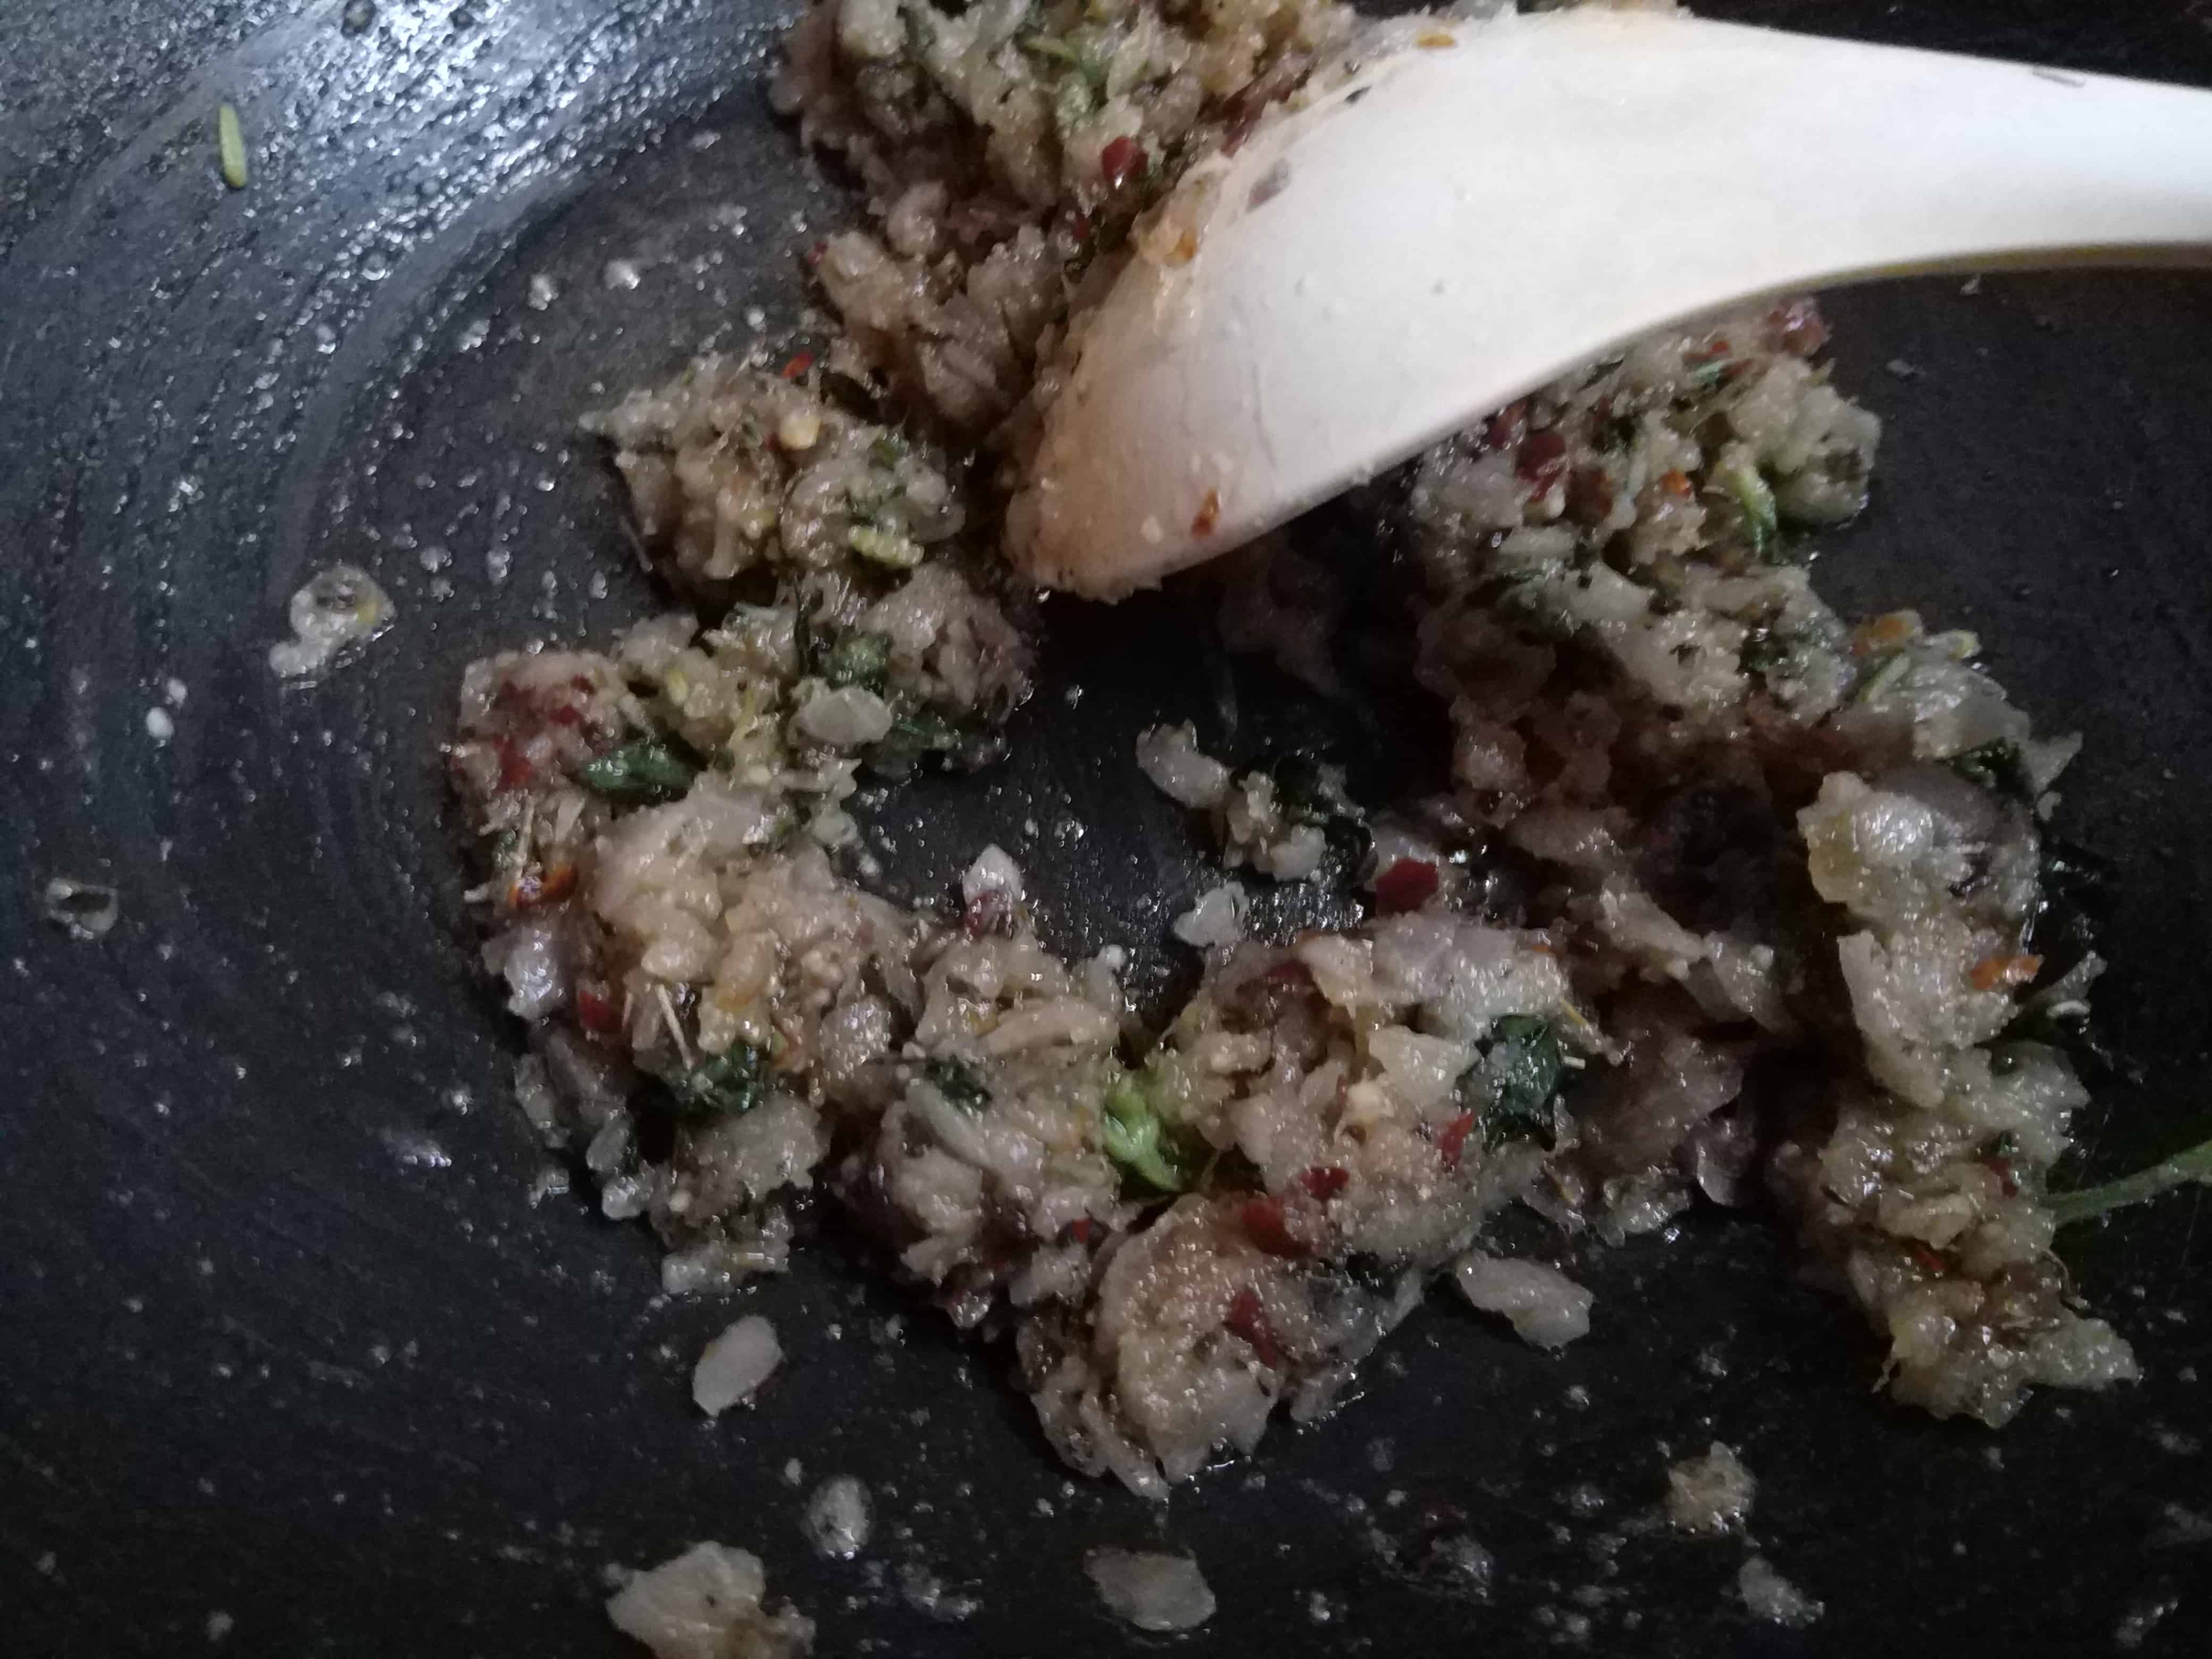
- Once the onions have caramelised, blitz the walnuts in a mixer jar coarsely and add the same to the onion mixture.
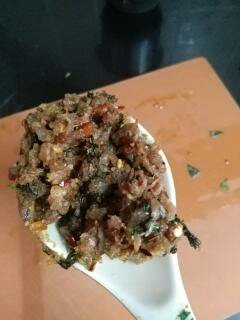
- Now add salt, red chilli flakes, salt and switch off the flame. Add the flax seeds and keep this mixture aside for cooling until room temperature for incorporating with the prooved nachni buns dough.
Method for making the Bread -
- Step 1– In case you don’t have instant yeast, take active dry yeast of the same qty and proof it. Once yeast blooms, add the mixture to the flour. PS – I prefer using instant yeast in all my bakes.
- Step 2– Grease a big bowl enough to hold a risen dough with few drops of oil.
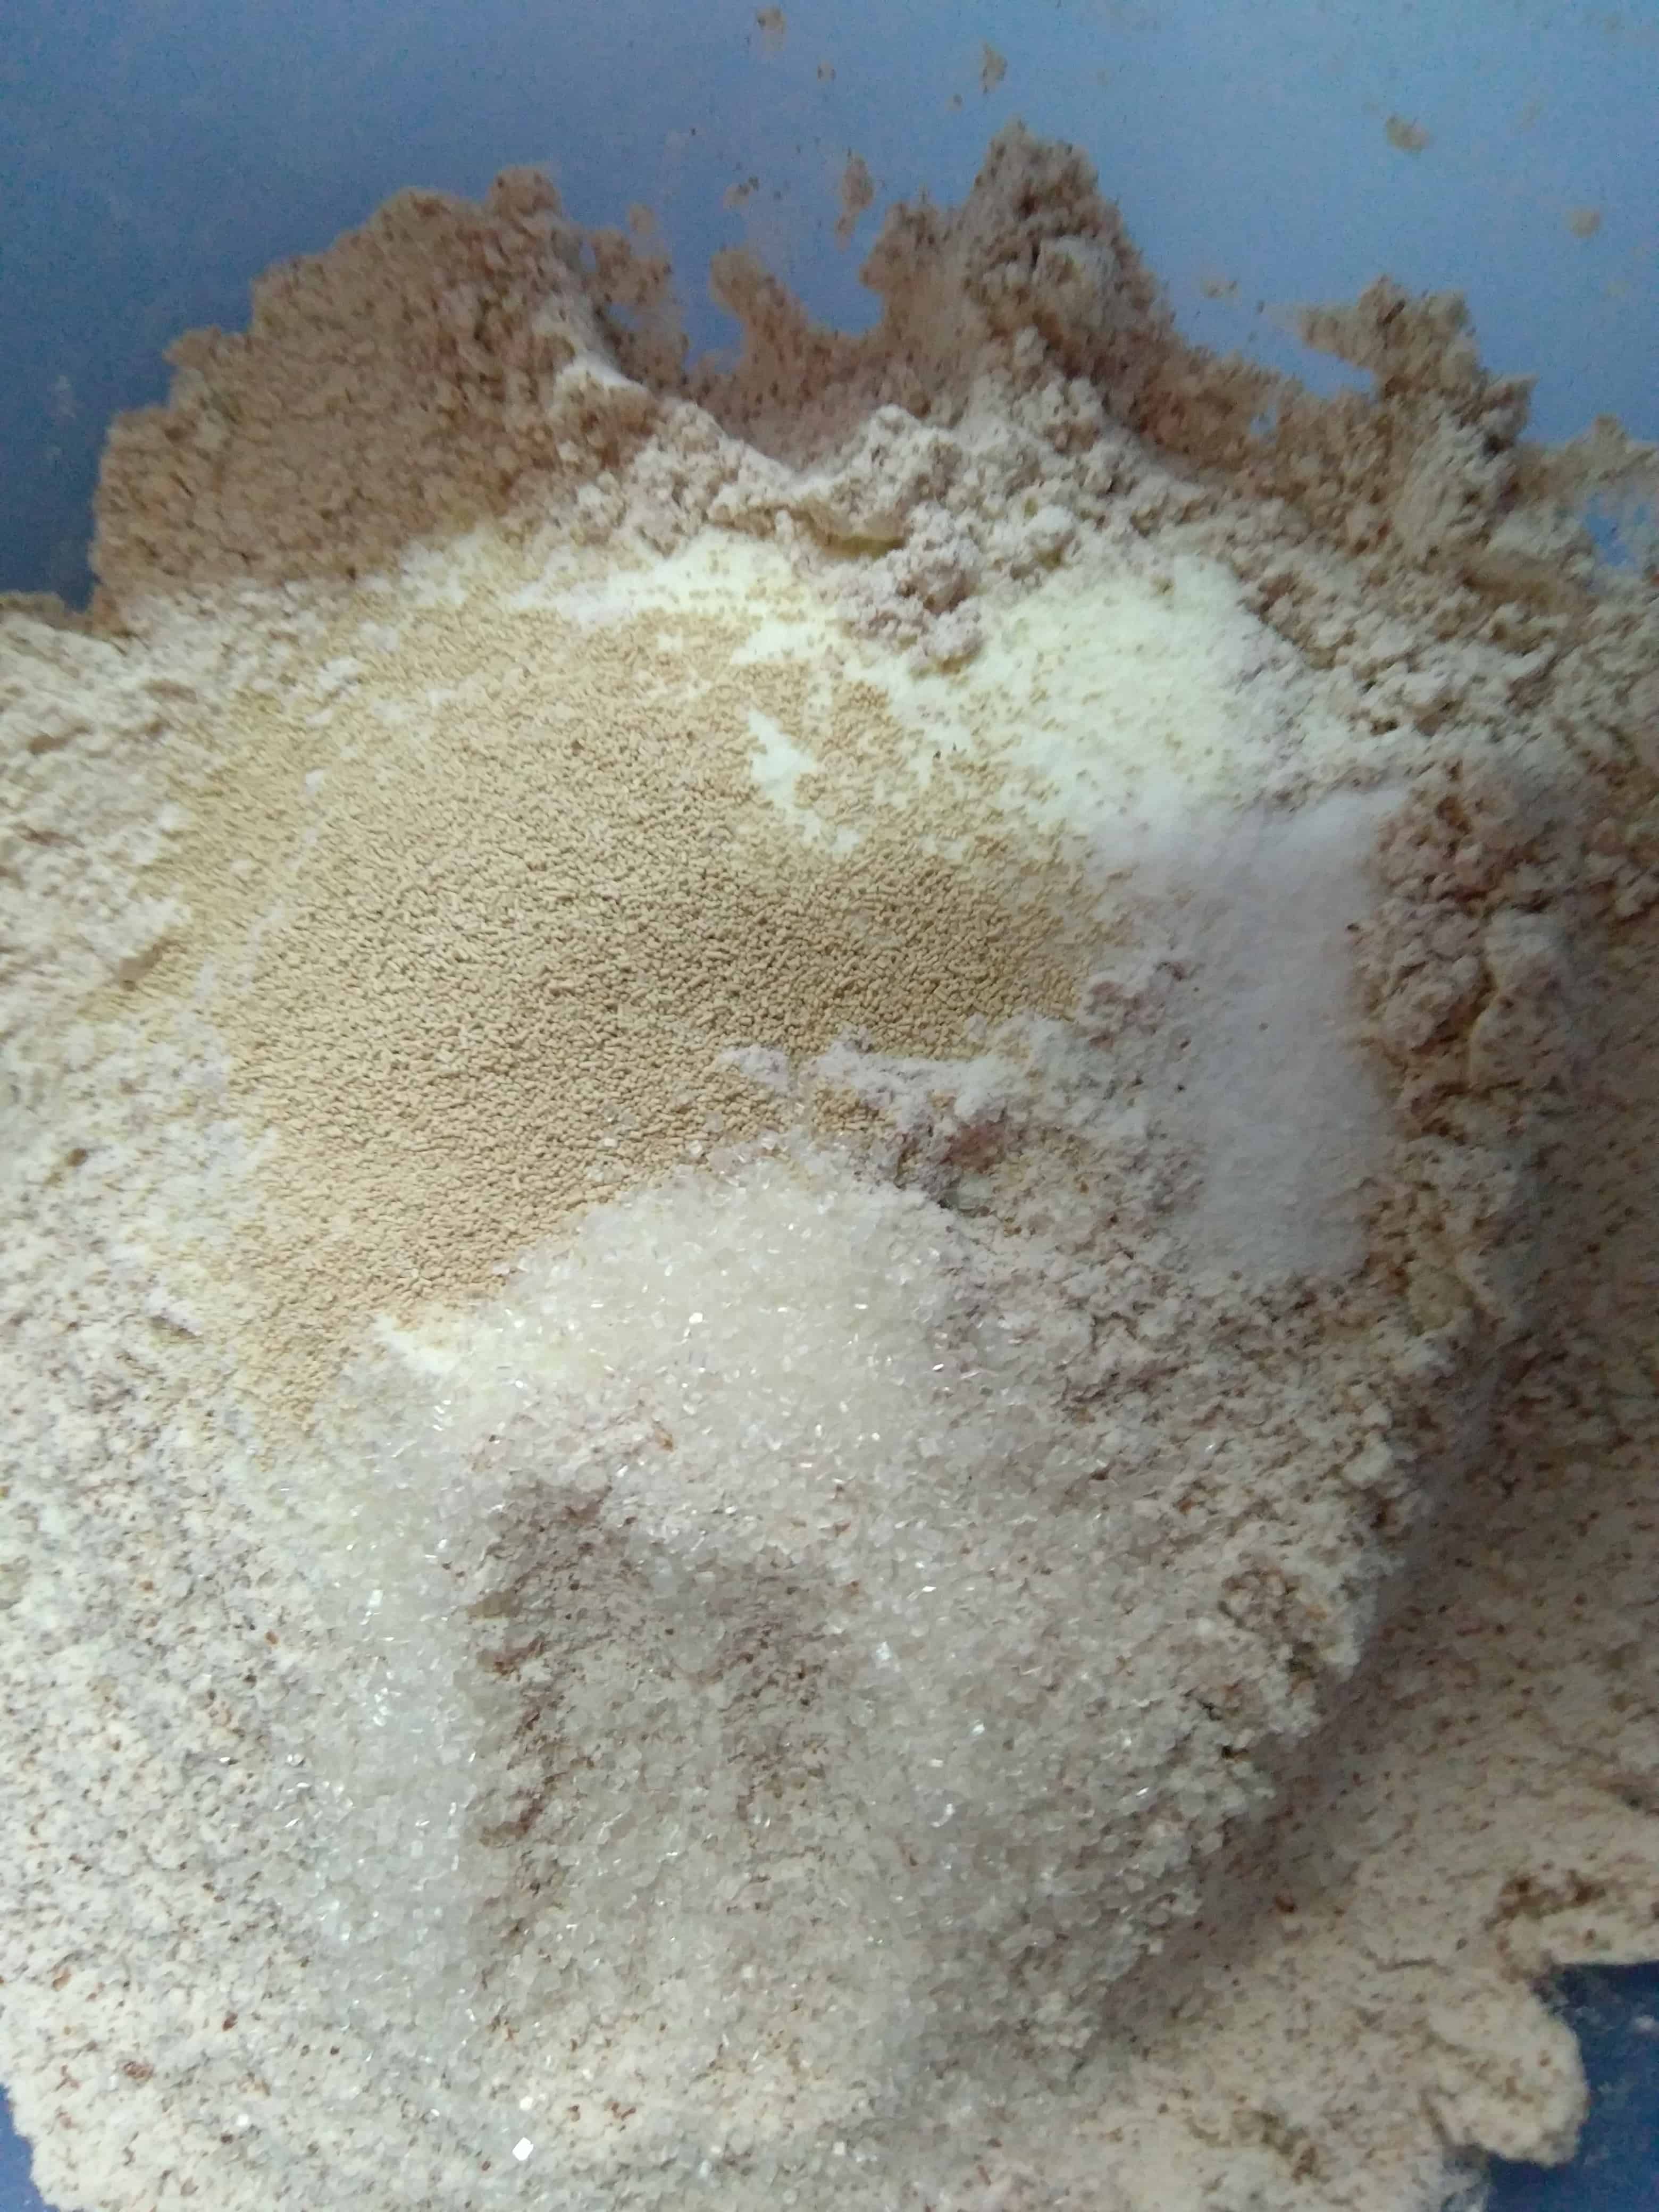
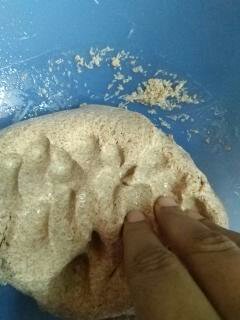
- In a separate bowl, add the flour, add salt, yeast (incase instant yeast), milk, sugar and knead the dough using lukewarm water. Add the water slowly and ensure the dough doesn’t get too sticky. Do not add the entire quantity of water while kneading, sometimes you won’t even need the mentioned quantity of water. Always feel the dough while kneading, your hands and eyes are the best judge.
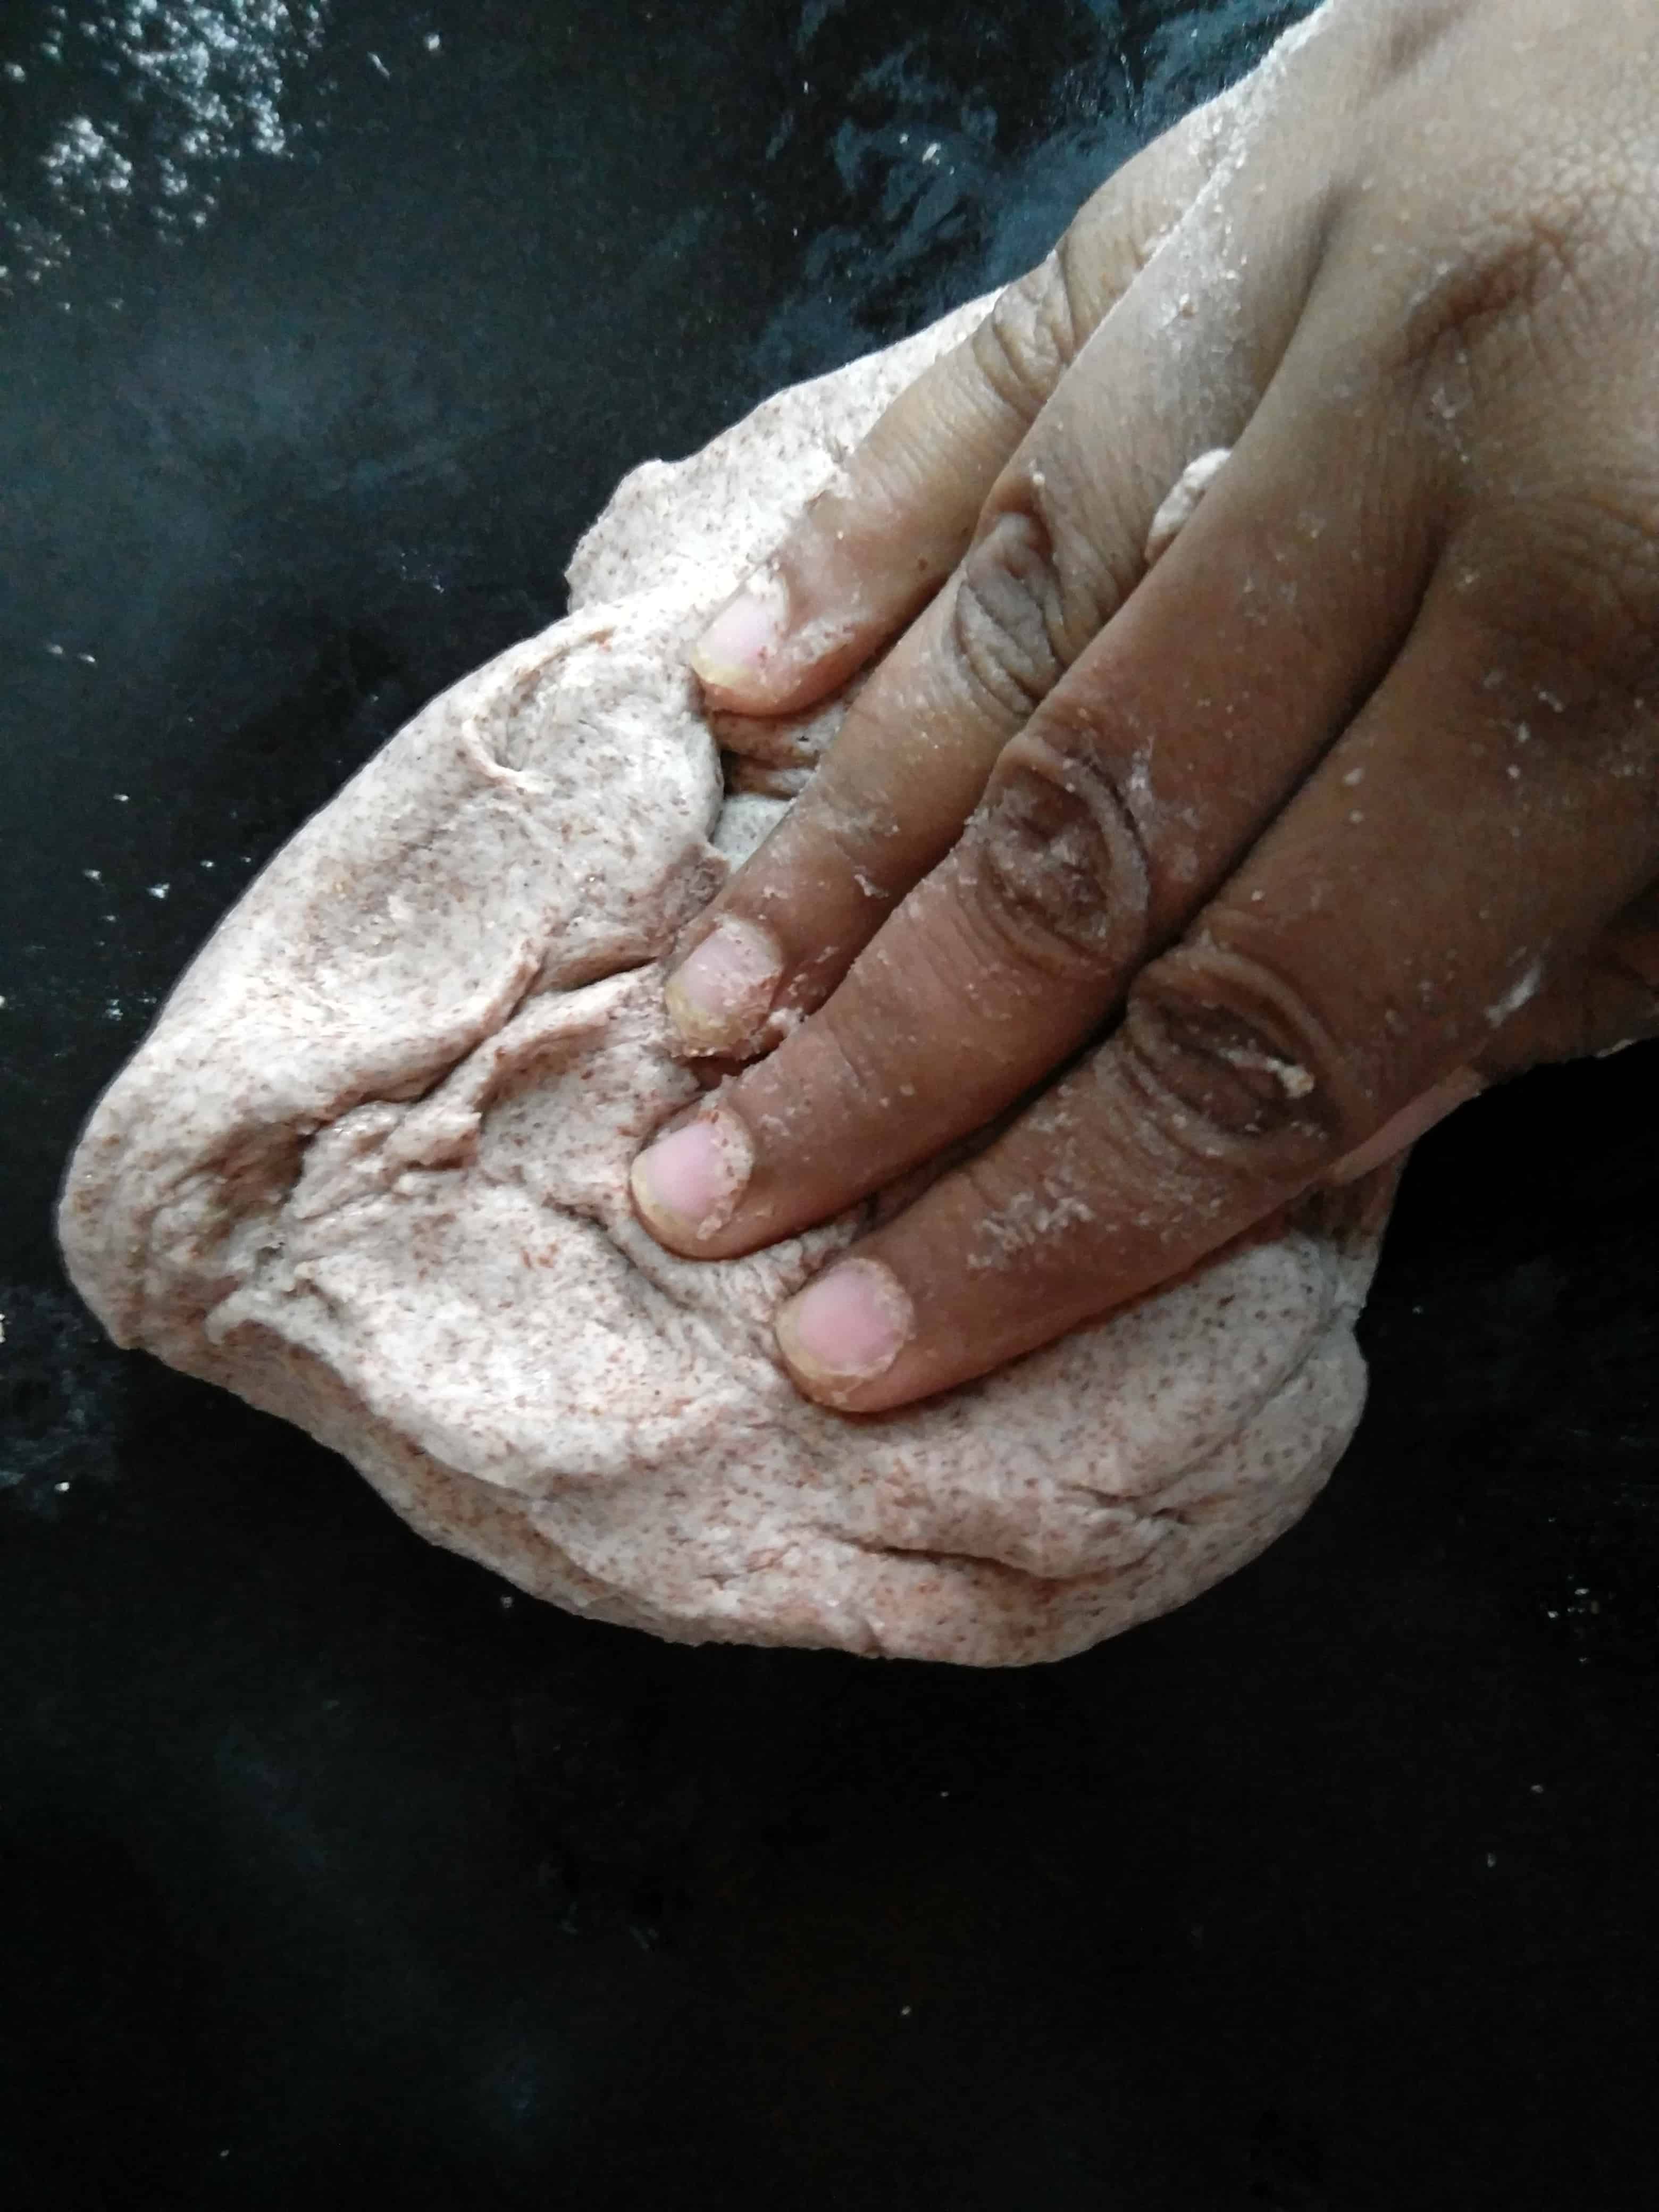
- Now place the dough on the kitchen platform or a board and put 1 tblsp of olive butter and knead the dough for roughly 7-10 mins.
- During the 10 mins of kneading, keep incorporating oil slowly. The dough should be very soft to touch after kneading.
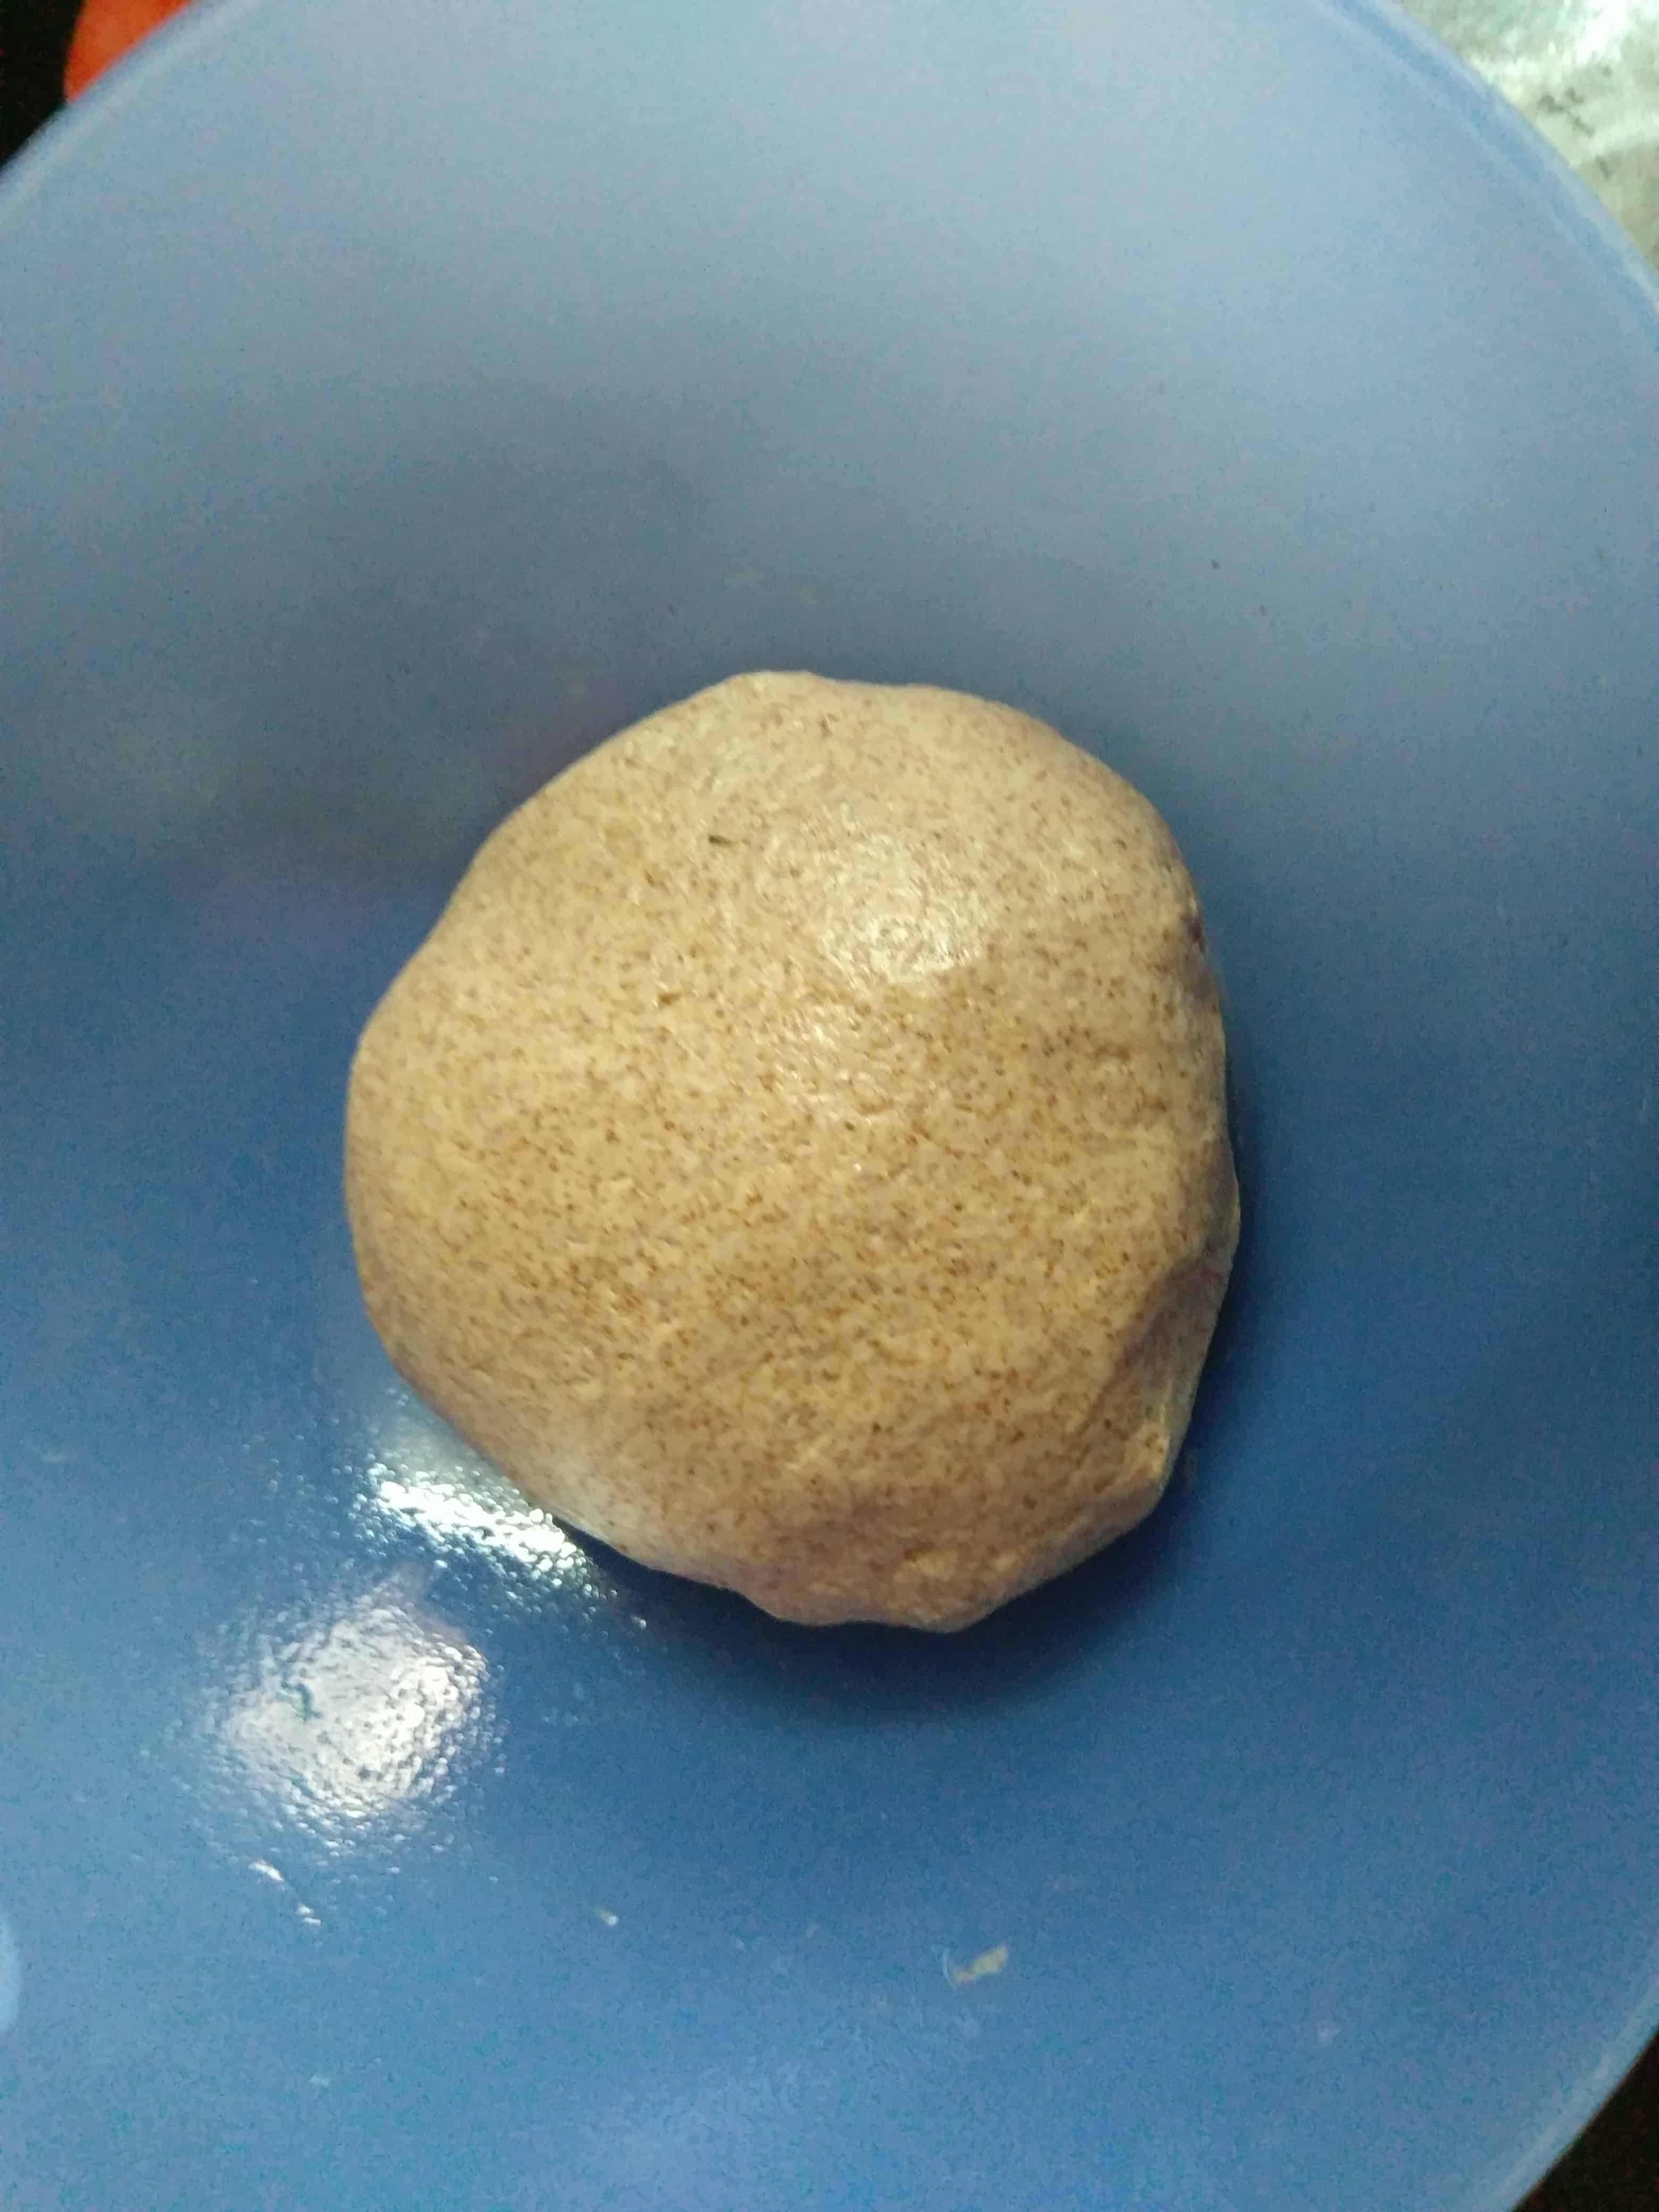
- Now carefully place the kneaded dough in a greased bowl / container for proofing (Step 2) in a warm place. Ensure you cover the dough either with a damp cloth (not wet) or keep the dough in a container with lid.
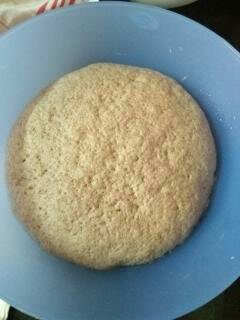
- The proving takes about 1 hour to 1.5 hours depending on weather conditions. The dough should be double in size.
- I have used very little yeast as I prefer proofing the dough for a longer time than adding extra yeast.
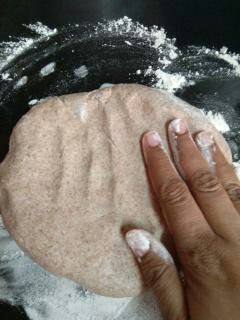
- Once the dough is proved, knock off the air by punching the dough few times. Now sprinkle some flour on the board / platform, knead the dough lightly for 5 mins.
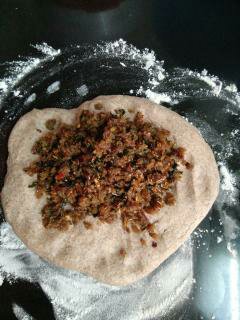
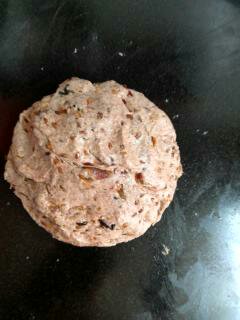
- Add the required quantity of the onion and herb mixture to the proven dough and mix it well by kneading it gently, until the mixture has coated the bread well.
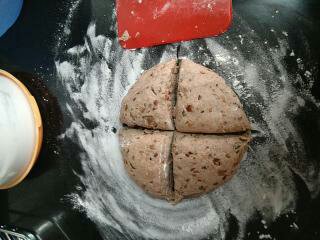
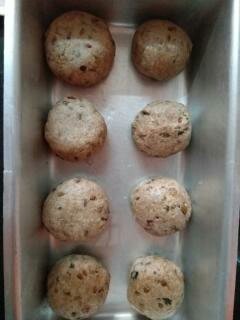
- Now, shape the balls of equal sizes, roll them nicely and place them on a greased tin within a gap of 1 inch to rise for further proving in a warm place preferably for 30-45 mins.
- Preheat the oven before baking for atleast 10 mins (hot oven) at 200 degrees.
- After the bread has proved again for the 2nd time, place them in the oven for baking at 200 degrees for 20 mins.
- Once baked, brush a bit of butter on top. Serve warm or cool.
Notes –
- These buns are or wont be super soft like your pav buns. If you want softer buns, try adding equal quantities of nachni flour and maida / APF. The maida here is added only for binding purpose.
- The yeast quantity used here is very less so the time taken for the proving was long.
- Water used for proofing and kneading the dough should be lukewarm and not hot. Hot water kills the yeast.
- Kneading makes the dough soft and ensures proper mixing of all ingredients, ensures soft bread. So ensure you knead the dough for a good 7-10 mins.
- Point No. 7 – During summers, the dough rises fast as compared to winters / monsoon so your dough might take 35-40 mins. The dough should be double in size. That’s the only indication.
- The tin used for baking the pav should be atleast 2 inches in height that can hold the shape of pav. Don’t bake the pavs in a very flat sheet.
- Distance of 1 inch between the pavs during 2nd proving will allow the pav to rise.
If you like & appreciate my work, please subscribe to the blog and receive the recipes via email. You may also follow me on social media and encourage my work, links given below. Cheers!
- Twitter - https://twitter.com/masalachilli
- Facebook Page - https://www.facebook.com/MasalachillibyVidyaNarayan/
- Pinterest - https://in.pinterest.com/masalachilli
- Instagram https://www.instagram.com/masalachilli_vidyanarayan/
- Google+ Masala Chilli
Vidya Narayan