


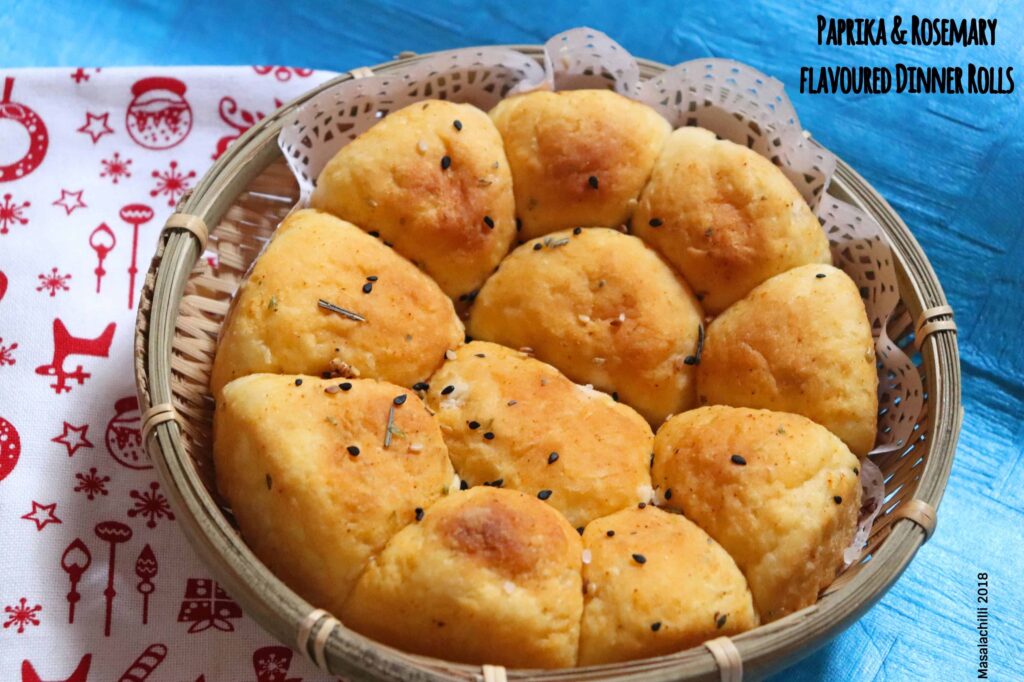
Paprika and Rosemary Flavoured Dinner Rolls
I hope you have gone through my earlier post on A Beginners guide to successfully baking a bread loaf at home – White Sandwich Bread. If not, please do go through the post to learn / read all the tips and tricks before trying the next bake here – The APF Paprika and Rosemary Flavoured Dinner Rolls Recipe. Perfect to have with a bowl of hot soup as an early dinner option or pack some in a lunch box along with a delicious sabzi / gravy / curries, be it anything, you will fall in love with these dinner rolls.
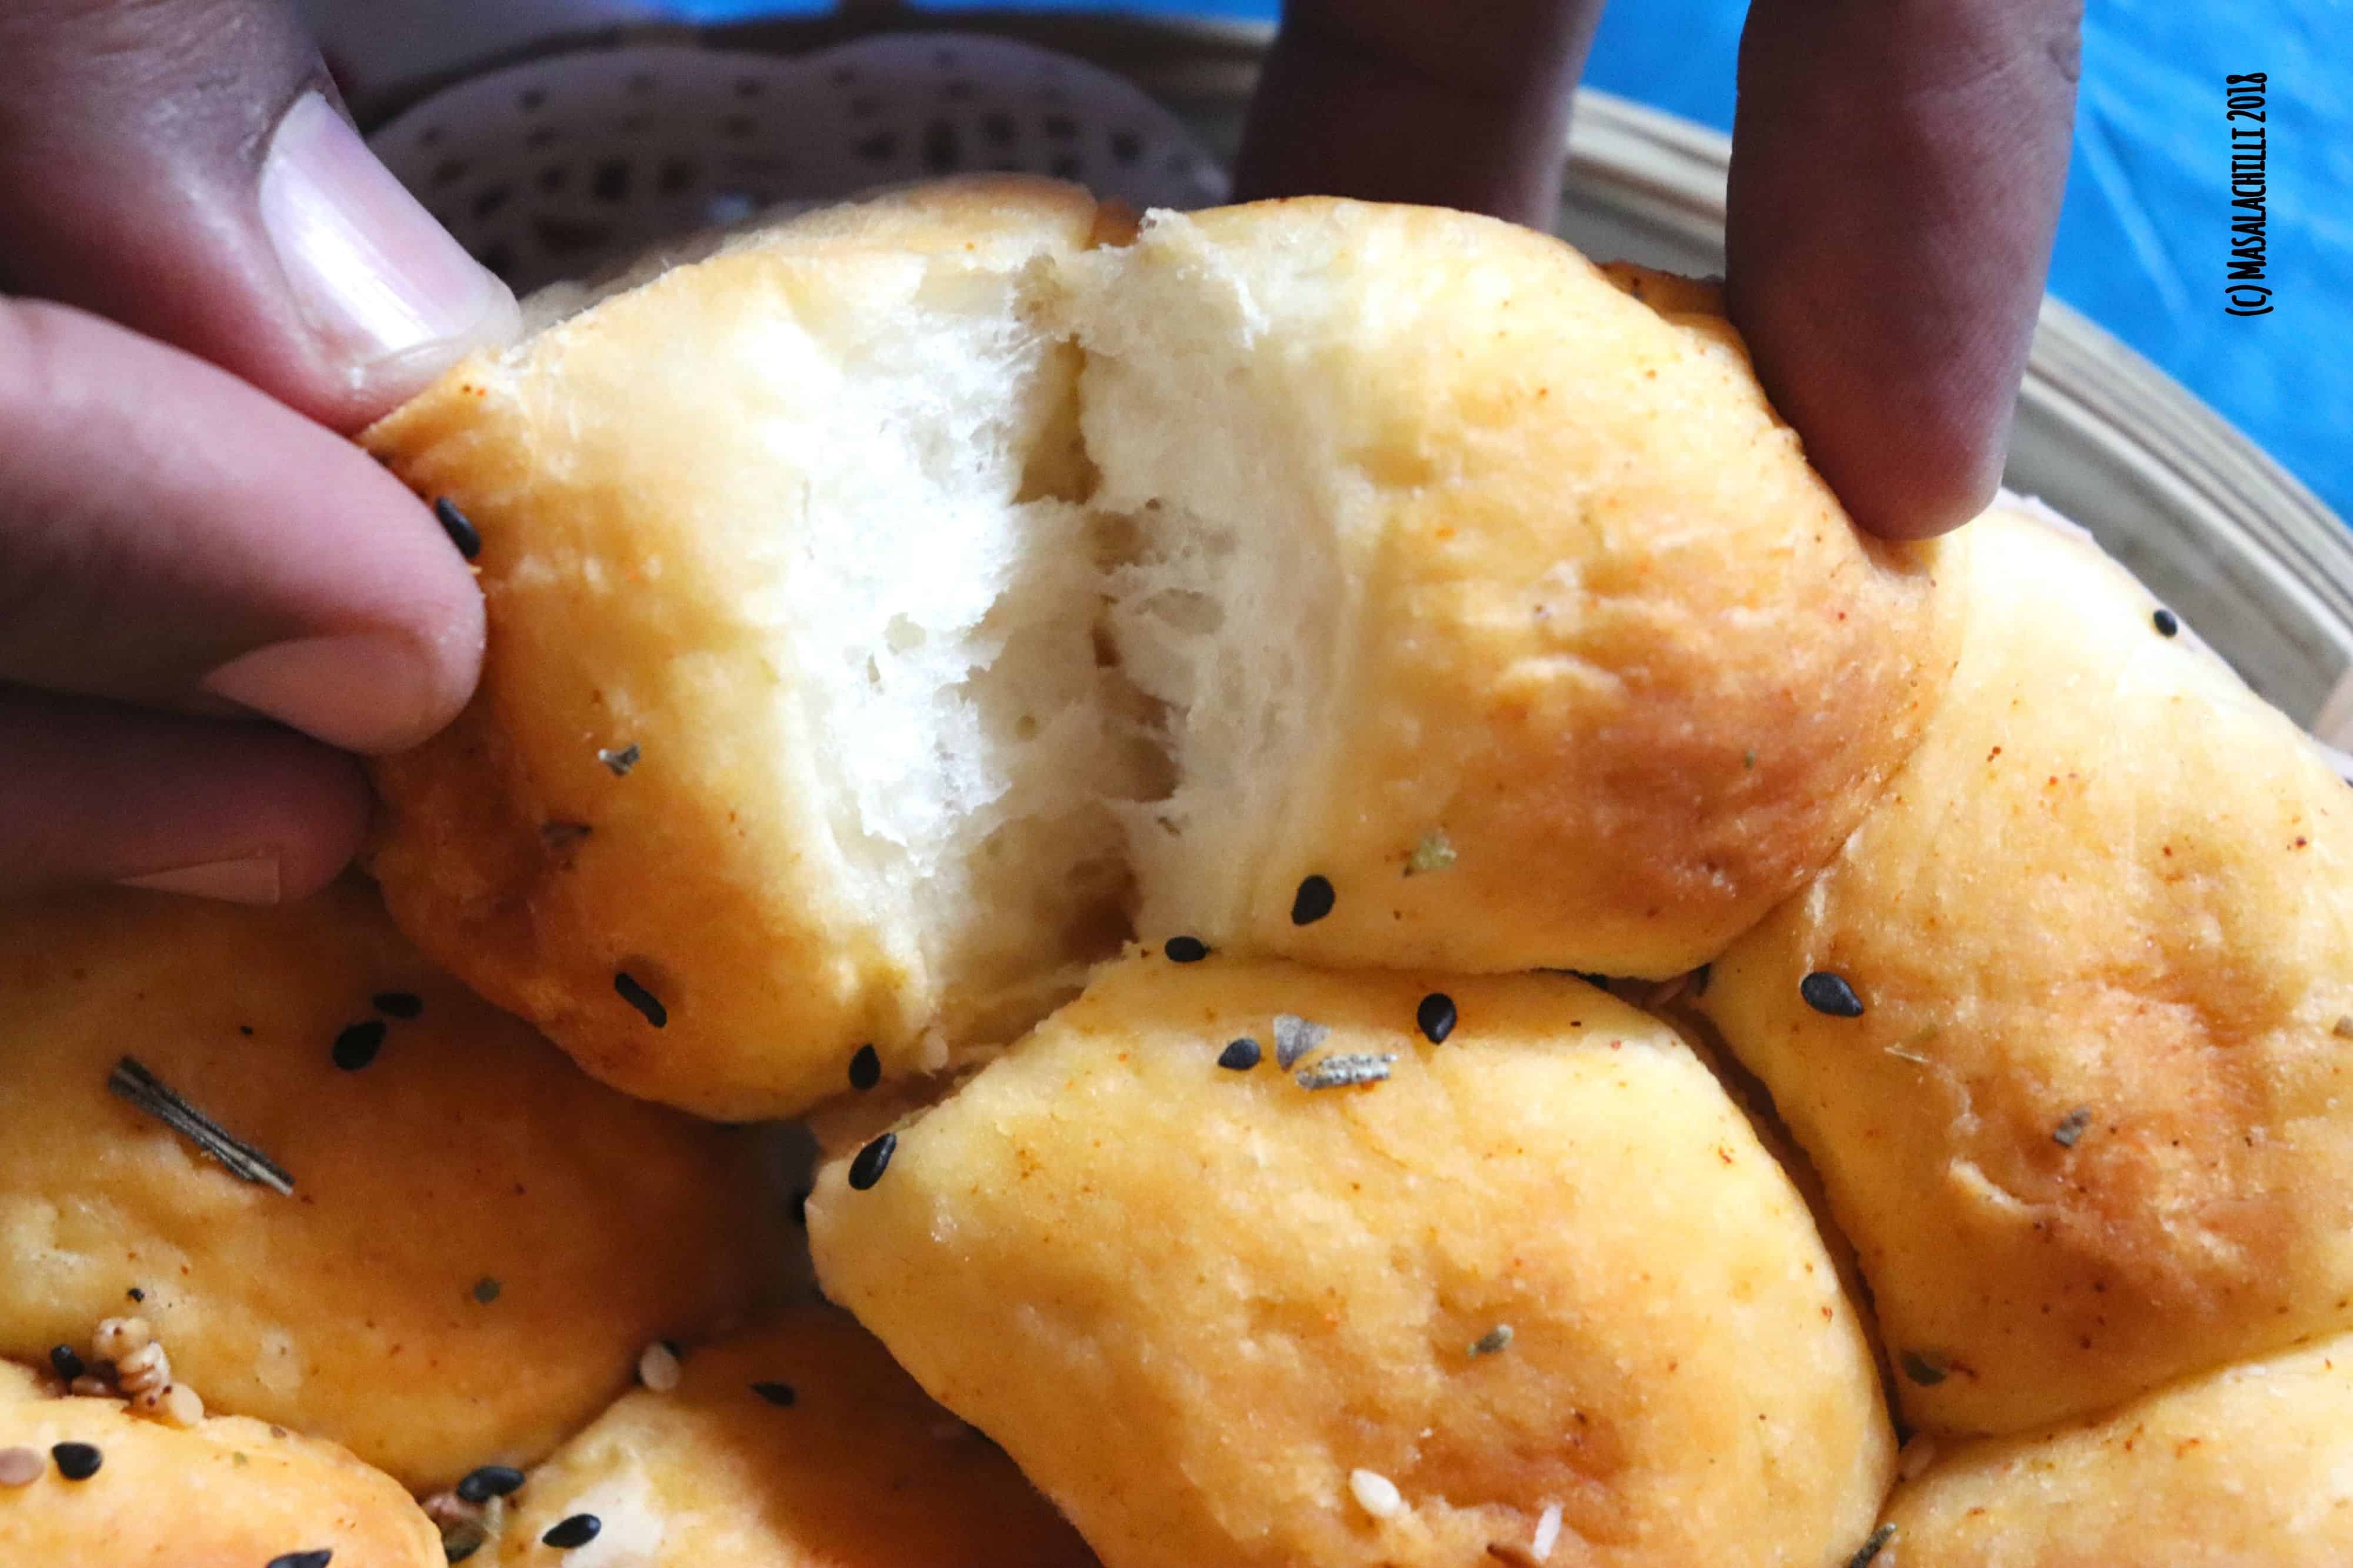

Paprika and Rosemary are two of my favourite ingredients and it is quite evident or rather I may say prominent in most of my bakes. A Focaccia baked last month had loads of fresh rosemary and Paprika was added in both my bakes and recently in a Spiced Mulberry Cooler too. The flavours are subtle and paprika lends a great colour and depth / flavor to any dish. You just need to pair it well with ingredients to derive maximum flavours. Couple of months ago when Pineapples were in season, I made a Chunky Pineapple chutney that was spiced with Paprika and wiped clean at home within few days.
This recipe like many of my April posts has been delayed due to a busy March month. I wanted to send out the White Sandwich Bread first and then post this later so that people who are trying to practice bread at home can experiment and get a hang of things easily.
Since its vacations for most kids all over, such recipes are certainly welcome when the demand for snacks are always high. Lets face it, the more they play, the more energy they require. Rather than opting for harmful preservative loaded breads from the market, baking a bread is much easier and healthier, even though its APF. This is what I believe. Although, I have baked a whole wheat version of the same dinner rolls and they have come out really soft. But if you are a hardcore Mumbaite like me, you will definitely love your APF Buns or Rolls more than the whole wheat.
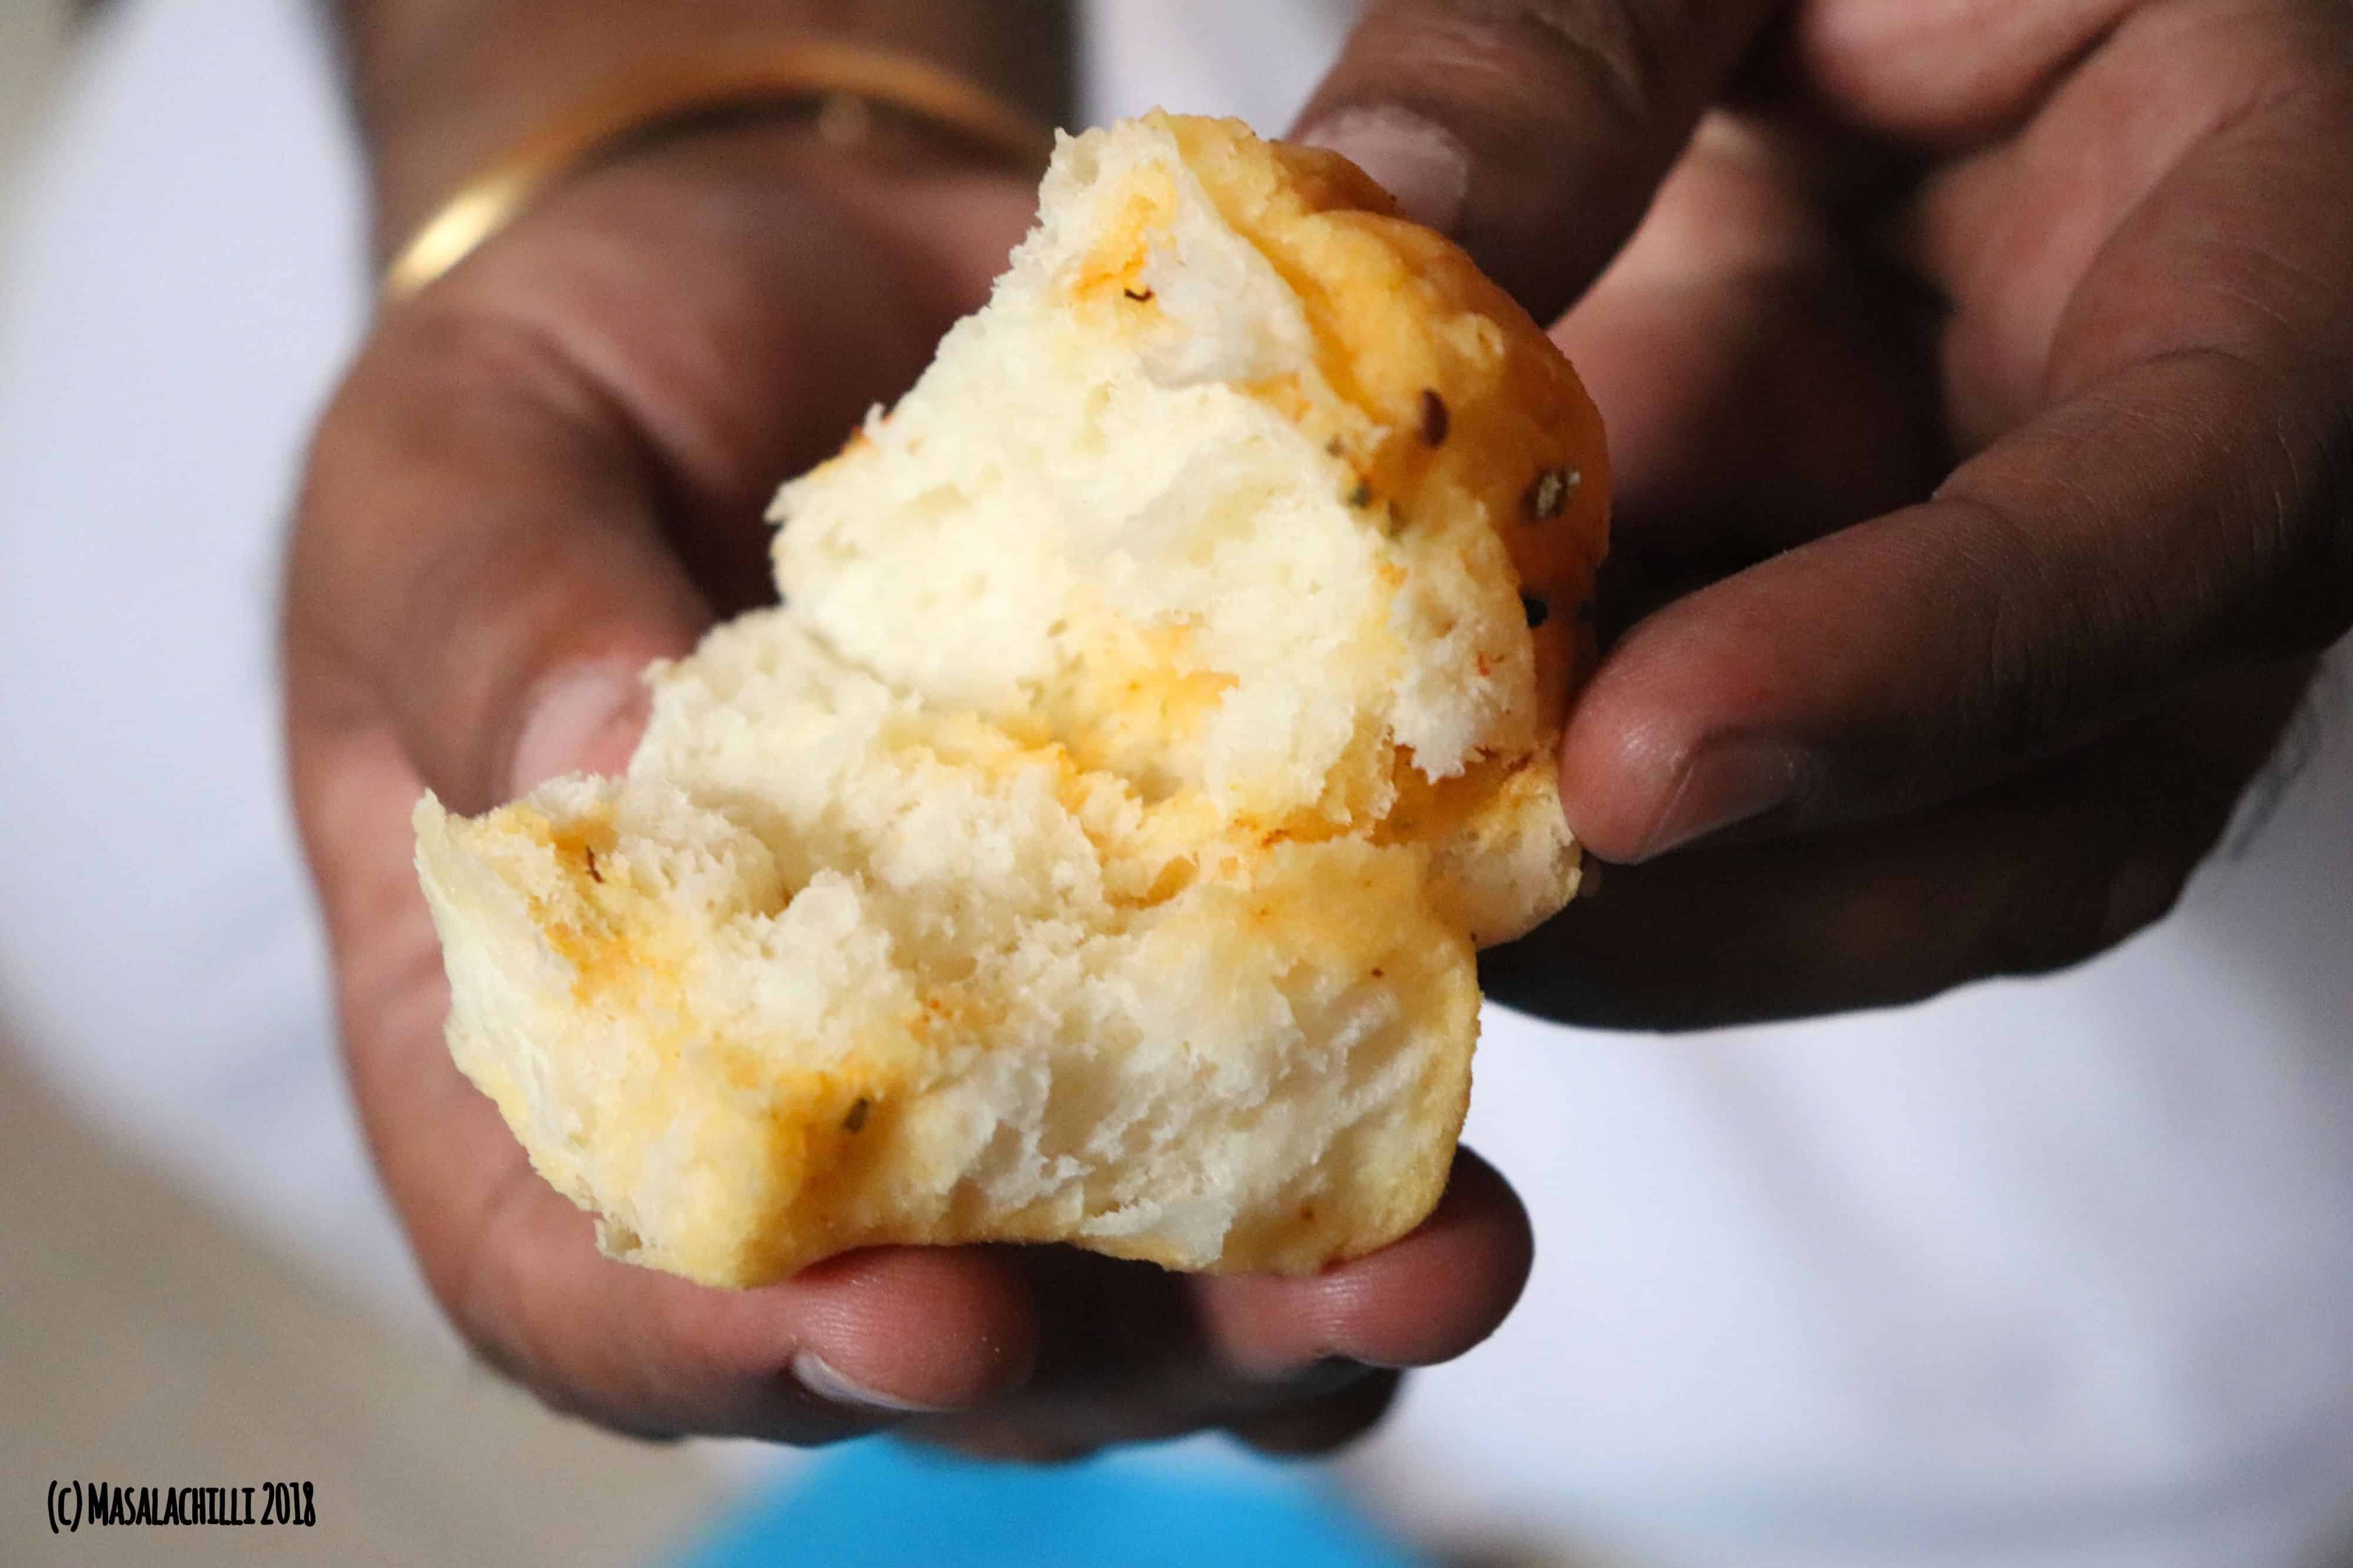
If you are looking for a basic Pav or Pao Recipe, here is the link that you can experiment with – Homemade Eggless Pav. I have referred the same recipe but made the batch in a small quantity as I required only one small wreath of bread for the both of us to go along with a bowl of tomato soup at home.
Check out the easy recipe of Paprika and Rosemary Flavoured Dinner Rolls Recipe and surprise your kids today.
Prep Time – 10 mins
Bake Time – 2 hours
Makes a small wreath of pav buns as shown in the pic
Ingredients for the Bread
- All Purpose Flour or Maida – 1 cup
- ½ tsp instant dry yeast
- ½ tsp sugar
- ½ tsp salt
- Softened Butter – 1 tblsp & ¼ tsp for greasing the baking tin & ¼ tsp for brushing / glaze post baking
- Lukewarm water – ¼ cup
For the Flavourings
- 2 tblsp Softened Butter
- 1 tsp paprika powder
- 1 tsp dry rosemary
- Sea salt as per taste
Method
- Mix the ingredients for flavourings and keep aside.
- Step 1– In case you don’t have instant yeast, take active dry yeast of the same qty and proof it. Once yeast blooms, add the mixture to the flour. PS – I prefer using instant yeast in all my bakes.
- Step 2 – Grease a big bowl enough to hold a risen dough with few drops of oil.
- In a separate bowl, add the flour, add salt, yeast (incase instant yeast), sugar and knead the dough using lukewarm water. Add the water slowly and ensure the dough doesn’t get too sticky. Do not add the entire quantity of water while kneading, sometimes you won’t even need the mentioned quantity of water. Always feel the dough while kneading, your hands and eyes are the best judge.
- Now place the dough on the kitchen platform or a board and add ½ tblsp of butter and knead the dough for roughly 7-10 mins.
- During the 10 mins of kneading, keep incorporating butter slowly. The dough should be very soft to touch after kneading.
- Now carefully place the kneaded dough in a greased bowl / container for proofing (Step 2) in a warm place. Ensure you cover the dough either with a damp cloth (not wet) or keep the dough in a container with lid. I prefer the latter.
- The proofing takes about 1 hour to 1.5 hours depending on weather conditions. The dough should be double in size. PS – In summers, especially in India, it would take only 45 mins to an hour for the 1st proofing to occur.
- Once the dough is proved, knock off the air by punching the dough few times (degas it). Now sprinkle some flour on the board / platform.
- Knead the dough lightly for 5 minutes.
- Divide the dough into equal sized balls, flatten them slightly and brush the mixture of the paprika, rosemary and the butter.
- This ensures the flavour remains both inside and out.
- Close and shape them into buns / balls of equal sizes and place them on a greased tin within a gap of ½ inch to rise for further proving in a warm place preferably for 30-45 mins.
- After the buns are proved (read risen), preheat the oven for 10 minutes at 220 degrees.
- Brush the top of the bread with the flavourings (the paprika butter mixture) to obtain the deep orangish colour post baking (as show in the pic)
- Reduce the temperature to 200 after 10 minutes and then place the buns tin in the middle rack.
- Bake the bread for 20 minutes at 200 deg C or until golden brown.
- Once baked, demould it immediately to avoid condensation and turn your bread soggy from the sides and bottom.
- Brush some flavoured butter again on top and sides for the perfect colour and allow it to cool on a wire rack.
- Serve warm or hot with soup or gravy of your choice.


Recipe Notes –
-
- The yeast quantity used here is very less so the time taken for the proving was long.
-
- Water used for proofing and kneading the dough should be lukewarm and not hot. Hot water kills the yeast.
-
- Kneading makes the dough soft and ensures proper mixing of all ingredients, ensures soft bread. So ensure you knead the dough for a good 7-10 mins.
-
- Point No. 7 – During summers, the dough rises fast as compared to winters / monsoon so your dough might take 35-40 mins. The dough should be double in size. That’s the only indication.
-
- The tin used for baking the pav should be atleast 2 inches in height that can hold the shape of pav. Don’t bake the pavs in a very flat sheet.
-
- Distance of ½ to 1 inch between the pavs during 2nd proving will allow the pav to rise and hold shape, stick together and form the wreath.
- I have done this bake in a round tin. You can make this as your regular rolls in square or round shape as per your choice.
Vidya Narayan