


If you are a true Mumbaikar like me (born and brought up), your heart definitely beats for one of its most popular and iconic bread – Pav also known as Ladi Pav or Pao.
Pav is made with 100% Maida or All Purpose Flour. It does earn the reputation of being “unhealthy” like most APF breads, but trust me, baking this at home is far better than store bought and yes, once in a while, completely okay to consume too!
The Mumbai Bakery Style Pav Buns recipe that I am sharing today is eggless and yields soft pav buns every single time you bake!


Mumbai’s quintessential soul foods are Vada Pav, Samosa Pav, Pav Bhaji, Misal Pav. So street food without this bread is unimaginable in Mumbai. An easy pick me up food that is made fresh, sold within minutes and easily affordable too.
These soft Indian Dinner Rolls not only can be eaten for breakfast with some butter and jam slathered on it. They make excellent accompaniments to various curry dishes, both vegetarian and non vegetarian.
Did you know that Ladi Pav or Pao were introduced by the Portuguese? Goa has its own version known as Poe. Goa’s iconic breakfast Ros Pav which is basically omelette with a white peas curry served with pav. I have a vegetarian version of it on the blog, which you can check out.
This is a recipe I blogged in 2017 (my early blogging years). A friend recently asked me for the recipe and I shared the link only to realize that the pictures and the post need a lot of work. So I have updated the post with lots of tips, new pictures etc that can help any novice baker in acing this bread recipe!
Since Narayan had been requesting me to bake pav since a while so thought of “killing 2 birds with one stone”. I not only baked the bread but also took a video while I was at it.
If you follow my blog, you must be aware of the kind of recipes I usually blog. They are more health oriented, uses fresh seasonal produce and rarely cheat treats. Even for baking recipes, I prefer whole wheat breads instead of the APF or Maida.
In fact, I have a whole wheat pav bread recipe on the blog which I have baked using Emmer Wheat that is low on gluten.
But, if you are a novice in baking, you should always start with Maida or APF and then gradually move to 50% wheat before switching completely to 100% wheat. It gives you time to understand how the flour behaves according to temperature and climate.
Pav is a great beginner bread recipe, if you are new to baking. It doesn’t take a lot of shaping, is quite easy to put together and you really end up with great results, giving you the much needed boost to try other recipes.
Once you master pav buns, try this 100% White Sandwich bread with flax and sesame seeds from the blog and you will not be disappointed. Once you ace both these recipes, you can move to whole wheat flour.
Key Tips to Make Pav At home
- Before you begin, always ensure the ingredients are kept ready at room temperature. If you store your yeast and flour in the refrigerator, remove it and keep out 30 minutes before you begin baking.
- The water should be lukewarm and not hot. Please check this before adding to the flour else it would be a waste. If you are a novice in baking, take a bowl, add ½ a cup of water, required amount of yeast as per recipe and sugar. Mix and let the yeast proof before adding to the flour. Do this a couple of times before you are confident.
- Quantity of Water – Never add the entire quantity of water as given in any recipe, directly to the flour. Always incorporate it slowly while kneading. Flour depends on weather and while the recipe might say 1 ½ cups, you might actually need more or less depending on climate conditions, the quality of flour too. You will get used to this process once you bake 2-3 breads.
- Kneading – One of the most important step to attain the required softness. Kneading should be atleast for 10 minutes incorporating the oil or butter into the recipe.
- Proofing – Leave the dough undisturbed in a warm place. I often leave the dough with the lid on inside my Microwave oven (do not switch it on) so that it stays undisturbed. Don’t be tempted to lift the lid and check every now and then.

Once you follow these key steps, baking breads would be such a breeze!
Step by Step Homemade Eggless Pav Recipe

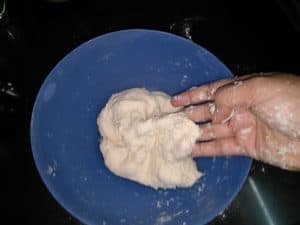
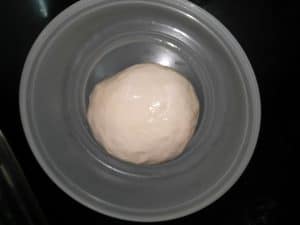

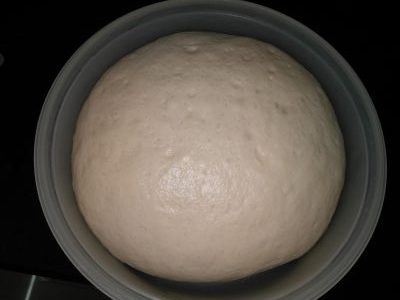

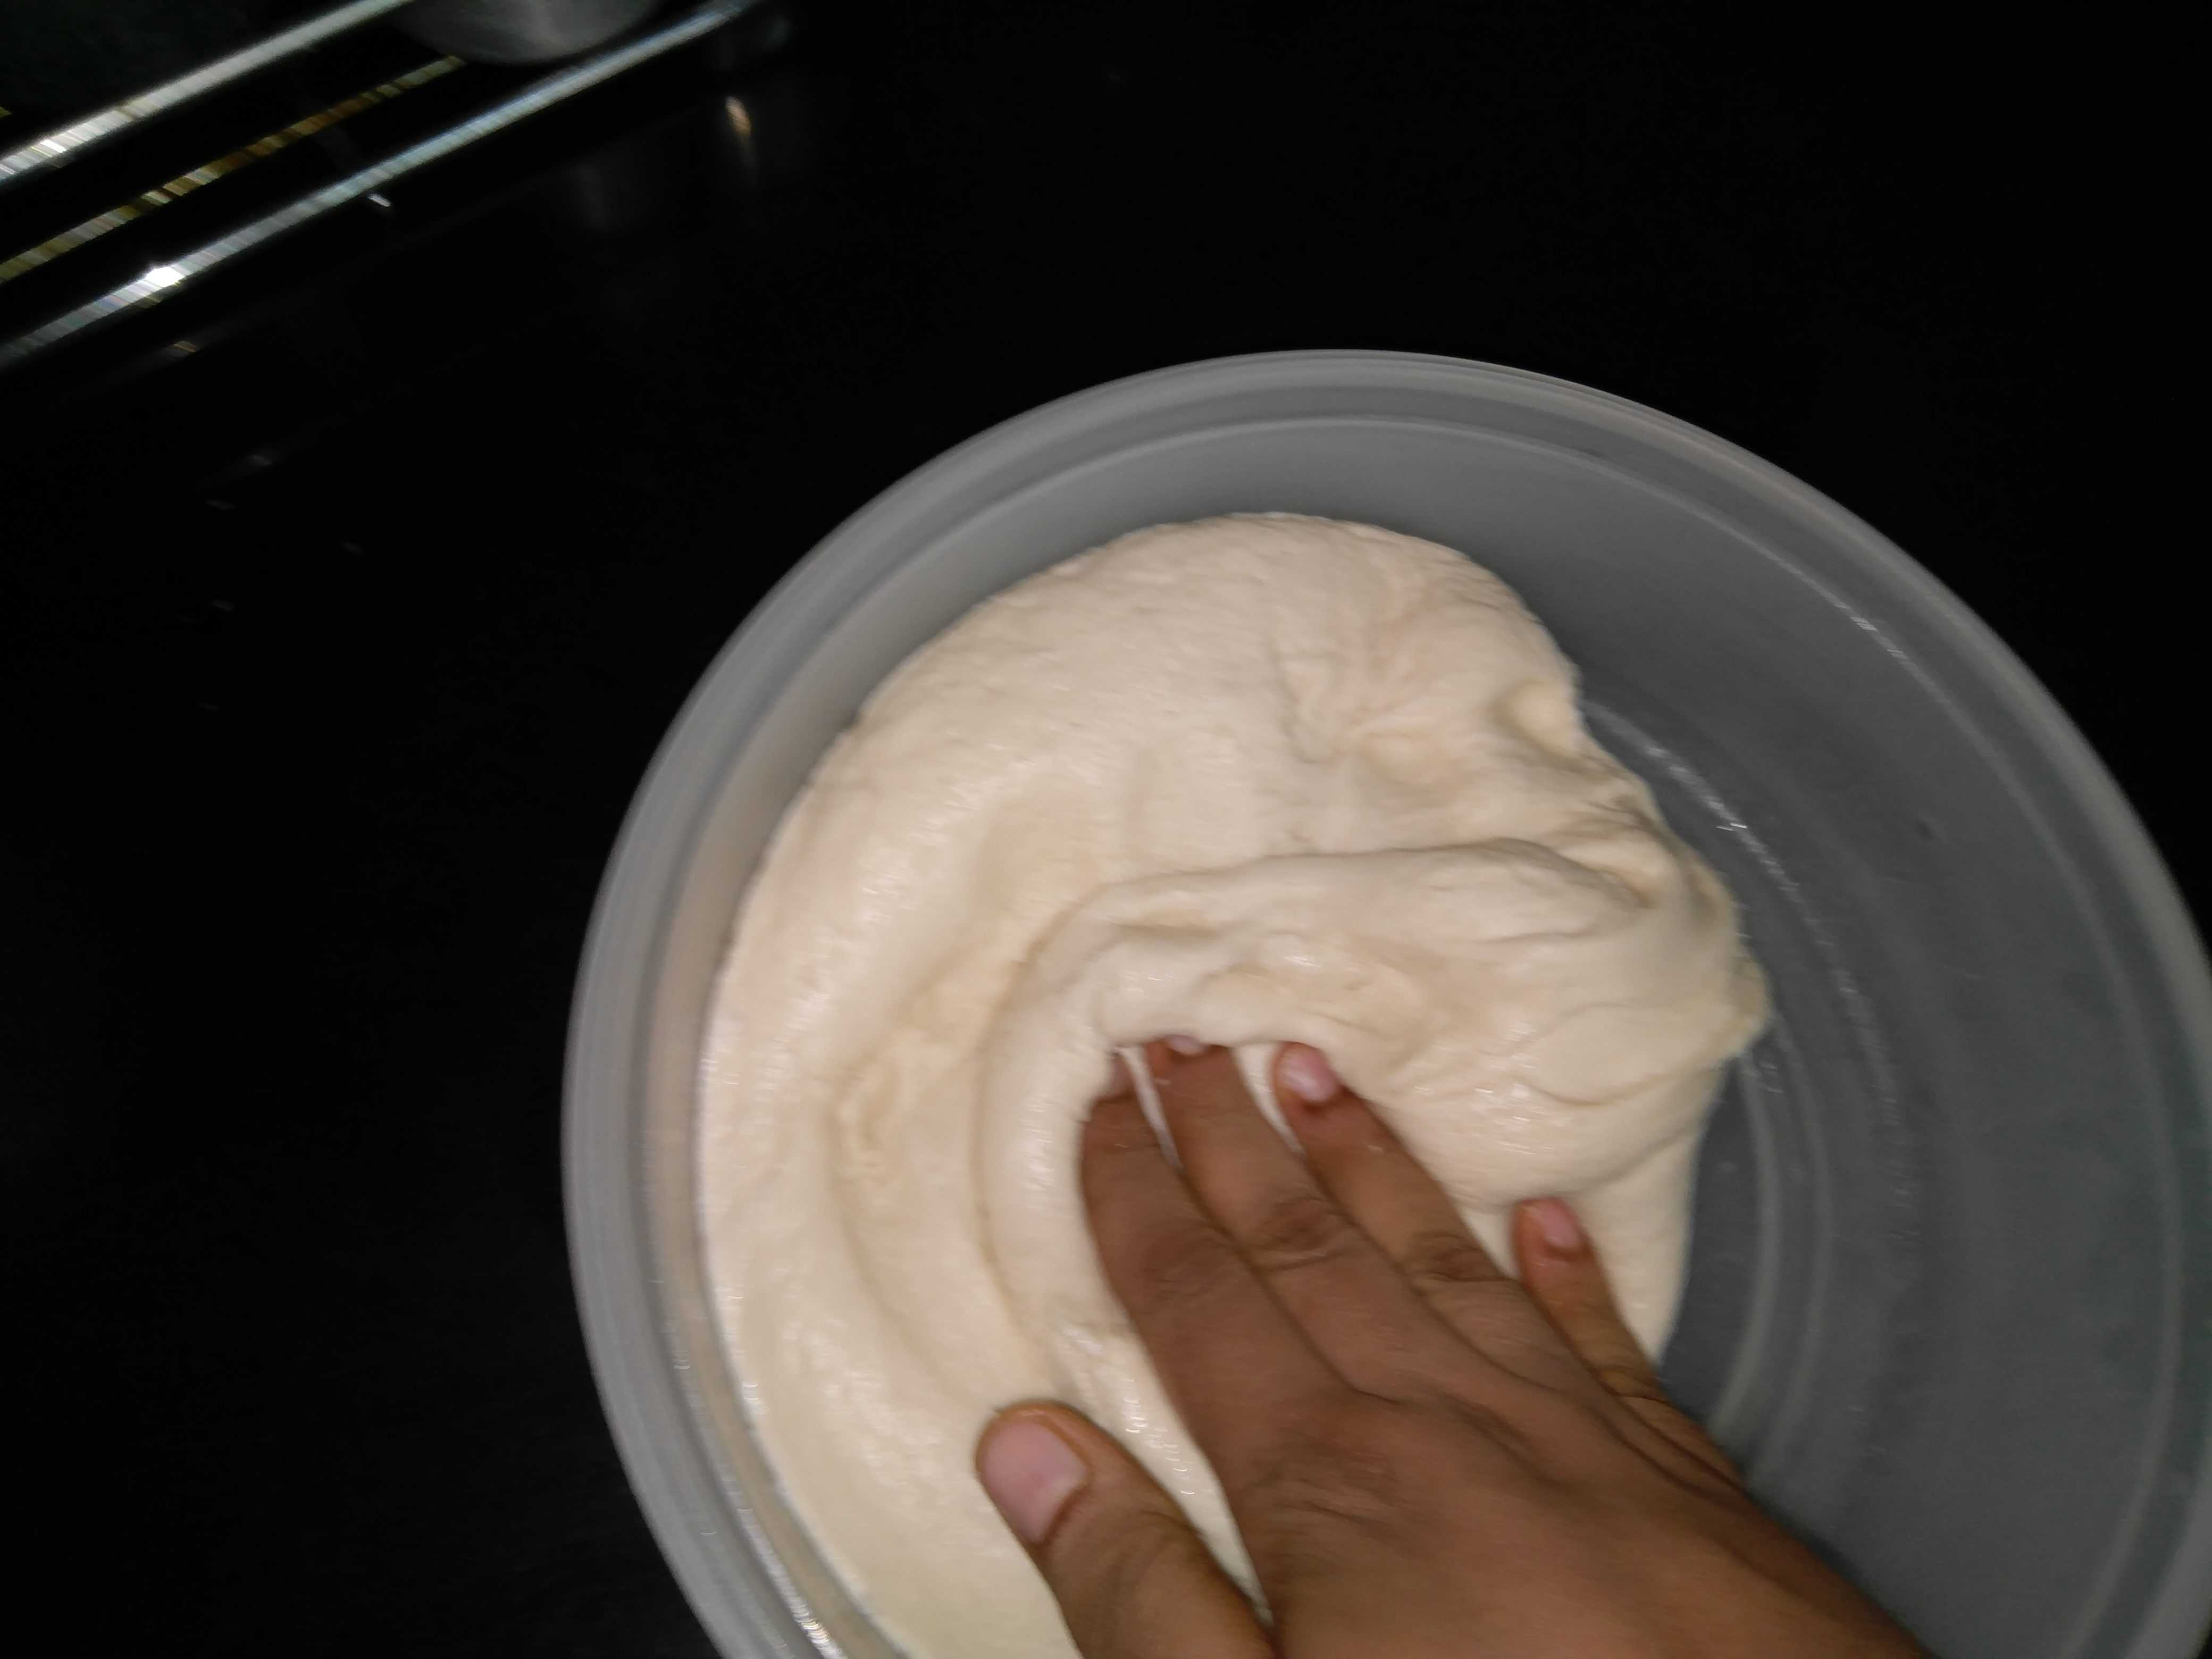


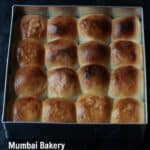
Homemade Eggless Pav
Equipment
- OTG for baking
- Square Tin for baking - 9" x 9" Tin with 2.5" depth
Ingredients
- 3 1/2 cups All Purpose flour or maida 1 cup is 250 ml measurement
- 1 tbsp Instant Dry Yeast 1 tbsp is 15 ml measurement
- 3 tbsp Olive Oil + extra as required to grease the pav tin and bowl (for kneading the dough)
- 1-2 cups Lukewarm Water (for kneading the dough - check notes)
- 2 tbsp Milk Powder (optional) Check notes
- 2 tsp Sugar
- 1 1/2 tsp Salt
- 1-2 tsp Butter (salted)
Instructions
- Step 1 - In case you don’t have instant yeast, take active dry yeast of the same qty and proof it. Once yeast blooms, add the mixture to the flour. PS - I prefer using instant yeast in all my bakes.
- Step 2 - Grease a big bowl enough to hold a risen dough with few drops of oil.
- In a separate bowl, add the flour, add salt, yeast (in case instant yeast), sugar and knead the dough using lukewarm water. Add the water slowly and ensure the dough doesn’t get too sticky. Do not add the entire quantity of water while kneading.
- Now place the dough on the kitchen platform or a board and put 1 tblsp of olive oil and knead the dough for roughly 7-10 mins. During the 10 mins of kneading, keep incorporating oil slowly.
- The dough should be very soft to touch after kneading. Now carefully place the kneaded dough in a greased bowl / container for proofing (Step 2) in a warm place. Ensure you cover the dough either with a damp cloth (not wet) or cover the dough with a plate/lid.
- The proofing takes about 1 hour to 1.5 hours depending on weather conditions. The dough should be double in size. Once the dough is proved, knock off the air by punching the dough few times.
- Now sprinkle some flour on the board / platform, knead the dough lightly for 5 mins and make balls of equal sizes, roll them nicely and place them on a greased tin within a gap of 1 inch to rise and form shape of pav for further proving in a warm place preferably for 20-30 mins.
- Preheat the oven before baking for atleast 10 mins (hot oven) at 200 degrees. After the bread has once again risen (2nd rise), brush / spray a bit of milk or water lightly over the buns and place them in the oven for baking at 200 degrees for 20 to 30 mins
- Once baked, brush a butter on top. Serve warm or cool.
Notes
- Before you begin, always ensure the ingredients are kept ready at room temperature. If you store your yeast and flour in the refrigerator, remove it and keep out 30 minutes before you begin baking.
- The water should be lukewarm and not hot. Please check this before adding to the flour else it would be a waste. If you are a novice in baking, take a bowl, always add ½ a cup of water, required amount of yeast as per recipe and sugar. Mix and let the yeast proof before adding to the flour. Do this a couple of times before you are confident.
- Quantity of Water – Never add the entire quantity of water as given in any recipe, directly to the flour. Always incorporate it slowly while kneading. Flour depends on weather and while the recipe might say 1 ½ cups, you might actually need more or less depending on climate conditions, the quality of flour too. You will get used to this process once you bake 2-3 breads.
- Kneading – One of the most important step to attain the required softness. Kneading should be atleast for 10 minutes incorporating the oil or butter into the recipe.
- Proofing – Leave the dough undisturbed in a warm place. I often leave the dough with the lid on inside my Microwave oven (do not switch it on) so that it stays undisturbed. Don’t be tempted to lift the lid and check every now and then.
- During summers, the dough rises fast as compared to winters / monsoon so your dough might take 35-40 mins. The dough should be double in size. That’s the only indication.
- The tin used for baking the pav should be atleast 2 inches in height that can hold the shape of pav. Don't bake the pavs in a very flat sheet.
- Distance of 1 inch between the pavs during 2nd proving will allow the pav to rise and then stick together.
- For first timers, it is advised to use milk powder for baking this bread recipe. Eventually you will not need this. Milk powder helps in softness. If you don't have access to it, knead the dough using 50% lukewarm milk instead. Vegans can skip this and bake the bread.
- I have used Square Tin for baking - 9" x 9" Tin with 2.5" depth. It holds 16 nos. pavs easily.
Do give us a shout out or tag us when you post a recipe on any of our social media handles – INSTAGRAM, TWITTER, FACEBOOK PAGE AND PINTEREST.
You can also subscribe to our website to receive all the delicious recipes in your mail box.
Would be really happy to receive your feedback.
Thank you for visiting
Vidya Narayan