


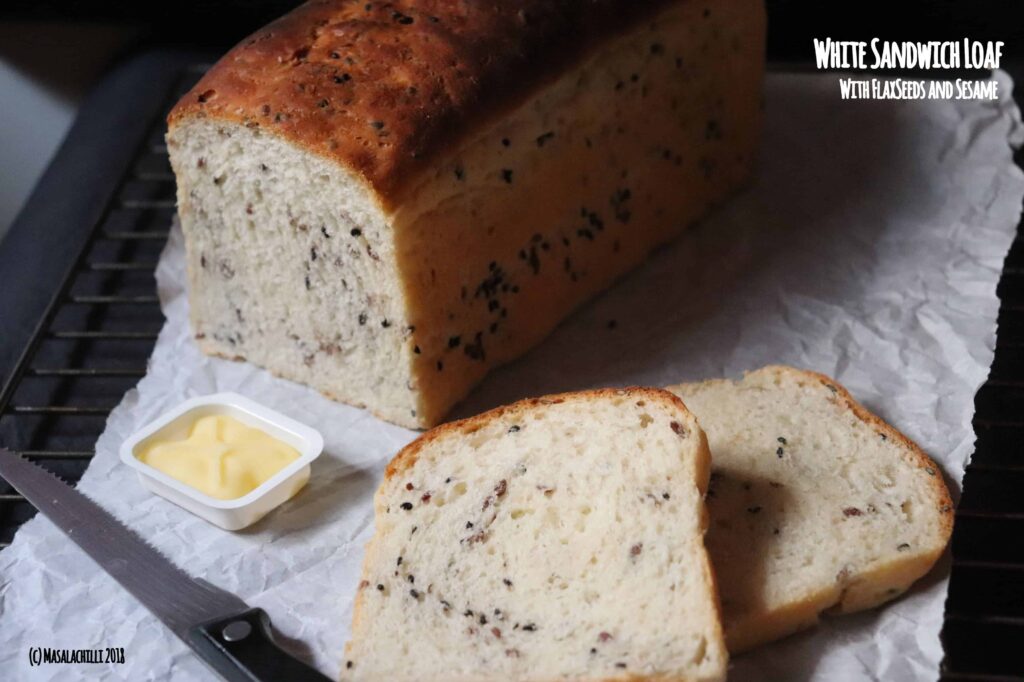
White Sandwich Bread Loaf with Flax and Sesame seeds
It has been a month since I posted a picture of a perfectly sliced bread on my Facebook Page and received some wonderful responses saying the crumb was beautiful and that it was baked perfectly which certainly made my day. As you know, the March month was particularly busy for me at home with one commitments after the other and attending the blog in between as well pushed the deadline of this recipe and I had pledged to complete and post this today anyhow. Also, I didn’t want to hurry on this post as I wanted it to be as comprehensive (read lengthy), filled with notes as much as possible to ensure Bread baking is encouraged and practiced by all at home and the fear of dealing with the yeast is completely forgotten.
This is a basic recipe for beginners. Well, beginners should always venture baking APF breads to understand how gluten behaves, how the proofing happens, how easy the kneading is, feeling the dough and then seeing the magic of the bread rising and then baking in the oven. Also – Success rate with APF is much higher for begineers, they feel confident and will venture to experiment more.
I began baking full fledged since last year and I have not stopped since then. What has stopped completely is me buying breads from store. Many would argue that it is not healthy to consume APF breads and I would simply say – It is far better to bake at home than buy preservative & improvers / additives loaded breads that are sold outside. Home made bread, even APF are filling when made at home, you are satisfied with couple of toasts and you increase the health quotient by stuffing it with loads of veggies, coriander chutney and turning them into delicious sandwiches. I have switched over to Healthy Alternatives (Available at Natures Basket) and have been using their Organic Wheat Maida. Had posted a picture of the same and baked the Nachni Buns / Ragi Buns recently using the maida, which turned out good. Have used the same Organic Maida for this bake as well.
I add a lot of seeds in my bread to make it filling and wholesome. Also, since Narayan doesn’t like consuming flax seeds on its own, I try and sneak it in breads, parathas, theplas and the likes. I ran out of pumpkin and sunflower seeds the other day and hence couldn’t include but have saved that for another day when I bake a whole wheat loaf, which is also pending since a long time.

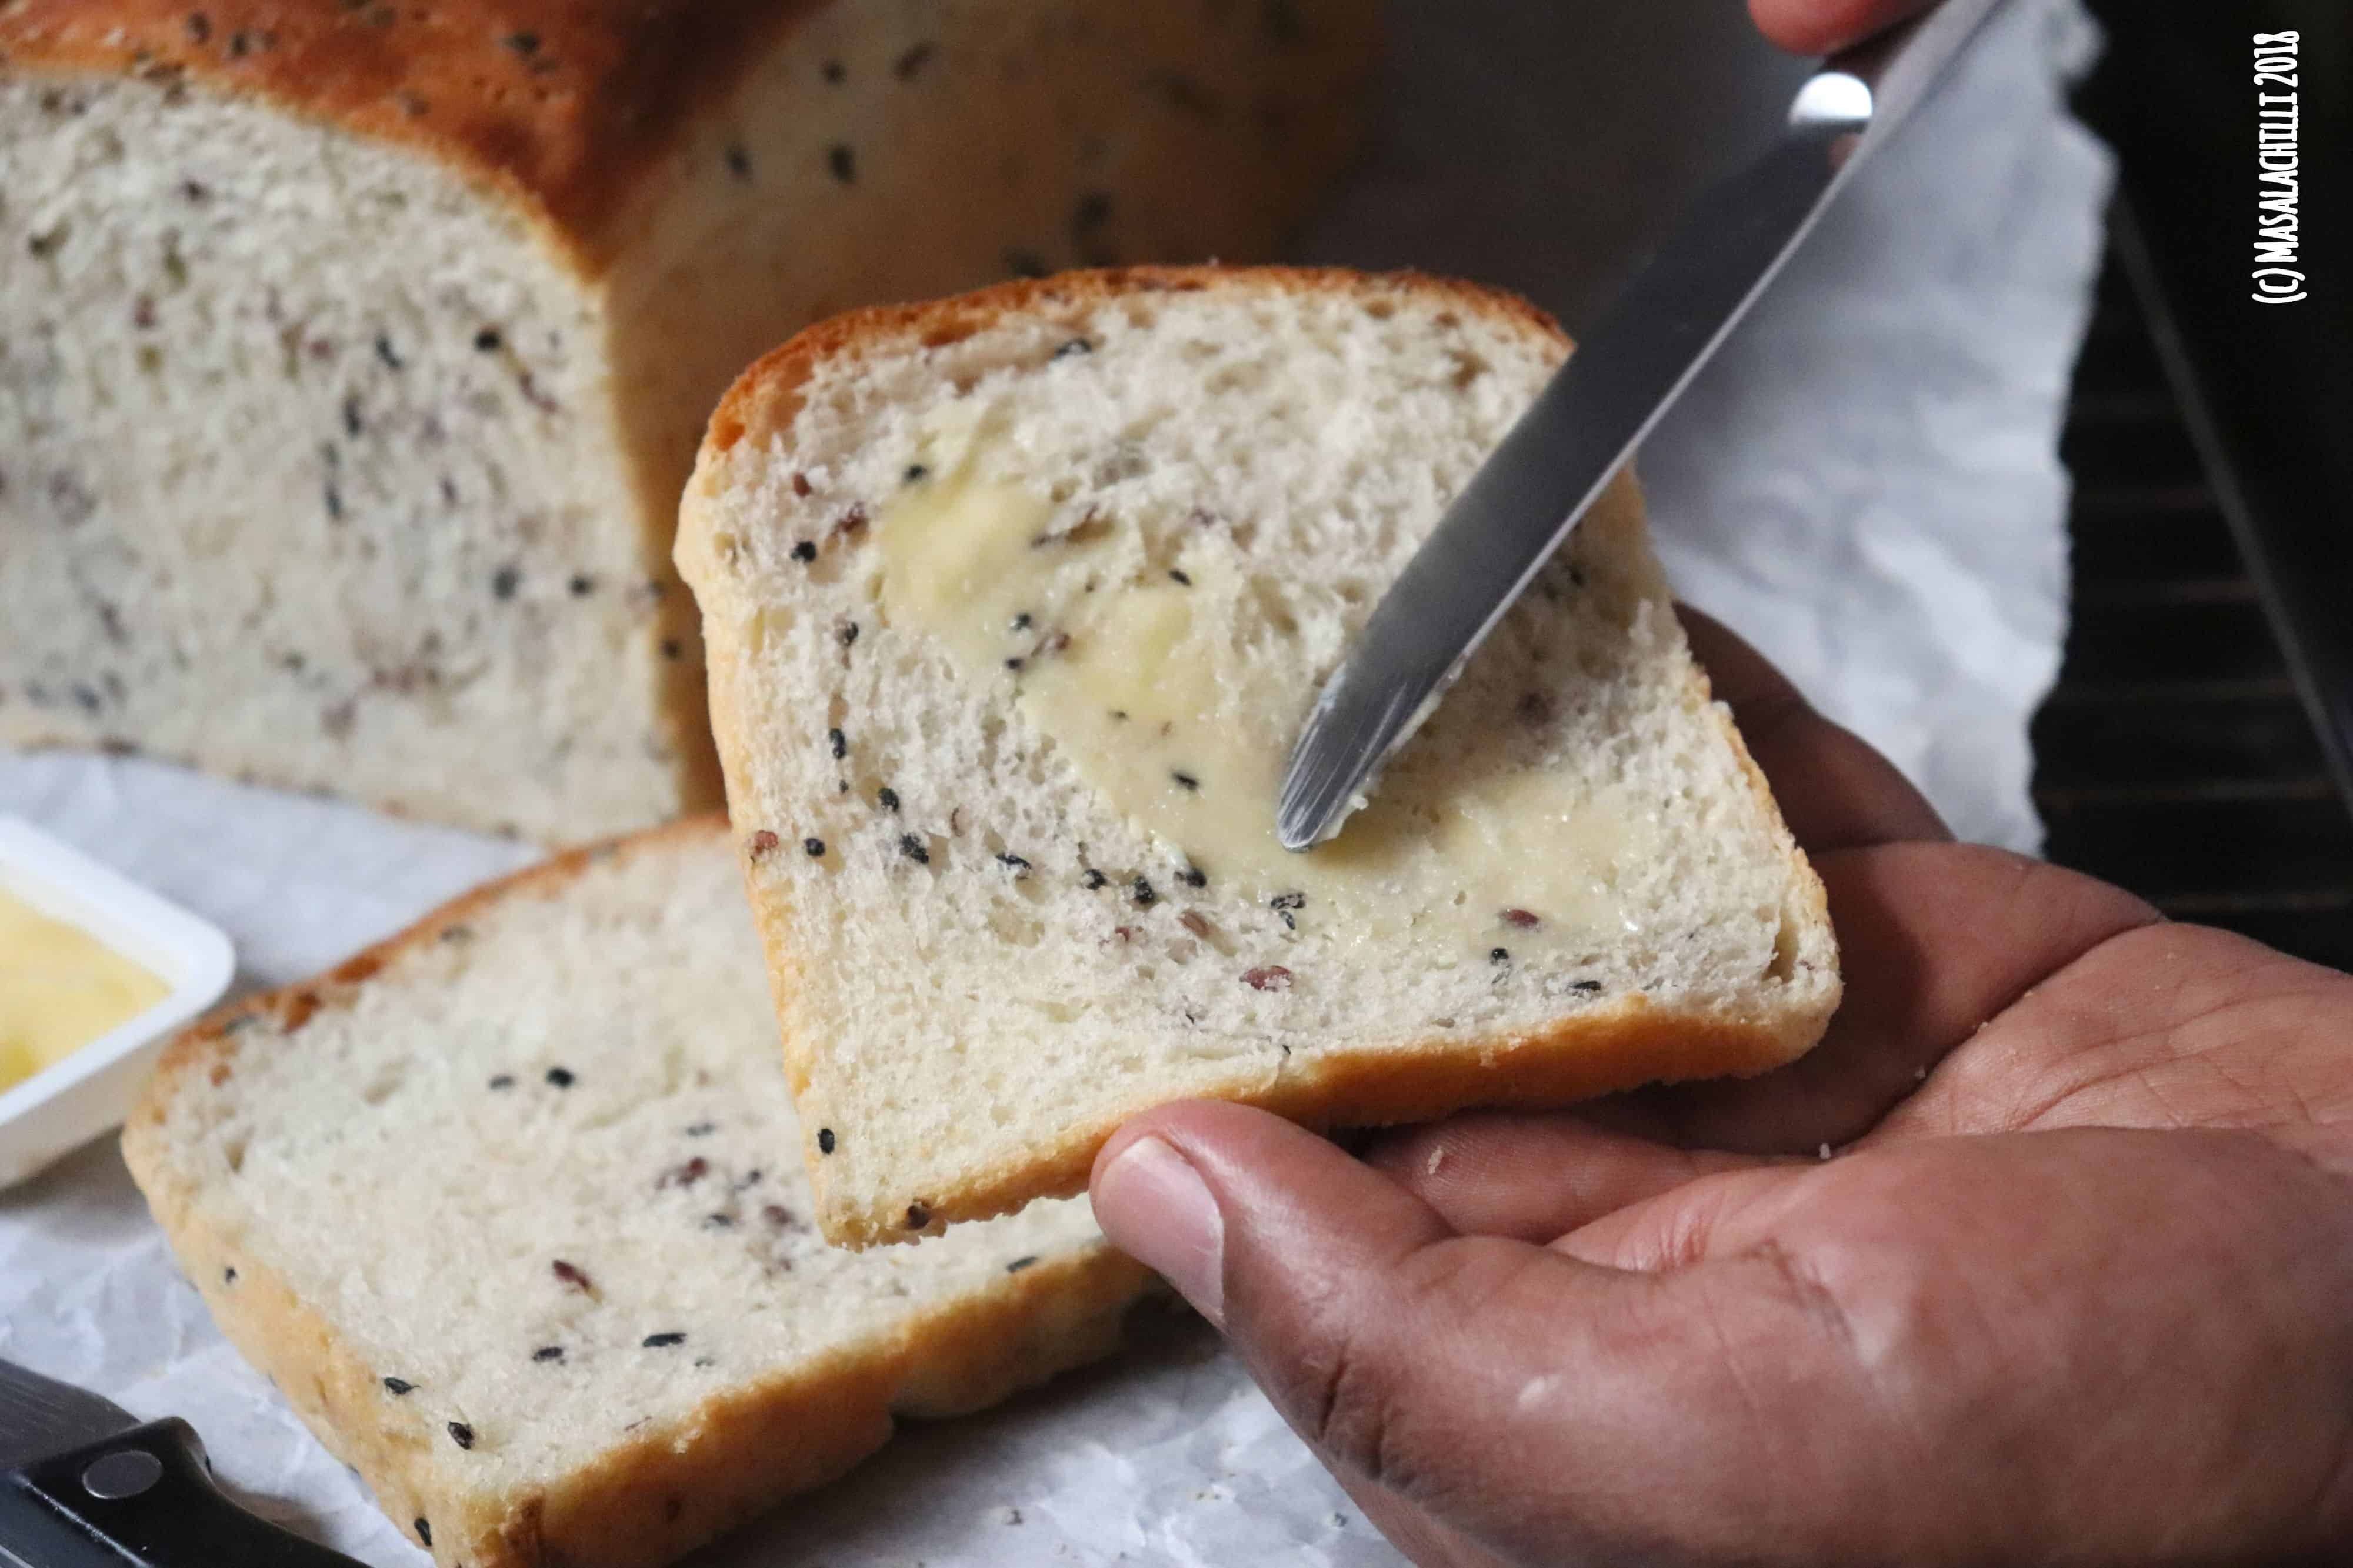
This post is pretty cumbersome as I have provided minute details along with a list of notes / tips that would be certainly helpful if you are trying to bake a bread for the first time or if your breads are not having the perfect crumb / texture.
In case you are looking for other interesting bread recipes on the blog, please go through the following Links –
Check out the recipe, the notes section and bake a batch of bread, if you are just developing an interest in baking and are too scared to befriend yeast. Trust me, your family will never eat a store bought ever once you bake this.
Recipe for White Sandwich Bread Loaf with flax and sesame seeds
Prep Time – 10 minutes
Time Taken for Proofing and Baking – 2 hours and 45 minutes
Bread Tin Size used - 9 x 3 3/4 (Generally it is Bread Tin No. 4 that is available in most shops that sell bakery related pans and tins)
Ingredients for approx. 650gm loaf
- 3 cups Maida or APF
- ¼ cup of Flax and Sesame seeds
- 1 cup lukewarm water
- 5 tsps of instant yeast
- Salt – 1 tsp
- Sugar – 1 tsp
- Soft Butter – 4 tblsps for kneading the dough + 1 tsp to brush post baking + ½ tsp for greasing the bread tin
- 1 tblsp Lukewarm Milk – for brushing before baking
Method
- Soak ¼ cup of flax seeds and sesame seeds (I have used black) in ½ cup water and keep aside for 30 mins. Drain well and keep aside.
- Step 1– In case you don’t have instant yeast, take active dry yeast of the same qty and proof it. Once yeast blooms, add the mixture to the flour. PS – I prefer using instant yeast in all my bakes.
- Step 2 – Grease a big bowl enough to hold a risen dough with few drops of oil.
- In a separate bowl, add the flour, add salt, yeast (incase instant yeast), sugar and knead the dough using lukewarm water. Add the water slowly and ensure the dough doesn’t get too sticky. Do not add the entire quantity of water while kneading, sometimes you won’t even need the mentioned quantity of water. Always feel the dough while kneading, your hands and eyes are the best judge.
- Now place the dough on the kitchen platform or a board and add 1 tblsp of butter and knead the dough for roughly 7-10 mins.
- During the 10 mins of kneading, keep incorporating butter slowly. The dough should be very soft to touch after kneading.
- Now carefully place the kneaded dough in a greased bowl / container for proofing (Step 2) in a warm place. Ensure you cover the dough either with a damp cloth (not wet) or keep the dough in a container with lid. I prefer the latter.
- The proofing takes about 1 hour to 1.5 hours depending on weather conditions. The dough should be double in size.
- Once the dough is proved, knock off the air by punching the dough few times (degas it). Now sprinkle some flour on the board / platform, place the dough and add the soaked seeds.Knead the dough lightly for 5 mins to incorporate the seeds into the bread.
- Roll the dough in a rectangle and then roll it in the shape of a log, tuck the seams on both ends and then place it in the greased bread tin for further proving for another hour.
- In case of breads, I don’t cover the tin as there are chances of the dough sticking to the cloth.
- After the bread is proved (read risen), preheat the oven for 10 minutes at 220 degrees.
- Brush the top of the bread with 1 tblsp of milk. It gives the golden colour. If you consume eggs, you can brush with that too. Whisk an egg and then brush it.
- Reduce the temperature to 200 after 10 minutes and then place the bread tin in the middle rack.
- In case you have a small oven, ensure there is a good amount of space on the top and that the bread should not touch the rods of the oven. Bread should have ample space to rise and hence make necessary arrangements to adjust your tray in the oven.
- Bake the bread for 40 minutes or until golden brown.
- Once baked, demould it immediately to avoid condensation and turn your bread soggy from the sides and bottom.
- Brush some butter on top and sides and allow it to cool on a wire rack for half a day.
- Never be in a hurry to slice a bread, it usually is still cooking once its demoulded. Allow it to naturally cool down and only slice using a bread knife for a clean cut.


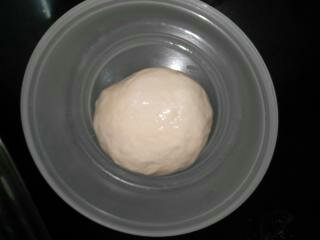

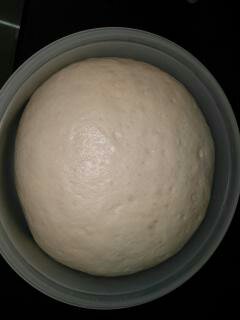
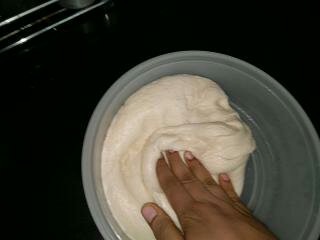
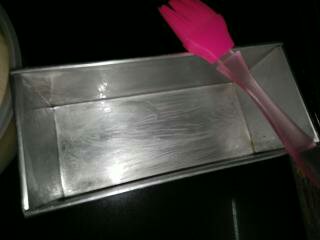
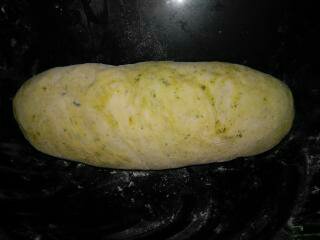
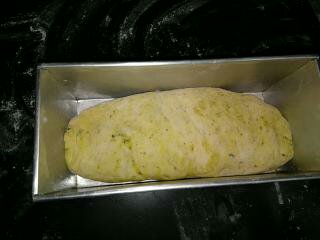
PS - THE LOAVES THAT LOOK YELLOW WERE FOR A MASALA BREAD THAT I WAS ALSO MAKING THE SAME DAY. THE PIC IS FOR UNDERSTANDING PURPOSE ONLY.
How to Store Bread Loaves?
- You can wrap it with a butter paper or parchment paper and keep it covered on your kitchen counter. It stays good for 3 days. During summers, its ideal to shift it after the 2nd day into the fridge. Slice when required or slice and keep the same in a container, its your choice entirely. The bread remains soft throughout.
- Don’t wrap it with a tight cling film or plastic bags. It leads to fungus formation easily. Just wrap it loosely with a parchment paper.
- If you own a fancy bread box on your kitchen counter, by all means, just store the same in that.
Recipe Notes –
- Understand your oven. For baking breads, rather for baking in general, I recommend only OTG’s. They ensure best results.
- Understand the temperature, heating patterns completely before venturing. Each OTG is different. Read the user manual carefully, go through a you tube video explaining the features, do a test batch with a store bought bread and heat it on the rods to see how it works, how it heats and how it turns brown. Do couple of tests first before baking a full fledged bread loaf.
- Every oven behaves differently, has different temperature controls and heating rods. Don’t go by others opinion unless they use an exact same model of OTG.
- Since this bread is for beginners, always ensure you have all the ingredients ready on a clean and dry kitchen counter before you begin. It is easy, comfortable and makes you confident.
- All the ingredients should be at room temperature only.
- It is always advised to measure your ingredients well. If you are using the measurement cup, ensure you level the ingredients and then add in the bowl. Excess always hampers the outcome.
- What is levelling? You take ingredients in a cup and then with your index finger, run through the top and get rid of the excess flour, sugar, salt (basically the dry ingredients).
- Always test your yeast (even if it is instant one) before adding to the rest of the ingredients.
- How to test yeast? Proof it – Take ½ cup of lukewarm water, add 1 tsp of sugar, mix it well and then add ½ tsp of yeast. Mix it, Cover this and keep it aside for 5 to 7 minutes, the mixture will be frothy and will rise. If it does, your yeast is good. If not – chuck it and buy another batch. Always saves time and not to forget a lot of effort and wastage of ingredients too.
- While Testing Yeast – Ensure the water is lukewarm. Hot water kills the yeast. Water at room temperature is also not advised.
- What If I Boiled the water too much? – No issues, Add room temperature water slowly, to get the desired lukewarm temperature.
- What is the Desired Temperature? Just dip your fingers, it should just feel slightly warm, NOT HOT. Always use your eyes and hands to test things when baking for first time rather than opting for thermometers etc. You get a better grasp of things.
- Why knead for 10 minutes? It ensures the gluten is activated, the bread is light and airy and you don’t get hard, dense breads post baking. Kneading is the key towards making breads. Suggest you strongly to knead with hands first before trying it with a machine like Kitchen Aid if it is your first attempt. It provides a good understanding of the dough texture, the amount of moisture required etc.
- What If I accidently added more water while kneading and the dough is sticky? No issues, Soften some more butter, say additional 4 tblsps, keep incorporating the same while kneading. DON’T ADD EXTRA FLOUR. Always add more butter or olive oil and then when you get a manageable dough to shape, prove it. Once proven, degas, add some flour while shaping etc, so that it holds the shape etc. It might be very soggy for a loaf, but will make wonderful pav buns or dinner rolls. Never chuck a dough. Use it – Think and Experiment!
- You can use castor or any sugar. Avoid jaggery. I don’t add honey too to my breads.
Vidya Narayan